Creative Free Crochet Pattern: Mister Maker Amigurumi for Crafty Holidays
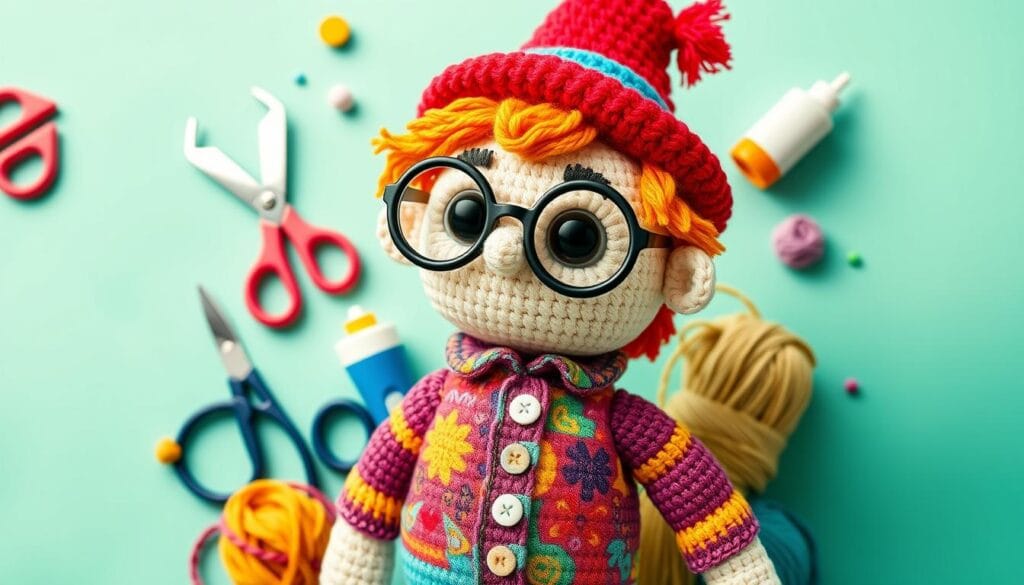
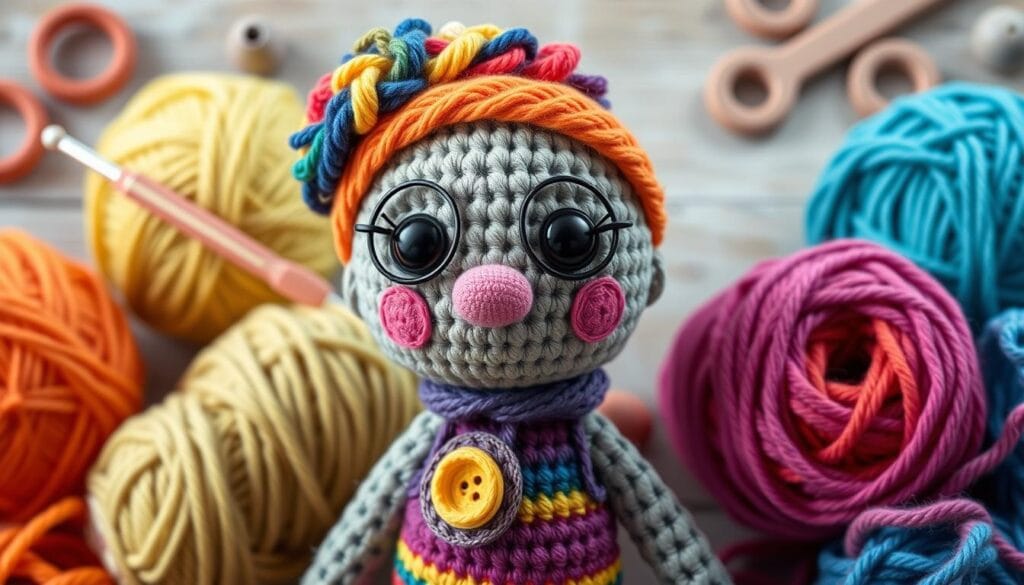
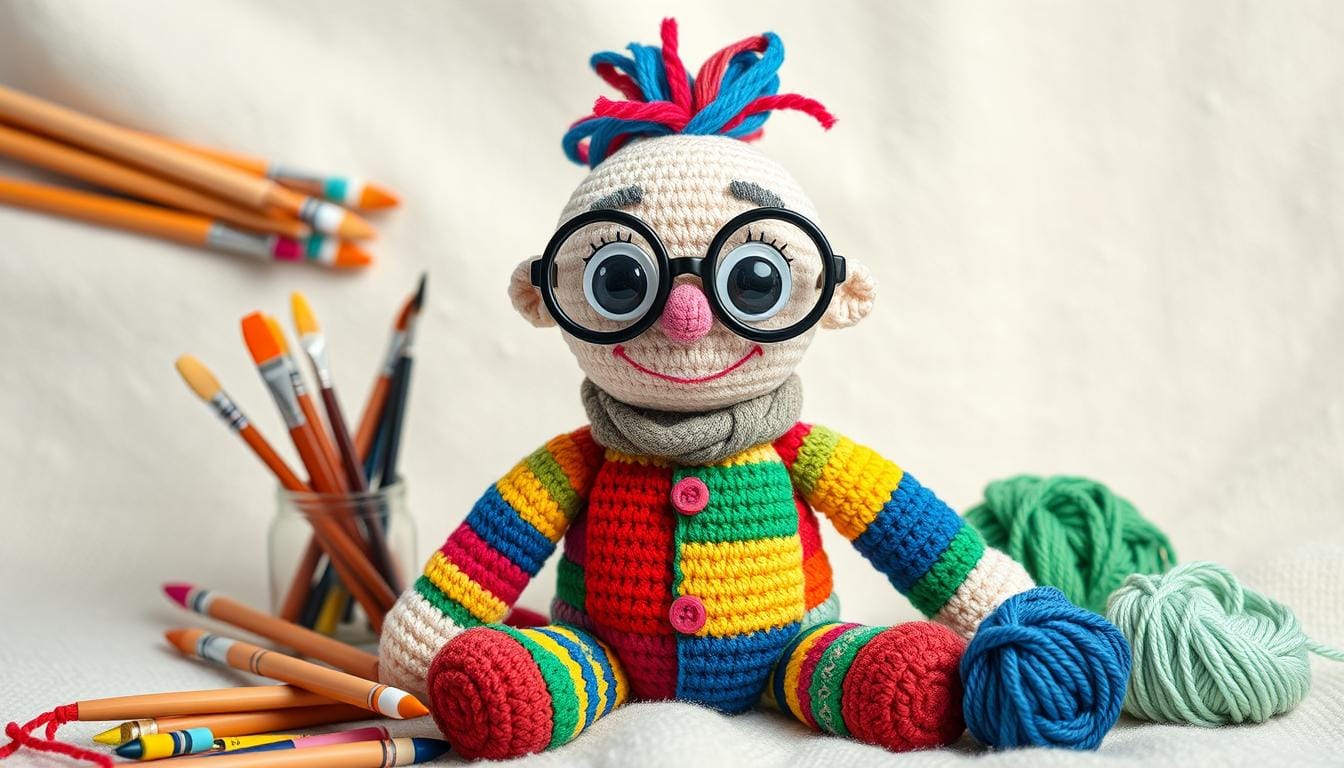
I’ve always loved making things come alive with crochet. When I found Mister Maker, I knew I had to share his fun with everyone. Now, I’m excited to give you a free pattern to make your own Mister Maker amigurumi. It’s perfect for crafty holidays and more.
Table of Contents
Introduction to Mister Maker Amigurumi Pattern
Do you love the popular TV show, CBeebies’ Mister Maker, hosted by Phil Gallagher? You’re in for a fun surprise! This free crochet pattern lets you make the famous Mister Maker character come to life through amigurumi.
Who is Mister Maker and His Impact on Children’s Crafting
Mister Maker has won hearts with his fun arts and crafts segments. He inspires kids worldwide to explore their creativity. Phil Gallagher’s show encourages young artists and crafters to follow their dreams.
Why Create a Mister Maker Amigurumi
Making a Mister Maker amigurumi is a great way to honor this beloved character. It also helps improve your crochet skills. This project brings back the magic of the Mister Maker show and spreads the joy of crafting with your family.
Skill Level Requirements
This pattern is for intermediate crocheters who know basic amigurumi techniques. If you’re good with the magic ring, single crochet, and changing stitch counts, you’re ready to make this adorable character.
Get ready for a fun crafting journey that combines your love for Mister Maker, children’s tv shows, and arts and crafts. Let’s start making your own Mister Maker amigurumi!
Essential Materials and Tools Needed
To make your Mister Maker Amigurumi, you’ll need some key materials and tools. Choosing the right yarn and accessories is crucial for a fun and successful project. This is similar to making other handmade toys, like those in Summer Crochet Patterns on Crochify.
First, pick the right yarn colors for your Mister Maker Amigurumi. You’ll need sportweight and worsted-weight yarns for the best look and feel. Important colors include cream, dark purple, light purple, and teal.
- Recommended hook size: 3mm
You’ll also need some basic tools to finish your Mister Maker Amigurumi. These include:
- Scissors
- Darning needle
- Stitch markers
- Black embroidery thread
- Fiberfill for stuffing
- Pins with large heads
- 12mm safety eyes
- A heart-shaped button for decoration (optional)
With these materials and tools, you’re ready to make a delightful Mister Maker Amigurumi. Always keep safety in mind while making toys, following all guidelines and techniques.
| Item | Quantity | Description |
|---|---|---|
| Sportweight Yarn | 4 skeins | Cream (320m), dark purple (160m), light purple (160m), teal (160m) |
| Crochet Hook | 1 | 3mm size |
| Scissors | 1 pair | For cutting yarn |
| Darning Needle | 1 | For sewing and weaving in ends |
| Stitch Markers | Several | To mark key points during crocheting |
| Black Embroidery Thread | 1 spool | For facial features and details |
| Fiberfill | 1 bag | For stuffing the amigurumi |
| Pins with Large Heads | Several | For holding pieces in place during assembly |
| 12mm Safety Eyes | 2 | For the amigurumi’s eyes |
| Heart-shaped Button | 1 | Optional decorative element |
When making toys for kids, safety is key. Make sure to follow all legal rules in your area. With the right materials and tools, you’ll create a Mister Maker Amigurumi that brings joy to everyone.
Getting Started with Basic Amigurumi Techniques
Starting your Mister Maker amigurumi journey means learning key crochet skills. You’ll need to know about the magic ring, single crochet, and how to increase and decrease. These basics are essential for making your character.
Magic Ring Fundamentals
The magic ring is where many amigurumi projects begin, like Mister Maker. It might seem hard at first, but with practice, you’ll get it. Look for tutorials and videos to help you master this skill.
Single Crochet Mastery
Single crochet is the main stitch in the Mister Maker pattern. It’s important to get it right. Focus on hand movements, tension, and rhythm for even stitches. Even and consistent stitches are key to a great finish.
Increasing and Decreasing Tips
Shaping your Mister Maker’s features, like the head and arms, needs increasing and decreasing skills. Start with simple projects like Mr. Lobster to get better. Follow the instructions closely and keep your stitch count even for the right shape.
Learning these basic amigurumi skills will help you create Mister Maker. With a good start, you can move on to the project’s more detailed parts.
Creating Mister Maker’s Signature Features
When making your own Mister Maker amigurumi, it’s key to get his look right. His bright clothes and special tools are what make him stand out. By focusing on these details, your toy will truly feel like Mister Maker.
Start with Mister Maker’s outfit. He wears a yellow shirt, blue pants, and a red bowtie. Make sure to get the colors and bowtie right for a true look. Add these to your amigurumi to make it look just like Mister Maker.
Then, think about Mister Maker’s tools. He always has scissors, glue, and a paintbrush. Make these small and accurate. Attach them to your amigurumi so it looks like Mister Maker is ready to create.
By carefully making Mister Maker’s clothes and tools, your amigurumi will be very real. This will make fans of the show very happy. These details are what make your toy special and memorable.

| Item | Average Price | Number of Watchers |
|---|---|---|
| Vintage silver Whiting and Davis change purse | $22.00 | 16 |
| Vintage black bag by Triangle New York | $30.00 | N/A |
| Vintage 1950s pearl beaded purse | $18.95 | N/A |
| Vintage VTG Whiting and Davis silver metal mesh bag | $35.00 | 23 |
| Vinyl Styl® 12Inch vinyl record outer sleeve | $25.99 | N/A |
| Vintage burgundy red tooled leather crossbody purse | $59.99 | N/A |
| 6 & The City vintage 70s Bazaar magazine purse | $130.00 | 11 |
| Alexis Bendel women’s handbag vegan leather | $90.00 | N/A |
| Vintage wicker horse themed purse clutch bag | $80.00 | N/A |
| Vintage CHANEL classic black & white bag | $20.00 | N/A |
The table shows prices and watchers for vintage handbags. This info helps understand their value and demand. It can inspire your Mister Maker amigurumi project.
Step-by-Step Body Construction Guide
Making the Mister Maker amigurumi needs careful detail, starting with the head and face. You’ll use the magic ring method to make a tight circle. This circle is the base for the whole project. Learning single crochet is key to shaping the head, adding eyes, and making Mister Maker’s unique features.
Head and Facial Features
Start with the magic ring to create the head’s base. Increase stitches round by round to get the right shape and size. Make sure the eyes are placed right to show Mister Maker’s friendly look. Use single crochet to make the nose and mouth.
Body and Limbs Assembly
After the head, work on the body and limbs. You’ll need to increase and decrease stitches to shape the torso, arms, and legs. Working in the round makes the body strong and smooth. Pay attention to keeping the proportions and symmetry right for Mister Maker’s look.
Adding Character Details
The last step is adding special details that make Mister Maker come alive. Get creative with stitches that look like his clothes or accents that show off his features. These details turn your amigurumi into a cherished friend.
Crafting Mister Maker’s Iconic Accessories
Being an arts and crafts lover, you can’t miss adding Mister Maker’s iconic accessories to your amigurumi. These tiny versions of his tools and items make your toy feel real. You’ll love adding his glue gun and colorful craft supplies to your creation.
Whether you’re experienced or new to amigurumi, this guide will help you make Mister Maker’s accessories. You’ll learn to make these elements fit perfectly with your Mister Maker doll.
Essential Accessories to Craft
- Miniature glue gun
- Colorful craft scissors
- Tiny paintbrushes
- Miniature paint pots
- Scaled-down craft supplies (pom-poms, ribbons, etc.)
Adding these iconic accessories will make your toy special and interactive. It will capture Mister Maker’s spirit. Let your creativity flow as you make his world come alive in your toy making projects.
| Upcoming Crafting Events | Exclusive Offers |
|---|---|
|
|
Let your imagination shine as you create Mister Maker’s world in your toy making projects. Embrace the arts and crafts spirit.
Color Selection and Yarn Recommendations
Choosing the right yarn and colors is key for a true Mister Maker amigurumi. This pattern suggests specific yarns for amigurumi, ensuring they are durable and easy to work with. It also provides a color guide to match Mister Maker’s bright colors, like in the Rainbow the Jellyfish pattern.
Recommended Yarn Types
The pattern recommends Yarn Art Jeans 50g/160m yarn for Mister Maker. It’s a medium-weight, durable yarn great for detailed amigurumi figures. You’ll need sand, green, orange, and brown colors for this project.
Color Matching Guide
To get Mister Maker’s look right, follow this color scheme:
- Head and body: Sand
- Shirt: Green
- Pants: Orange
- Shoes: Brown
Using these colors will make your Mister Maker amigurumi bright and recognizable. It will truly capture the spirit of the TV character.
Tips for Perfect Finishing Touches
Making the perfect Mister Maker Amigurumi needs focus on details. Whether you’re experienced or new, learning a few key techniques can make your toy look like a pro’s work.
Securing parts together is key. The Magic Ring is a top choice for amigurumi. It starts projects off right, making a tight, secure center. 79% of crocheters start their round projects with the Magic Ring.
Getting the facial features right is also important. Stitching the eyes, nose, and mouth carefully can really bring Mister Maker to life. Stuffing the body evenly will also help it look three-dimensional and polished.
| Technique | Benefit |
|---|---|
| Magic Ring | Eliminates gaps in the center, offering a more polished and clean finish |
| Precise Facial Features | Brings the character to life and captures the desired expression |
| Even Stuffing | Contributes to a professional, three-dimensional look |
Mastering these finishing techniques will help you make a Mister Maker Amigurumi that everyone will love. Whether for the holidays or to share with others, these tips will make your work look top-notch.

Creative Display and Gift-Giving Ideas
Your handcrafted Mister Maker Amigurumi can be showcased in delightful ways. It adds a touch of whimsy to your crafty holidays or makes a unique gift for diy crafts lovers. You can include it in festive holiday decorations or turn it into a charming tree ornament. It will surely delight Mister Maker fans of all ages.
Holiday Presentation Suggestions
To make a memorable holiday display, place your Mister Maker Amigurumi with other handmade toys or diy crafts. You can drape it with tiny LED lights or put it in a small wicker basket with seasonal greenery and ribbons.
For a playful touch, place it on top of colorful presents or among other cherished ornaments on your Christmas tree.
Storage and Care Instructions
Proper storage and care will keep your Mister Maker Amigurumi in great shape. It will remain a cherished keepsake or gift for years. When not on display, gently brush off any dust or debris. Store it in a cool, dry place, like a breathable fabric bag or box.
With a little TLC, your handmade creation will continue to delight and inspire for crafty holidays to come.
Conclusion
Making a mister maker amigurumi is a fun project that mixes crochet with the joy of creating a beloved character. This crochet patterns guide is inspired by a popular children’s TV show. It’s a great way to celebrate creativity and crafting.
Whether you make it for fun or as a special handmade toys gift, it will surely delight. It shows the spirit of DIY and imaginative play.
With the step-by-step instructions in this article, you can now make your own Mister Maker Amigurumi. You’ll learn the basic amigurumi techniques and how to add the character’s details. Each step lets you show off your creativity and crochet skills.
Starting this mister maker amigurumi project, remember to enjoy the journey. The satisfaction of making something unique and personal is rewarding. Your Mister Maker Amigurumi will be a treasured part of your collection of handmade toys. It shows your love for crochet patterns.

