Free Crochet Pattern Animal Mechanicals Amigurumi
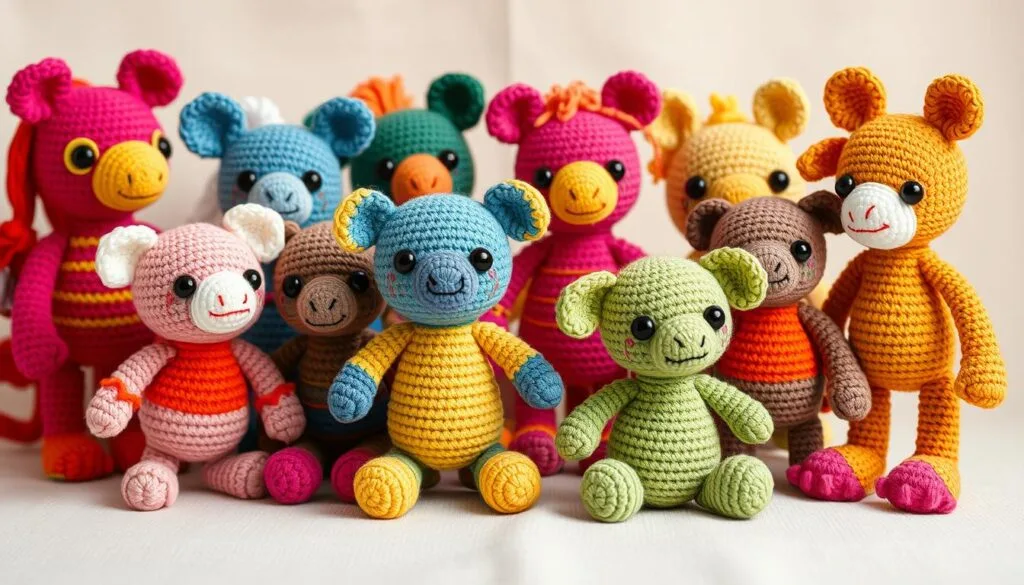
Crocheting is a way for me to relax and express myself. It lets me use my creativity with colors and stitches. The Animal Mechanicals amigurumi caught my eye, and now I’m excited to share it with you.
These creatures from the animated series are loved by many. Now, you can make your own with crochet.
It’s perfect for both new and experienced crocheters. You’ll enjoy making these cute plushies.
Table of Contents
Getting Started with Animal Mechanicals Amigurumi
Explore the magical world of crocheted toys with the Animal Mechanicals Amigurumi project. It’s perfect for both experienced kawaii crochet fans and newbies. This pattern is a fun journey that helps you grow your skills and creativity.
Essential Materials and Tools
To start, you’ll need some basic things. Get crochet hooks in sizes 3.5mm to 5.5mm, based on your yarn. Choose a soft, quality yarn for the details of your crocheted toys. Also, get polyester fiberfill for stuffing, tapestry needles, scissors, and any extra decorations you want.
Skill Level Requirements
The Animal Mechanicals Amigurumi is for all skill levels. It needs some crochet knowledge, but the pattern guides you with clear steps and diagrams. You’ll learn to read crochet graphs, work with colors, and shape the cute amigurumi figures.
Understanding Pattern Terminology
Learn the common terms in crocheted toys patterns before starting. Words like “magic ring,” “increases,” and “decreases” are key. Understanding these will help you make your own special, kawaii crochet creations.
Required Yarn and Hook Specifications
When making your Animal Mechanicals plushies, picking the right yarn and hook is key. This ensures your plushies look and feel just right.
The Animal Mechanicals amigurumi calls for Wool Of The Andes Worsted yarn. You’ll need White, Onyx Heather, Amber Heather, Merlot Heather, and Shire Heather. This yarn is #4 weight, 100% Peruvian Highland Wool, with 110 yards per 50-gram ball.
For a thicker yarn, try Wool Of The Andes Bulky. Use Brass Heather, Camel Heather, and Masala. It’s a #5 weight, 100% Peruvian Highland Wool, with 137 yards per 100-gram ball.
The pattern suggests a US H/8 (5mm) hook for smaller sizes. For larger sizes, use a US K/10.5 (6.5mm) hook. This ensures your yarn crafts and handmade plushies turn out just right.
| Yarn Type | Weight | Yards/Ball | Recommended Colors |
|---|---|---|---|
| Wool Of The Andes Worsted | #4 | 110 yds/50g | White, Onyx Heather, Amber Heather, Merlot Heather, Shire Heather |
| Wool Of The Andes Bulky | #5 | 137 yds/100g | Brass Heather, Camel Heather, Masala |
Choosing the right yarn and hook is essential for your Animal Mechanicals amigurumi. With these guidelines, you can make your own special yarn crafts and handmade plushies.
Basic Techniques for Amigurumi Success
Starting your crochet journey with amigurumi kits? Learning a few key techniques is crucial. You’ll need to know how to use the magic ring, increase and decrease stitches, and handle color changes. These skills will help you make your Animal Mechanicals characters with ease and confidence.
Magic Ring Method
The magic ring is a great way to begin your amigurumi pieces. It creates a tight base, keeping your work in shape. Getting good at the magic ring means you can crochet in a circle smoothly, starting your projects right.
Increasing and Decreasing
Knowing how to increase and decrease stitches is vital for shaping your characters. These skills help you add or remove stitches to get the right shape. Learning when and how to do this will make your amigurumi look just right.
Color Change Techniques
Amigurumi kits are all about bright colors, and mastering color changes is key. Whether you’re switching between bold colors or blending them, the right techniques make your work look professional. Trying out different color change methods will add special touches to your Animal Mechanicals.
By mastering these basic techniques, you’re ready for a fun and rewarding crochet adventure. With skills in the magic ring, increasing and decreasing, and color changes, you’ll create amazing Animal Mechanicals characters. Your creativity and skill will shine through in every piece.
Pattern Reading Guide
Learning to read animal mechanicals amigurumi crochet patterns is crucial for making your own cute animals. Knowing the pattern’s layout, abbreviations, and special steps is important. This will help you craft smoothly and successfully. Let’s explore how to read these detailed crochet stuffed animals patterns.
Start by getting to know the pattern’s abbreviations. You’ll see “st” for stitch, “ch” for chain, “sc” for single crochet, and “inc” for increase. Having a quick reference guide nearby can be very helpful as you follow the pattern.
- Focus on the stitch counts given for each round or row. Making sure your work matches these numbers is key to keeping the right shape and size.
- Watch for special instructions, like working in the back loop only or changing colors. These can add special textures and details to your animal mechanicals amigurumi.
- When working on different parts, like the body, limbs, and face, keep track of your progress. Marking the current row or round helps you stay on track and ensures a smooth assembly.
Remember, mastering crochet stuffed animals patterns takes patience and focus. With practice, you’ll get better at reading these patterns quickly!
Creating Perfect Animal Mechanicals Characters
To bring your amigurumi patterns and crocheted toys to life, you need more than just following a pattern. You must master body assembly, face embroidery, and adding unique details. These steps are key to creating Animal Mechanicals characters that capture everyone’s attention.
Body Assembly Tips
Start by carefully putting together the body parts. Make sure they fit well and are strong. Use the magic ring method for a solid base. Then, focus on increasing and decreasing to shape the body.
Follow the pattern’s instructions closely. This will help you make the right increases and decreases. It’s what gives your Animal Mechanicals character its unique look.
Face Embroidery Techniques
The face of your amigurumi is where you can really show off the character’s personality. Try different embroidery stitches to make their eyes, mouths, and other features pop. Start with simple stitches for the eyes, then get creative with French knots or satin stitches for more detail.
Adding Character Details
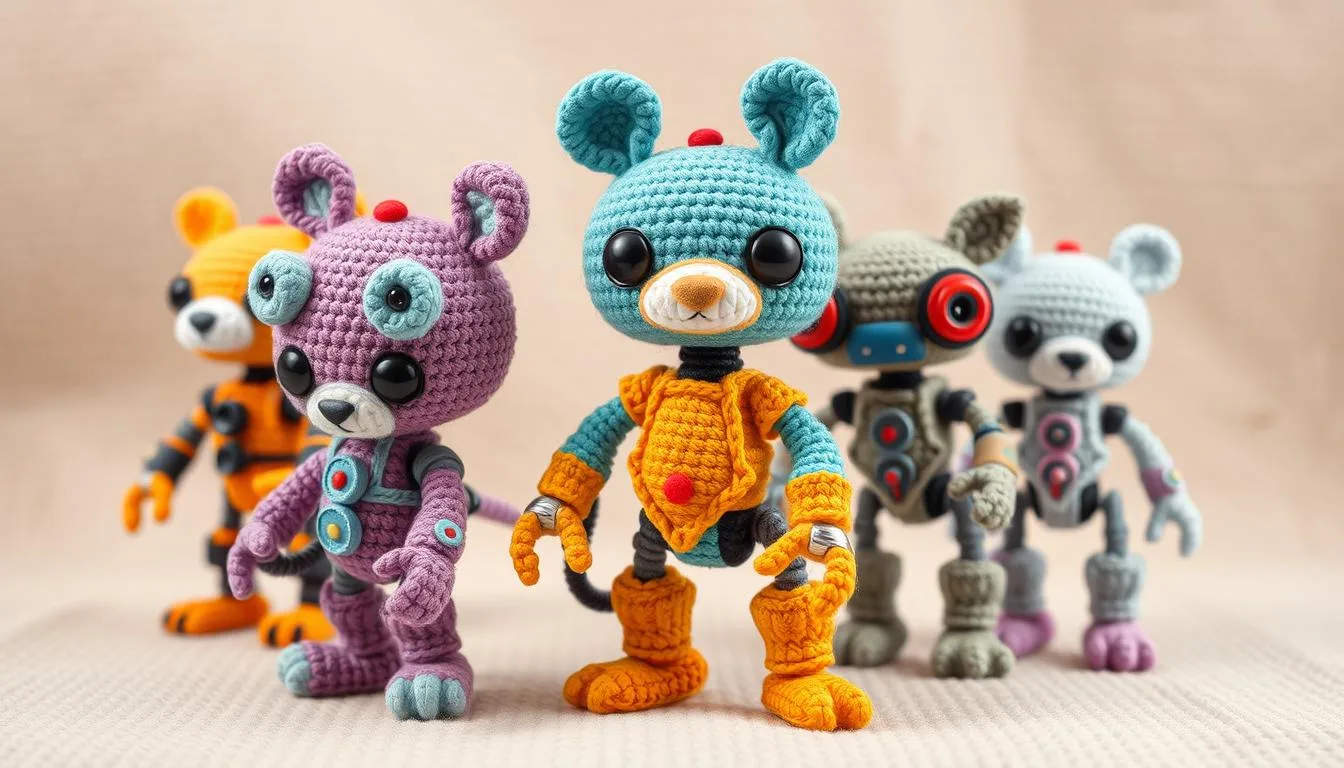
To make your Animal Mechanicals character truly stand out, add unique details. You could crochet horns, wings, or mechanical parts. Plan carefully where and how to add these features. Make sure they fit well with the rest of the amigurumi.
| Resource | Availability | Average Duration | Average Cost |
|---|---|---|---|
| Online Courses (Craftsy) | 24 courses | Approximately 4 hours | $39.00 |
| YouTube Videos (Crochet Basics) | 1 free video | N/A | Free |
| Online Courses (Domestika) | Paid courses | Around 3 hours | Varies |
| Online Courses (Skillshare) | Paid courses, free trials available | Varies | Varies |
By learning these techniques, you’ll be able to create amazing amigurumi patterns and crocheted toys. They will truly capture the essence of the Animal Mechanicals characters.

Working with Multiple Colors
Take your kawaii crochet to the next level with the Animal Mechanicals Amigurumi pattern. Working with multiple colors makes these cute amigurumi come alive. Learning to play with colors will boost your crochet skills and make your projects stand out.
First, let’s learn how to carry yarn and switch colors smoothly. It’s all about keeping the tension even for a clean finish. By managing color transitions well, you can get a beautiful color mix.
- Carrying Yarn: You’ll need to learn how to carry the yarn you’re not using. Keep it tight and organized on the wrong side of your work. This prevents loose strands from messing up your stitches.
- Changing Colors: Switching colors smoothly is key. Start the new color by working it with the last stitch of the old color. This makes the join look seamless.
- Managing Color Dominance: Watch how colors work together. Try different combinations and placements to get the look you want. Make sure one color doesn’t take over.
With practice, you’ll get the hang of using multiple colors in your kawaii crochet projects. The Animal Mechanicals Amigurumi pattern is perfect for showing off your creativity. Let your imagination run wild with the colorful cute amigurumi you create.
Safety Eye and Nose Installation
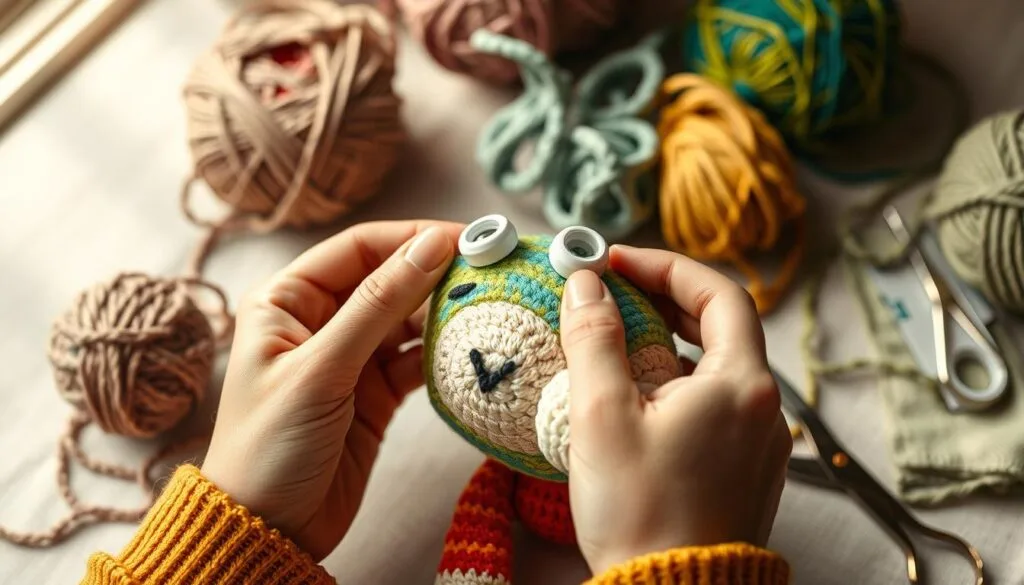
When making your yarn crafts and handmade plushies, installing safety eyes and noses is key. It brings your Animal Mechanicals Amigurumi to life. Follow these steps for proper placement and secure attachment.
Proper Placement Guidelines
The size and position of safety eyes and nose affect your character’s look and personality. Here are some tips:
- For Crookshanks, use 11mm safety eyes, while Scabbers requires 5mm glass eyes.
- Position the eyes about 1/3 of the way down the head, leaving enough space between them for a distinctive expression.
- The nose should be centered below the eyes, creating a balanced and harmonious facial structure.
Securing Methods
Attaching safety eyes and nose securely is crucial for your handmade plushies‘ durability and safety. Here are some techniques:
- Use a needle and thread to carefully stitch the safety eyes in place, ensuring a tight and secure fit.
- For the nose, you can either embroider it directly onto the face or use a safety nose that snaps or screws into position.
- If the toy is intended for children under 3 years, it’s best to embroider the eyes and nose instead of using safety parts, prioritizing safety over aesthetics.
By following these guidelines and techniques, you can create yarn crafts and handmade plushies with captivating and safe facial features. They will delight both you and your loved ones.

Stuffing and Shaping Techniques
Making the perfect crochet projects and amigurumi kits needs careful attention to stuffing and shaping. The right steps help your Animal Mechanicals characters look just right. Let’s look at the key steps for amazing results.
Start by gently stuffing the body of your character. Use a blunt tool, like a pencil or crochet hook, to fill every corner. This makes the shape smooth and even.
- Stuff arms and legs firmly but not too much. Too much stuffing can make them look wrong.
- Focus on special parts like tails or antennae. Shape them carefully to show off their unique look.
- Use stitch markers to keep the shape right as you work. Make changes as needed for the perfect look.
Good stuffing and shaping is key to making your crochet projects and amigurumi kits come alive. With practice and focus on details, you’ll make characters that stand out and look great.
Finishing Touches and Assembly
Now that you’ve made the main parts of your animal mechanicals amigurumi, it’s time for the finishing touches. These steps will make your crochet stuffed animals come alive. From smooth seams to cute details, every step matters.
Seaming Methods
For a clean finish, use invisible seaming to join the parts. The magic loop method is great for this. It lets you crochet pieces together without visible stitches.
Make sure to align the edges well. Work through the back loops for a smooth look.
Final Embellishments
Give your animal mechanicals amigurumi a personal touch with unique embellishments. Crochet small items like hats or mechanical parts to add character. Try different stitches and colors to make each piece special.
| Embellishment Idea | Suggested Techniques |
|---|---|
| Mechanical Gears | Crochet small circles or spirals using contrasting yarn colors, then attach to the body. |
| Cogs and Sprockets | Embroider intricate designs using metallic threads or yarn to create a mechanical effect. |
| Robotic Antennae | Crochet elongated chain stitches or tubes, then secure them to the head for a futuristic touch. |
By focusing on seaming and embellishments, you’ll make your animal mechanicals amigurumi truly unique. Let your creativity shine and have fun adding the final touches. This will bring these adorable characters to life.
Care Instructions for Your Amigurumi
Keeping your amigurumi patterns and crocheted toys in top shape is key. It helps them stay charming and last longer. Follow these easy steps to keep your Animal Mechanicals creations looking great for years.
Cleaning
Spot clean your amigurumi with mild soap and lukewarm water when needed. Don’t soak the whole thing in water, as it can ruin the stuffing. Use a soft cloth to blot any wet spots and let it dry completely before playing with it again.
Storage
- Keep your amigurumi in a cool, dry spot, away from sunlight or heat.
- Put them in a breathable bag or box to keep dust off.
- For long storage, wrap them in acid-free tissue paper to stop colors from fading.
Repairs
If your amigurumi gets a little damaged, like a loose eye or a small tear, don’t worry. You can fix it with some basic crochet skills. Check the pattern or look up tutorials online for help.
Refreshing
As time goes by, your amigurumi might start to look a bit worn. To make them look new again, fluff the stuffing, use fabric markers for color touch-ups, or fix any loose parts. A little care can make your amigurumi happy and fun for many more years.
By following these care tips, your Animal Mechanicals amigurumi will stay in perfect condition. They’ll be ready for you and your loved ones to enjoy for years to come.
Conclusion
Creating your own kawaii crochet cute amigurumi Animal Mechanicals characters is fun and rewarding. You’ve learned how to make these beloved figures come to life. This guide showed you the way.
Making these whimsical creations is special, whether for yourself or as gifts. You can also make each piece your own, adding to their charm.
We hope you share your Animal Mechanicals amigurumi with others online. Joining crochet communities can inspire and guide you. It’s a great way to share your love for kawaii crochet and cute amigurumi.

