Chubby Tiger Free Crochet Pattern for a Roaring Addition
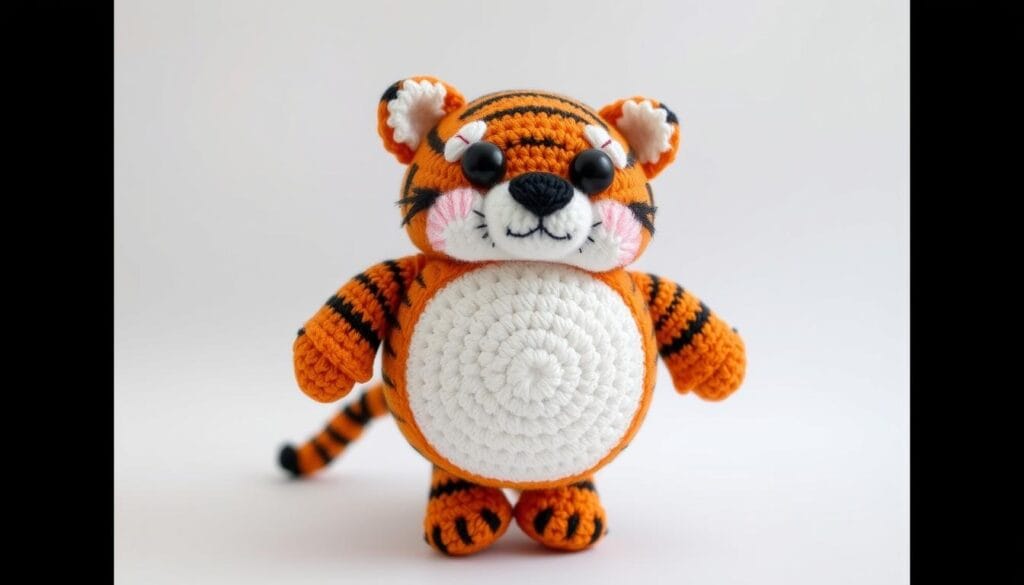
I love crocheting and always get excited about tigers. Their beautiful patterns, soft fur, and cute faces are amazing. Now, I can make one of these amazing animals with the Chubby Tiger Free Crochet Pattern. It’s a fun amigurumi project that will make your crochet collection roar.
Table of Contents
Introduction to Your Next Adorable Amigurumi Project
Are you ready to start a fun crochet journey and make a cuddly tiger? The chubby tiger pattern you’ve picked is perfect for a heartwarming amigurumi project. It’s great for both beginners and experienced crocheters, offering a fun and rewarding experience.
Why Choose This Tiger Pattern
This free chubby tiger pattern is known for its clear instructions and simple design. It’s great for anyone, whether you’re new to stuffed animal patterns or have been crocheting for years. The pattern is well-made to help you succeed, making it a great choice for a fun project.
Skill Level Requirements
The chubby tiger pattern is great for beginners and intermediate crocheters. It uses simple techniques and step-by-step instructions, making it easy for newbies. Experienced crafters will also enjoy its simplicity and quick completion time.
If you want to explore free amigurumi patterns or add to your collection of stuffed animal patterns, the chubby tiger is a great pick. Let’s start making this adorable tiger come to life!
“The chubby tiger pattern is a delightful and rewarding project that’s sure to bring a smile to the faces of all who see it.”
Essential Materials and Supplies Needed
Starting your crochet supplies journey for a cute amigurumi tiger requires the right materials. You’ll need:
- Yarn: Pick a top-notch DK weight or worsted weight yarn in your favorite colors. The pattern suggests using YarnArt JEANS yarn in light peach, pink, turquoise, white, and red.
- Crochet Hook: Choose a hook that’s a bit smaller than what’s recommended for your yarn. A 1.75 mm hook is usually a good choice.
- Stuffing: Get enough polyester fiberfill or similar stuffing to fill your tiger.
- Safety Eyes (optional, not recommended for babies): For eyes, consider 12mm safety eyes.
- Basic Crochet Tools: Make sure you have stitch markers, a tapestry needle, and scissors for your crochet supplies.
The pattern will tell you exactly how much yarn and what type you need. With these materials, you’re ready to make a cuddly, roaring tiger for your collection!
Chubby Tiger Free Crochet: Complete Pattern Overview
Get ready to create a cute Chubby Tiger with this crochet pattern guide. It’s perfect for both experienced crafters and beginners. This pattern lets you make a cuddly amigurumi tiger. Let’s explore how to make your own Chubby Tiger.
Basic Stitch Techniques
The Chubby Tiger pattern uses basic crochet stitches. You’ll need single crochet (SC), slip stitch (sl st), and decrease (SC2tog) to shape the tiger. It also suggests using invisible decrease for a clean finish. With these stitches, you’ll master making your Chubby Tiger.
Pattern Construction Steps
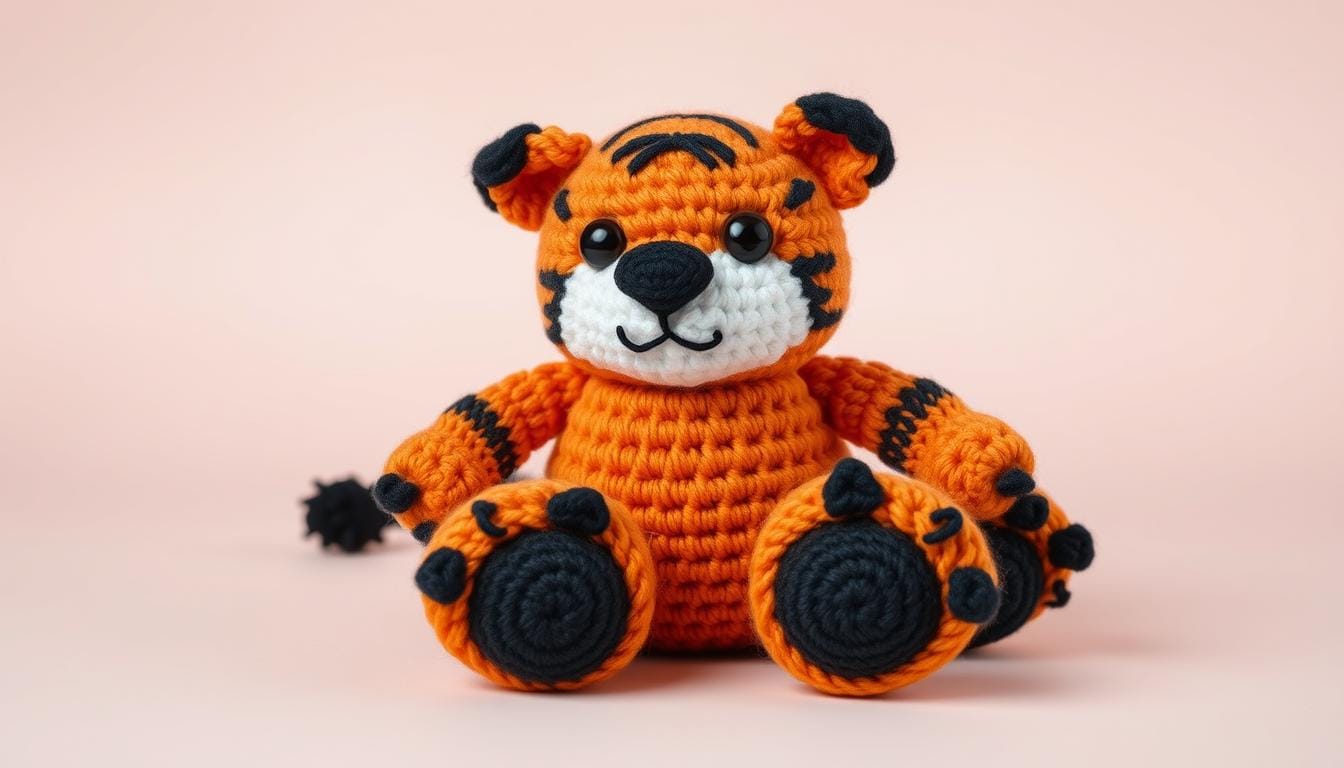
The pattern shows you how to make each part of the Chubby Tiger. You’ll crochet the head, body, paws, ears, and tail. Then, you’ll put them all together. These clear steps help beginners make a pro-looking tiger.
Special Notes for Better Results
The pattern gives tips to improve your Chubby Tiger. It helps with yarn color choice and tension. Following these tips will make your tiger stand out in your crochet collection.
“The step-by-step instructions and attention to detail make it an accessible project for crafters of all levels.”
Mastering the Tiger’s Body Structure
When crocheting an amigurumi tiger, it’s key to get the body right. The amigurumi body structure and crochet shaping techniques are vital. They help you get the tiger’s chubby and rounded look just right.
Begin with the tiger’s head, making sure it smoothly connects to the body. Use increases and decreases to shape the cheeks and muzzle. This gives the tiger its chubby look. Make sure your stitches are even and well-defined.

For the body, use increases and decreases to shape it right. This makes the tiger look natural. Stuffing is also important here. It gives your tiger the right volume and shape.
- Work in continuous rounds, adjusting your stitch count as needed to maintain the desired body curvature.
- Experiment with different crochet hook sizes to achieve the optimal tension and density for your desired results.
- Regularly check the progress and shape of your work, making any necessary adjustments to ensure a symmetrical and well-proportioned tiger.
Mastering the amigurumi body structure and crochet shaping techniques lets you create a real-life tiger. Every stitch brings its unique and lovable character to life.
Creating the Perfect Tiger Face Details
Making the tiger’s face is key to bringing your amigurumi to life. The eyes, nose, and mouth all matter. They help show the tiger’s unique look and charm.
Eyes and Nose Placement
Think about the eyes’ size and how far apart they should be for a natural look. You can use safety eyes or embroidery.
The nose should match the eyes for a balanced look. Try different sizes and places to find the right fit. Your goal is to make a face that grabs attention and makes people want to connect with your tiger.
Facial Expression Tips
- Change the eyes’ angle and size to show different feelings, like playfulness or curiosity.
- Use the nose’s shape and where it is to make the face look friendly.
- Shape the mouth with stitches to hint at a smile or a serious look.
- Make sure the face’s features are in proportion for a nice look.
Focus on the tiger’s face details to make your amigurumi charming and full of personality. Enjoy the creative process and keep trying until you get the amigurumi facial features and crochet animal face just right.
Assembling Your Tiger’s Limbs and Tail
Bringing your adorable crochet tiger to life is an exciting step in the amigurumi assembly process. To ensure a seamless and professional-looking result, pay close attention to attaching the limbs and tail securely to the main body. With a few simple techniques, you can achieve a polished, cuddly tiger that’s ready to roar.
Limb Attachment
Begin by positioning the front and back legs in the desired spots on the tiger’s body. Slip stitch the limbs in place, ensuring a tight and sturdy connection. To enhance the three-dimensional effect, lightly stuff the legs before securing them. This will give your tiger a fuller, more life-like appearance.
Tail Placement
For the tail, start by stitching the base firmly to the body’s back. As you work your way up the tail, gradually decrease the stuffing to maintain a tapered shape. Remember to keep the stitches tight to prevent any gaps or sagging.
Finishing Touches
Once the limbs and tail are in place, take a step back and assess the overall crochet toy construction. Adjust the positioning and stuffing as needed to ensure a balanced, harmonious look. With a little patience and attention to detail, your tiger will be ready to pounce and play!
“Take your time, and your crochet creation will roar with perfection.”
Color Choices and Yarn Recommendations
Choosing the right crochet yarn choices and amigurumi color schemes is key for your chubby tiger amigurumi. The look of your furry friend depends on these choices. Let’s look at some important yarn picks and color guides.
Suggested Yarn Types
The pattern needs 2 skeins of Alize Heppe Baby yarn, one white and one orange. This yarn is great for amigurumi because it’s soft, durable, and easy to work with. If you want a cheaper option, try Bernat Forever Fleece Yarn in Latte for $8.39 (usually $11.99).
Color Combination Guide
To get a realistic tiger look, use white and orange yarns as the pattern suggests. But, you can also try other colors. Here are some ideas:
- Warm tones like mustard yellow and deep orange
- Cool shades of gray and black
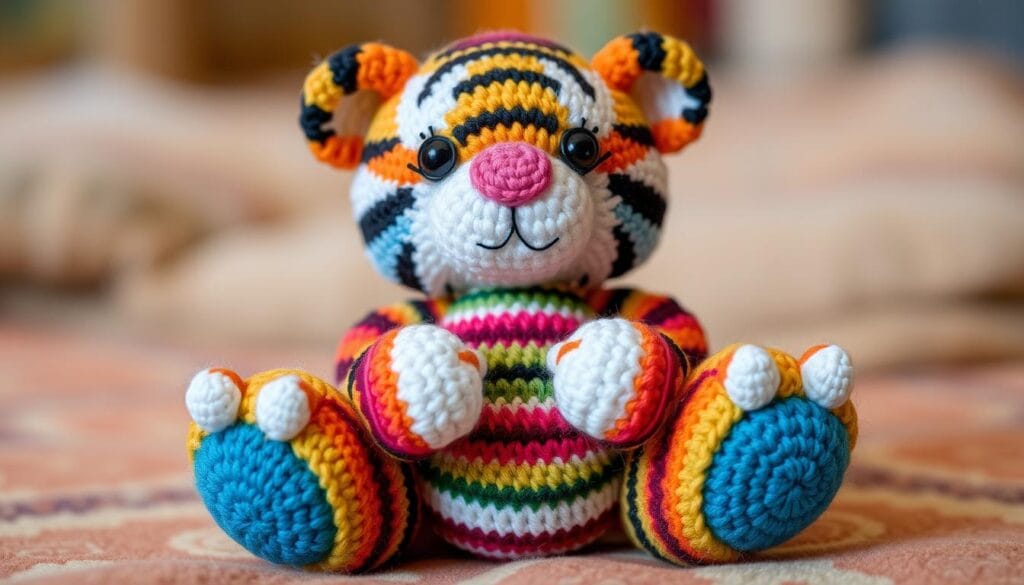
- Vibrant hues like neon pink and electric blue for a more playful, stylized design
Success comes from picking crochet yarn choices and amigurumi color schemes that you love. They should also match your project’s design. Have fun and let your creativity show!
Adding Personal Touches and Modifications
Creating your own amigurumi is a joy for crocheters. The Chubby Tiger Free Crochet Pattern lets you add your special touches. This makes the tiger truly yours.
One simple way to make your Chubby Tiger unique is by trying different colors. The pattern suggests using worsted-weight yarn. This yarn comes in many colors, from bold to soft.
- Try pairing the tiger’s body with contrasting yarn for the stripes, ears, and paws to create a striking visual effect.
- Experiment with ombre or gradient techniques to achieve a seamless blend of colors across the tiger’s features.
- Incorporate metallic or variegated yarns to add a touch of whimsy and sparkle to your creation.
You can also change the size of your Chubby Tiger. The pattern gives you a standard size, but you can make it bigger or smaller. This lets you create tigers for display or as gifts.
| Modification | Recommended Adjustments |
|---|---|
| Scaling Up | Increase the number of stitches and rounds proportionally to achieve a larger size. Use a larger crochet hook and additional yarn. |
| Scaling Down | Decrease the number of stitches and rounds to create a smaller tiger. Use a smaller crochet hook and less yarn. |
With a bit of creativity, you can turn the Chubby Tiger into a unique piece. It will show off your style and preferences. Enjoy the freedom to customize this crochet project.

Troubleshooting Common Issues
Starting your chubby tiger amigurumi project might face some common challenges. Don’t worry, we’ve got the solutions to help you succeed. These tips will guide you through any obstacles you might find.
Tension Problems
Keeping your stitches even is key in amigurumi crochet. If your work looks uneven or puckers, it’s likely due to tension. Try changing how you hold the yarn for a better grip. Also, try different hook sizes to find the right fit for your yarn and your crochet style.
Assembly Challenges
Putting together your chubby tiger’s parts can be tricky. Attaching the limbs, face, and tail needs some care. Take your time and use slip stitches or invisible seams for smooth joins.
Size Adjustments
If your amigurumi isn’t the size you wanted, don’t fret. You can change its size by using a different hook or yarn. Try different combinations to get the size you desire for your tiger.
Remember, crochet troubleshooting and amigurumi tips are key to success. With practice and patience, you’ll master any challenge and make a stunning chubby tiger amigurumi.
| Common Issue | Possible Causes | Troubleshooting Tips |
|---|---|---|
| Uneven Stitches | Inconsistent tension, hook size mismatch | Experiment with different grip techniques, try different hook sizes |
| Puckering or Distortion | Overly tight or loose tension, incorrect stitch placement | Adjust tension, ensure even stitch distribution |
| Difficulty Assembling Limbs | Misaligned pieces, inadequate joining methods | Use slip stitches or invisible seams for clean connections |
| Size Variations | Yarn weight, hook size, and gauge differences | Experiment with alternative yarn and hook combinations |
Creative Ways to Display Your Finished Tiger
Congratulations on finishing your chubby tiger crochet project! Now, you have this adorable amigurumi to show off. You can use it as a keychain or backpack charm. Or, you can add it to a jungle-themed display.
Want a practical way to show off your tiger? Attach it to your backpack or bag. Its sturdy build and playful look will make it stand out. Or, turn it into a keychain for a whimsical touch wherever you go.
For a decorative touch, add your tiger to a nature-inspired display. Place it with other crochet animals like elephants, monkeys, or giraffes for a fun jungle scene. It can also be a centerpiece for your coffee table or bookshelf. Its bright colors and soft texture will warm up your space.

