Beginner Amigurumi Spider Man Crochet Pattern
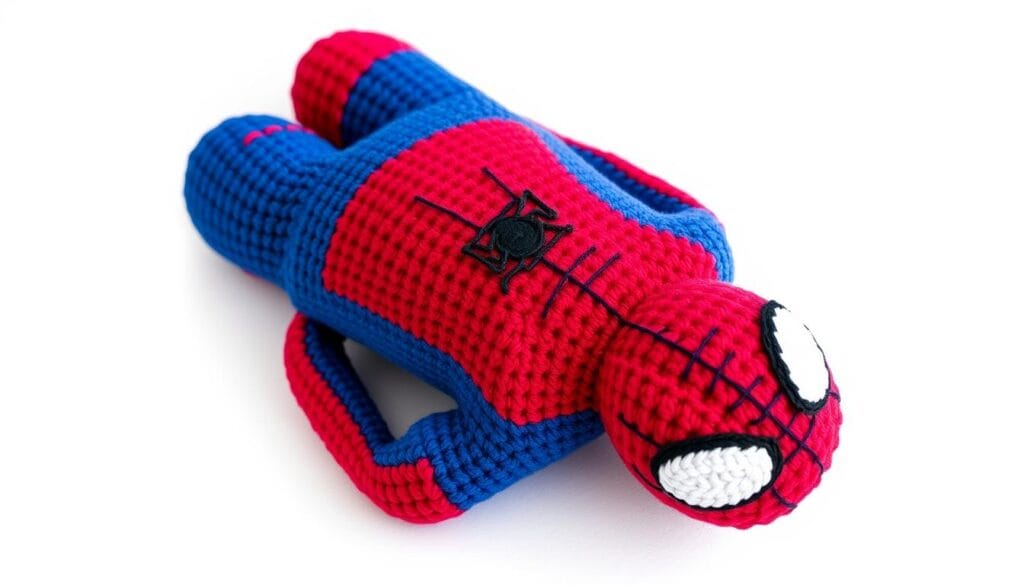
I remember the excitement when I first found amigurumi. It’s the art of crocheting small, cute toys. The idea of making a Marvel superhero come to life with a crochet hook was thrilling. Now, I’m excited to guide you in making your own amigurumi Spider-Man.
This project combines the fun of crafting with the joy of your favorite hero. It’s a special way to bring Spider-Man to life.
Table of Contents
Essential Materials and Tools for Your Spider-Man Amigurumi
Making a Spider-Man amigurumi needs the right yarn, tools, and materials. Whether you’re new or skilled, knowing what you need is key to success.
Yarn Selection and Colors
Start with 100% cotton yarn in red and blue for Spider-Man’s costume. You’ll also need white and black felt for the mask. Plus, a skin-toned yarn for the face.
For a bigger Spider-Man, use 50g each of red and blue yarn, 20g of black, and 10g each of white and skin-colored yarn. This gives you enough for the details and size.
Required Tools and Notions
You’ll also need a crochet hook, tapestry needle, black embroidery thread, and an embroidery needle. A 3.25mm or 4mm hook is best for this project.
Remember, you’ll need stuffing for Spider-Man’s shape and volume. With these tools and materials, you’re ready to make the hero come to life.
Additional Decorative Materials
To finish your Spider-Man, use 9mm black safety eyes. They make the character’s face look just right.
With the right yarn sculpture, crochet supplies, and amigurumi materials, you’re set for your Spider-Man project. Creativity and the right tools will help you make a Spider-Man amigurumi that looks just like the superhero.
| Material | Quantity |
|---|---|
| Red Cotton Yarn | 50g |
| Blue Cotton Yarn | 50g |
| Black Yarn | 20g |
| White Yarn | 10g |
| Skin-colored Yarn | 10g |
| Crochet Hook (3.25mm or 4mm) | 1 |
| Tapestry Needle | 1 |
| Black Embroidery Thread | 1 |
| Embroidery Needle | 1 |
| Stuffing | As needed |
| 9mm Black Safety Eyes | 2 |
Understanding Basic Crochet Techniques
Learning the crochet basics is key to making the Amigurumi Spider-Man. The pattern uses basic techniques like the magic ring (MR), single crochet (sc), and more. Knowing how to work in rounds and change colors is important.
Let’s explore the main techniques you’ll need:
- Magic Ring (MR): This method starts crocheting in the round, making a neat center for your amigurumi.
- Single Crochet (sc): This stitch is used a lot in the pattern. It helps build the Spider-Man’s body and details.
- Increase (inc): This increases stitches in a round, shaping the project.
- Decrease (dec): Decreasing stitches refines the shape and size of your amigurumi.
- Slip Stitch (sl st): This stitch joins rounds, changes colors, and smooths transitions.
- Chain (ch): Crocheting chains is crucial for web patterns and decorations in your Spider-Man amigurumi.
Mastering these crochet basics will help you create the Amigurumi Spider-Man with ease. Practice these techniques and get familiar with the pattern’s abbreviations before starting. With dedication, you’ll soon be making amazing amigurumi figures!
Amigurumi Spider Man: Step-by-Step Head Construction
Making the Spider-Man amigurumi head is key to bringing this superhero to life. It starts with a magic ring for the round head shape. As you add more stitches, the head will grow.
Creating the Mask Details
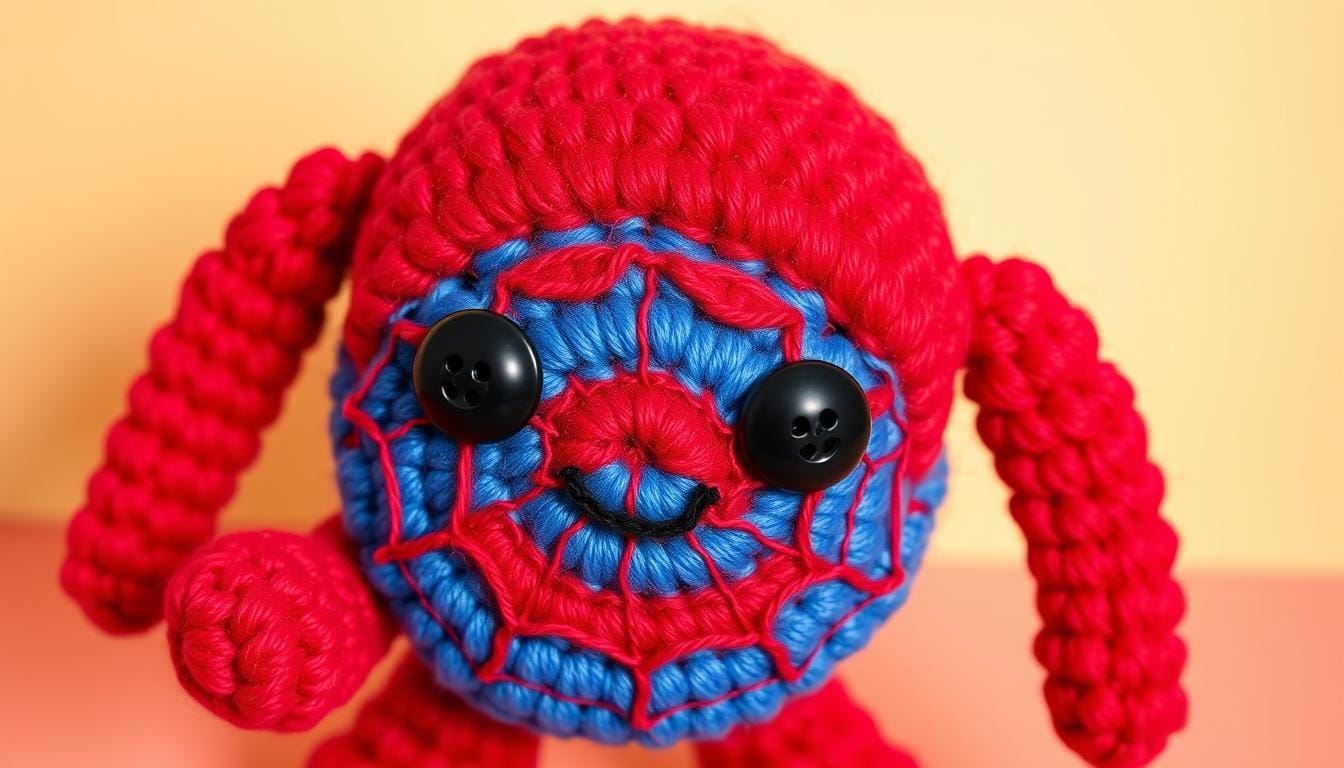
For the Spider-Man mask, use black yarn. Crochet the eye area and web patterns on the face. This will make the mask look just like Spider-Man’s.
Adding Facial Features
After the mask, add the face details. Use skin-toned yarn for the eyes and mouth. This sets up the face for the final touches.
Securing the Eyes and Expression
The eyes are vital for Spider-Man’s look and mood. Use white felt for the eyes, placing them in the face. This ensures your Spider-Man looks heroic.
With the head done, you’re ready for the rest of your Spider-Man project. These steps will help you make a standout superhero character.
Crafting the Body and Torso
Starting your Spiderman amigurumi is exciting. The body and torso are key to making the superhero come alive. Your crochet skills will bring him to life.
The body starts with the legs. You make two legs and join them. The pattern uses red and blue yarn, with color changes for each row. After the legs, stuff the body and then decrease for the neck.
Here’s how to make the amigurumi body pattern and crochet torso:
- Crochet the two legs with red and blue yarn, following the pattern’s stitch counts and shapes.
- Join the legs at the top to make the body, working in the round for the torso.
- Stuff the body with toy filling to give it shape.
- Decrease stitches around the neck for a smooth transition to the head.
By carefully following the pattern, you’ll make a Spiderman amigurumi that looks just like the real thing.

“Crafting it with care and precision sets the stage for the rest of the project.”
Making Spider-Man’s Arms and Legs
Crafting Spider-Man’s crochet limbs is key to making your amigurumi figure come alive. The red and blue arms and the webbed legs are essential. They help capture Spider-Man’s spirit.
Leg Construction Guide
To make Spider-Man’s legs, start with blue yarn. Work in rounds to shape them. Begin with 6 single crochets in a magic ring, then increase to 12.
Continue with the pattern, decreasing stitches as you go. Stop when the legs are the right length. Keep your tension even for the best look.
Arm Assembly Instructions
For the arms, use red and blue yarn alternately. Start with 8 single crochets in a magic ring. As you round, the stitches will decrease, shaping the arms.
Focus on the color changes and stitch counts in the pattern. This ensures a smooth and true-to-form finish.
The details in making these limbs are what make your Spider-Man amigurumi stand out. By following the pattern and mastering the techniques, you’ll create a figure that truly captures Spider-Man’s essence.
Web Pattern Details and Embellishments
Turn your Spiderman amigurumi into a superhero masterpiece with web details and embellishments. The secret to the Spiderman look is in the web design on his suit. It’s all about the intricate web pattern.
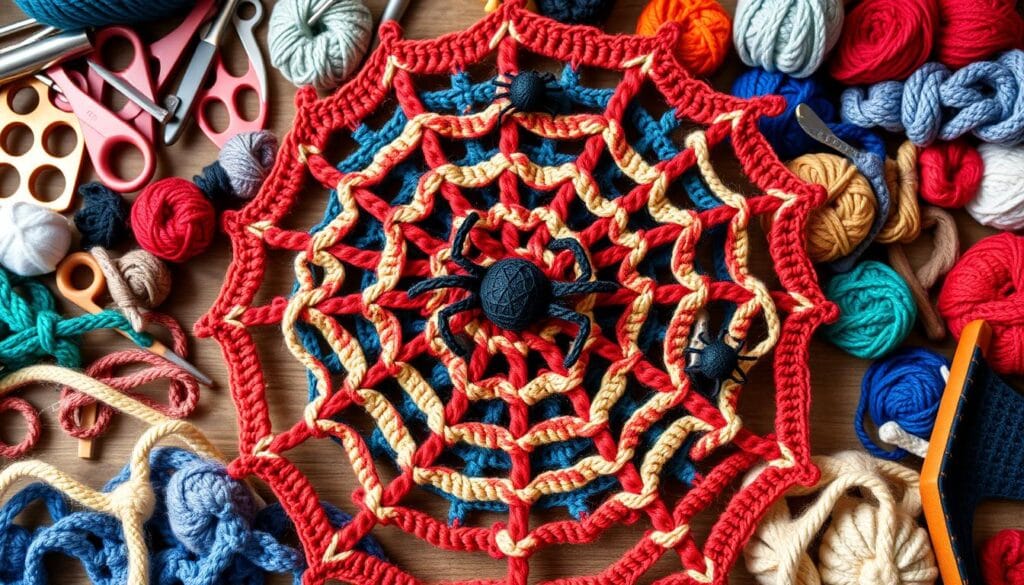
To make the web, crochet small white yarn rings. Then, sew them onto the body and arms. The pattern calls for six rings to form a striking web.
- Crochet the white yarn rings using a slip stitch technique, ensuring they maintain their circular shape.
- Position the rings on the crocheted body and limbs, arranging them in a web-like pattern that captures the essence of Spiderman’s costume.
- Securely sew the rings in place, using a needle and thread or a hot glue gun for a more permanent attachment.
To make your amigurumi look even better, use black embroidery floss for web details. Stitch web-like lines and patterns on the body and arms. This adds depth and dimension to your Spiderman.
| Material | Quantity | Color |
|---|---|---|
| Yarn | Approximately 70g | Red, Blue, Black, White |
| Crochet Hook | 3.5 mm | – |
| Embroidery Floss | Small amount | Black |
| Polyfill Stuffing | As needed | – |
| Scissors, Yarn Needle, Hot Glue Gun | 1 each | – |
With these spider web crochet details and amigurumi details, your Spiderman amigurumi will be a true masterpiece. It will capture the essence of the superhero with precision and creativity.

Assembly Techniques and Joining Parts
Starting your amigurumi Spider-Man crochet project means the final step is assembling and joining parts. This step is key to making your toy stable and complete. We’ll look at how to stuff and attach parts correctly to bring your Spider-Man to life.
Proper Stuffing Methods
Stuffing the parts right is crucial for your Spider-Man’s shape and structure. Start by stuffing the head lightly, making it firm but soft. As you move down the body, add more stuffing but keep it even to avoid bulges.
Be careful not to stuff the limbs too much. This can make them stiff and hard to move. Aim for a stuffing that lets the arms and legs pose naturally.
Securing Components Together
Now that the parts are stuffed, it’s time to connect them. Attach the arms to the body just below the head with a strong slip stitch or whipstitch. For the legs, place them at the body’s bottom and secure them the same way.
Make sure to tidy up any loose ends to finish your project neatly. The pattern will guide you on where and how to attach parts for the best look.
Learning to stuff and attach parts correctly will make your Spider-Man amigurumi look great and last long. Enjoy the process and feel proud of your finished, well-made Spider-Man.
Adding the Iconic Spider Symbol
The spider symbol is key to the Spider-Man design. You can add it to your amigurumi using black felt or embroidery floss. It’s important to place and attach it correctly for a true Spider-Man look.
To add the spider symbol to your Spider-Man amigurumi, follow these steps:
- Cut out the spider symbol shape from a piece of black felt, ensuring it is the desired size and proportion for your project.
- Position the felt spider symbol on the center of the amigurumi’s chest, aligning it carefully to achieve the perfect placement.
- Secure the felt spider symbol in place using a needle and thread, making sure the stitches are discreet and the attachment is sturdy.
- Alternatively, you can embroider the spider symbol directly onto the amigurumi’s chest using black embroidery floss. Start with a central point and work outward, creating clean, defined lines.
- Adjust the size and positioning of the spider symbol as needed to maintain the overall balance and proportions of your Spider-Man amigurumi.
Adding this iconic spider-man logo will make your Spider-Man amigurumi come alive. It captures the spirit of the superhero. With attention to detail and creativity, your crochet Spider-Man will win the hearts of amigurumi fans.
Size Modifications for Different Projects
When crocheting your own Spider-Man amigurumi, you can adjust the size to fit your needs. The original pattern makes a Spider-Man head about 10 cm long. To make a bigger version, just change the yarn weight and hook size.
For a bigger Spider-Man, use Aran-weight yarn and a 4mm hook. This will make a Spider-Man about 20 cm tall. You can adjust the amigurumi sizing for different uses, like a keychain or toy.
For a smaller Spider-Man, try lighter yarns and smaller hooks. Using DK-weight yarn and a 2.5mm hook makes a cute Chibi-style Spider-Man. It’s great for many projects.
The size of your Spider-Man amigurumi depends on what you like and your project’s needs. Knowing how yarn weight, hook size, and size are connected lets you create your own Spider-Man.
“With a little experimentation, you can create a Spider-Man that’s just right for you.”
Troubleshooting Common Issues
Starting your Spiderman amigurumi crochet project can bring up some common problems. But don’t worry, with the right tips, you can fix these issues and make a beautiful Spiderman. It’s like solving a puzzle, and with patience, you’ll get it right.
Tension Problems
Keeping your stitches even can be hard, especially when switching colors. Watch your tension closely and adjust as needed. The pattern should give you tips on handling tension when changing colors.
Color Change Tips
Smooth color changes are key for a professional Spiderman amigurumi. Follow the pattern’s row-by-row guide. Carry unused yarn neatly and fasten off ends well to avoid loose threads.
Assembly Challenges
Putting the limbs and head together can be tricky. Use stitch markers to line up parts correctly. Take your time and refer to the pattern or ask for help if needed.
| Amigurumi Spiderman Size | Head Rounds | Body Rounds | Legs | Pattern Price |
|---|---|---|---|---|
| 14cm tall | 32 rounds | 28 rounds | 2 legs | $4.99 USD |
By tackling these common problems, you’ll make a fantastic Spiderman amigurumi.
“Crocheting is a journey, not a destination. Embrace the process and enjoy the learning experiences along the way.”
Conclusion
The Amigurumi Spider-Man crochet pattern lets you make a cute, cuddly version of the Marvel superhero. You’ll follow step-by-step instructions to create a unique gift or collectible.
This project is a fun and rewarding experience. The finished amigurumi is a great addition to any Marvel fan’s collection.
With many Spider-Man crochet patterns on AliExpress, you can make your project special. You can choose different themes and techniques to make it your own.
Finishing this Amigurumi Spider-Man project is a big accomplishment. You’ll feel proud of creating something detailed and high-quality. It’s a joy to share your creation with others and inspire them to try Spider-Man-themed crochet.

