Amigurumi Wall Art: The Casagrandes Family Fun
Crocheting is more than a hobby; it’s a way to bring animated characters to life. When I first saw amigurumi wall art of The Casagrandes, I was amazed. It showed how detailed yarn art can turn beloved characters into beautiful wall decor.
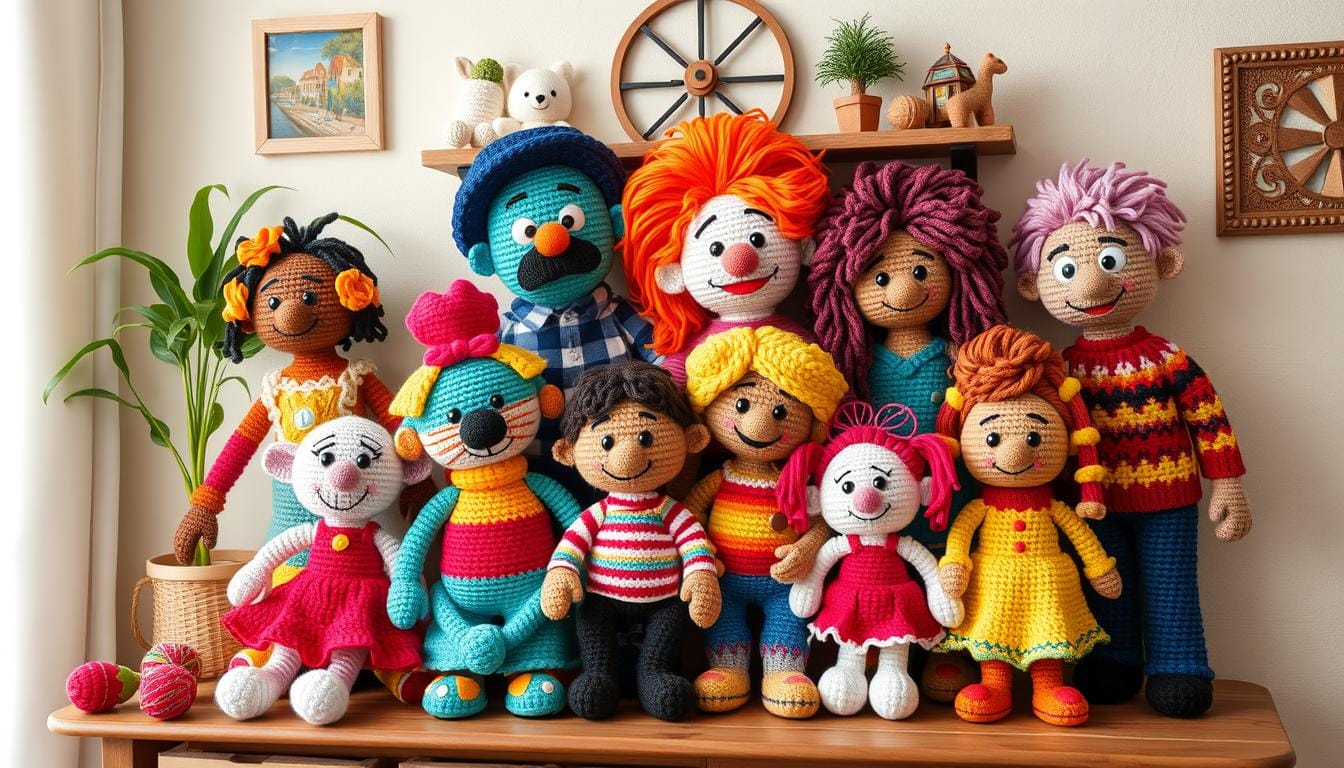
The world of crochet patterns has grown a lot. Now, you can make 3D characters that show the spirit of your favorite animated families. The Casagrandes, with their deep cultural roots and lively personalities, are perfect for making unique amigurumi wall art.
Imagine making your living space a gallery that celebrates creativity, family, and crafting. This guide will show you how to make cute Casagrandes characters. You’ll use traditional Japanese amigurumi methods and modern pop culture references.
Table of Contents
Introduction to The Casagrandes-Inspired Amigurumi Art
Explore the colorful world of handmade crafts with Casagrandes-inspired amigurumi wall art. This art form turns beloved cartoon characters into charming nursery decorations. It sparks imagination and creativity.
Amigurumi, a Japanese art of crocheting small stuffed creatures, lets fans bring their favorite characters to life. The Casagrandes series is a great backdrop for creating personalized wall displays. These displays celebrate family, culture, and artistic expression.
“Crafting is storytelling with yarn and love” – Anonymous Fiber Artist
- Transform cartoon characters into unique wall art
- Celebrate family through creative handmade crafts
- Personalize your living space with fiber arts
Your amigurumi journey will involve creating detailed characters like Ronnie Anne Santiago, Bobby Santiago, Abuela Rosa, and Carlos and Frida Casagrande. Each character is a chance to show off your crochet skills and storytelling talent.
| Character | Skill Level | Recommended Yarn |
|---|---|---|
| Ronnie Anne | Beginner | Cotton Blend |
| Bobby Santiago | Intermediate | Wool Blend |
| Abuela Rosa | Advanced | Merino Wool |
Whether you’re an experienced crafter or just starting, these amigurumi wall art pieces are a fun way to show your creativity. They make great nursery decorations and personalized home decor.
Understanding Amigurumi Wall Art Basics
Explore the magical world of yarn sculptures that turn your home into a cozy haven. Amigurumi wall art is a special way to make your space unique. It combines creative crochet with art and skill.
To make beautiful amigurumi, you need to know the basics. This includes picking the right materials and learning basic stitches. Each step helps you create lasting home decorations.
Essential Materials and Tools
Start your amigurumi adventure by getting the right stuff. Here’s what you’ll need:
- Yarn (cotton or acrylic recommended)
- Crochet hooks (2mm to 5mm sizes)
- Stitch markers
- Tapestry needles
- Safety eyes or embroidery thread
- Polyfil stuffing
- Scissors
Basic Stitching Techniques
Learning a few basic stitches is key to making cute yarn sculptures. Focus on these essential techniques:
- Single crochet (most common stitch)
- Magic ring technique
- Increase and decrease stitches
- Working in continuous rounds
Color Selection Guidelines
Picking the right colors is crucial for your textile art. Here are some tips for choosing yarn colors:
- Match character inspiration
- Use soft, washable yarns
- Select colors with good stitch definition
- Consider weight and texture
With time and effort, you’ll make amazing home accents. They will show off your creativity and skill in yarn sculpture.
Creating Ronnie Anne Santiago Character
To make an amigurumi wall art of Ronnie Anne Santiago, you need to focus on details and creative patterns. First, pick the right colors to match her style and personality.
Begin by getting your crochet project materials. You’ll need specific yarn colors to make Ronnie Anne come alive:
- Dark brown yarn for her signature hairstyle
- Light brown yarn for skin tone
- Purple yarn for her iconic hoodie
- Gray or denim-colored yarn for shorts
- White and black yarn for sneakers
To make a true Ronnie Anne amigurumi, focus on her unique features. Her ponytail and street-style outfit are great for yarn art.
For her face, you can choose between two options:
- Use safety eyes for a sharp look
- Embroider features with embroidery floss for a detailed look
| Character Element | Recommended Yarn Color | Crochet Technique |
|---|---|---|
| Hair | Dark Brown | Tight Single Crochet |
| Skin | Light Brown | Amigurumi Loop Method |
| Hoodie | Purple | Ribbed Stitch |
Your Ronnie Anne amigurumi will be a lively, eye-catching piece. It will show off your crochet skills and celebrate her spirit.
Crafting Bobby Santiago’s Signature Look
Creating Bobby Santiago’s amigurumi wall decor needs focus and love for handmade crafts. Your journey with fiber arts will turn simple yarn into a lively character. This character will show the true spirit of Bobby Santiago.
Making a real Bobby Santiago amigurumi means picking the right materials and learning special techniques. These techniques highlight his unique traits.
Hair and Facial Features Techniques
To get Bobby’s look right, pay attention to these important parts:
- Use black yarn for his signature spiky hairstyle
- Select safety eyes for realistic depth
- Embroider detailed eyebrows and mouth
- Choose light brown yarn for skin tone
Clothing Pattern Instructions
Bobby’s clothes are key to his style. Here’s what his iconic outfit looks like:
| Clothing Item | Yarn Color | Difficulty Level |
|---|---|---|
| Blue Shirt | Bright Blue | Beginner |
| Jeans | Denim Blue | Intermediate |
Assembly Tips and Tricks
Good amigurumi wall decor needs careful assembly. Here are some expert tips:
- Create body parts separately
- Use sturdy stuffing techniques
- Join components with invisible stitches
- Ensure balanced positioning
“Every stitch tells a story in handmade fiber arts” – Crafting Wisdom
Making Abuela Rosa’s Character Come to Life
Creating an authentic amigurumi of Abuela Rosa turns your yarn sculptures into heartwarming home accents. They capture the essence of family love. Your crochet project will add a unique touch to nursery decorations with her grandmotherly charm.
To craft Abuela Rosa’s character, focus on key details that make her special:
- Select soft gray yarn for her classic hair bun
- Choose light brown yarn for her warm skin tone
- Pick a vibrant green for her signature dress
- Prepare white yarn for her delicate apron
The magic of creating Abuela Rosa lies in the subtle details. Thin wire or delicate embroidery threads can help you add her iconic glasses. This brings her personality to life. Pay special attention to her facial expression – a warm, loving smile that represents generations of family wisdom.
When designing her outfit, consider these key elements for your yarn sculptures:
- Create texture in her green dress with gentle ripple stitches
- Add small decorative elements to her apron
- Ensure her posture reflects her nurturing character
Your amigurumi Abuela Rosa will not just be a craft project. It will be a cherished piece of art that represents family love and cultural heritage.
Designing Carlos and Frida Casagrande
Making amigurumi wall art of Carlos and Frida Casagrande needs careful detail and creative skills. These characters add a special touch to your crochet patterns. They make your home decor stand out.

Capturing Unique Expressions
When making Carlos and Frida’s amigurumi wall art, remember these important points:
- Choose safety eyes that show their unique personalities
- Use embroidery for detailed facial expressions
- Focus on small facial details
Adding Personal Accessories
Make your textile art characters unique with special details:
| Character | Signature Accessory | Crafting Technique |
|---|---|---|
| Carlos | Sweater Vest & Glasses | Thin wire or embroidery thread |
| Frida | Paint-Stained Hands | Embroidery floss or fabric paint |
Your crochet patterns will turn these characters into unforgettable textile art. They will show the Casagrande family’s lively spirit.
Wall Mounting Techniques for Amigurumi Art
Creating stunning yarn art wall decor is more than just making cute characters. It’s about mounting your crafts right. This turns your amigurumi into eye-catching wall displays that show off your talent.
When you’re ready to show off your amigurumi, keep these mounting tips in mind:
- Choose sturdy backing like foam board or stretched canvas
- Use professional-grade adhesives for textile crafts
- Look into decorative framing like shadow boxes
- Make sure your attachment is secure
It’s important to balance the weight of your yarn art. Lightweight characters are best for wall displays. They prevent damage or sagging.
| Mounting Method | Difficulty Level | Recommended For |
|---|---|---|
| Fabric Backing | Easy | Smaller Amigurumi |
| Shadow Box | Intermediate | Detailed Characters |
| Stretched Canvas | Advanced | Large Wall Decor |
“Your handmade crafts deserve a display that highlights their unique charm and creativity.” – Crochet Art Expert
Use clear fishing line or invisible thread for a floating look. This is great for displays with many characters or complex designs.
Keep your yarn art away from direct sunlight and humidity. This helps keep its colors bright and stitching intact. Also, rotate your display to avoid uneven fading and wear.
Color Coordination and Display Layout
Creating a stunning amigurumi wall display needs careful thought about color and layout. Your fiber arts project can turn nursery decorations into lively home accents. These can capture the spirit of The Casagrandes family.
When designing your display, think about color relationships and balance. The right approach can make your amigurumi characters stand out as eye-catching art pieces.
Balance and Composition Tips
A harmonious display involves several key strategies:
- Group characters by size and color intensity
- Create visual triangles or asymmetrical arrangements
- Use background colors that complement the characters’ yarn tones
- Maintain consistent spacing between figures
Lighting Considerations
Proper lighting can greatly enhance your fiber arts display. Consider these illumination techniques:
- Use soft, diffused lighting to prevent yarn color fading
- Install adjustable LED lights to highlight specific characters
- Avoid direct sunlight which can degrade yarn colors
- Experiment with accent lighting to create depth and drama
“A well-lit display transforms your amigurumi from crafts to storytelling art.” – Craft Design Experts
Your carefully chosen color coordination and strategic lighting will make your Casagrandes amigurumi wall art a captivating home accent. It celebrates both creativity and family spirit.
Preserving Your Amigurumi Wall Display

Keeping your amigurumi wall art safe is important. Yarn sculptures are delicate and need special care. This helps keep them looking bright and in good shape.
Focus on a few main areas for preservation:
- Dust protection for yarn sculptures
- Moisture control
- UV damage prevention
- Proper storage methods
When you show off your amigurumi, pick spots out of direct sunlight. UV rays can fade and weaken textile art over time. Use UV-resistant glass or acrylic to protect your yarn sculptures from light damage.
“A well-preserved piece of textile art can become a cherished family heirloom” – Craft Preservation Expert
Cleaning your amigurumi needs gentle care. Don’t use wet cleaning that could harm the fibers.
For pieces not on display, store them in airtight containers with moth repellent. Choose storage places with stable temperatures and low humidity. This prevents mold and damage to the fabric.
- Store in cool, dry environments
- Use acid-free tissue paper for wrapping
- Avoid plastic bags that trap moisture
By following these steps, your amigurumi wall art will stay beautiful for many years.
Customization Options and Creative Variations
Yarn art is all about exploring new ideas. Your amigurumi wall decor can go from simple to unique with a few tweaks.
Crochet fans can try many different designs. Your wall decor can change as your ideas grow.
Size Adjustments for Personalized Designs
Change your amigurumi’s size by using different yarns and hooks. Here are some cool ways to scale:
- Mini versions for delicate accent pieces
- Standard character sizes for traditional wall displays
- Oversized statement pieces that demand attention
Exploring Alternative Color Schemes
Change your crochet’s look by trying new colors. Try these ideas to keep your characters recognizable while adding your own touch:
- Use variegated yarns for textural intrigue
- Incorporate glow-in-the-dark threads for magical effects
- Select monochromatic or complementary color ranges
“Creativity in yarn art is about pushing boundaries and expressing your unique artistic vision.” – Anonymous Crochet Master
Your wall decor shows off your style. Each stitch and color tells a part of your story.
Troubleshooting Common Issues
Creating amigurumi wall art can sometimes present challenges for fiber arts enthusiasts. Understanding how to address common problems will help you perfect your nursery decorations and create stunning pieces with confidence.
When working on your handmade crafts, you might encounter several typical issues:
- Uneven Stitches: Maintain consistent tension by practicing your grip and using the same hook size throughout the project
- Stuffing Gaps: Carefully fill small openings to ensure smooth, well-rounded characters
- Misshapen Parts: Gently reshape components using dampening techniques
Mastering fiber arts requires patience and practice. Here are some specific troubleshooting strategies for your amigurumi wall art:
| Issue | Solution |
|---|---|
| Loose Stitches | Use a smaller hook or tighten your tension |
| Uneven Stuffing | Add stuffing gradually and distribute evenly |
| Color Bleeding | Wash and block your finished piece carefully |
For nursery decorations, pay special attention to detail. Secure loose parts with additional stitching or fabric glue. Remember that small imperfections often add character to your amigurumi artwork.
Pro tip: Keep a collection of repair tools nearby, including extra yarn, a tapestry needle, and small scissors to address any unexpected challenges during your crafting process.
Conclusion
Your journey into making The Casagrandes yarn sculptures has turned simple home accents into colorful textile art. You’ve learned to create personalized wall displays that show the spirit of this loved animated family. Each stitch is a chance to mix creativity with cultural appreciation.
Designing amigurumi wall art is more than just decoration. You’ve gained skills to tell stories through detailed crochet work. This turns blank walls into lively visual stories. Cotton yarn’s strength means your creations will stay beautiful for many years.
Social media and online crafting groups have made these artistic expressions easy to find. With sites like Pinterest and Instagram, you can keep finding new techniques, share your designs, and meet others who love creative home decor.
Remember, each amigurumi piece shows your personal style and crafting abilities. Keep trying new things, learning, and most importantly, enjoy making The Casagrandes come alive through your hands.