Free Sunny Day Amigurumi Crochet Pattern for Intermediate Crafters
When the sun shines and the breeze is soft, making a colorful amigurumi is pure joy. Today, I’m excited to share a free pattern for the Sunny Day Amigurumi. It’s a fun and flexible project that adds a splash of sunshine to your crafts.
Table of Contents
Introduction to Sunny Day Amigurumi Crafting
Explore the world of stuffed crochet animals with the Sunny Day Amigurumi pattern. It’s a fun project that mixes kawaii crochet designs with the joy of beginner amigurumi patterns. It’s great for both new and experienced crocheters, offering a fun and rewarding experience.
What Makes This Pattern Special
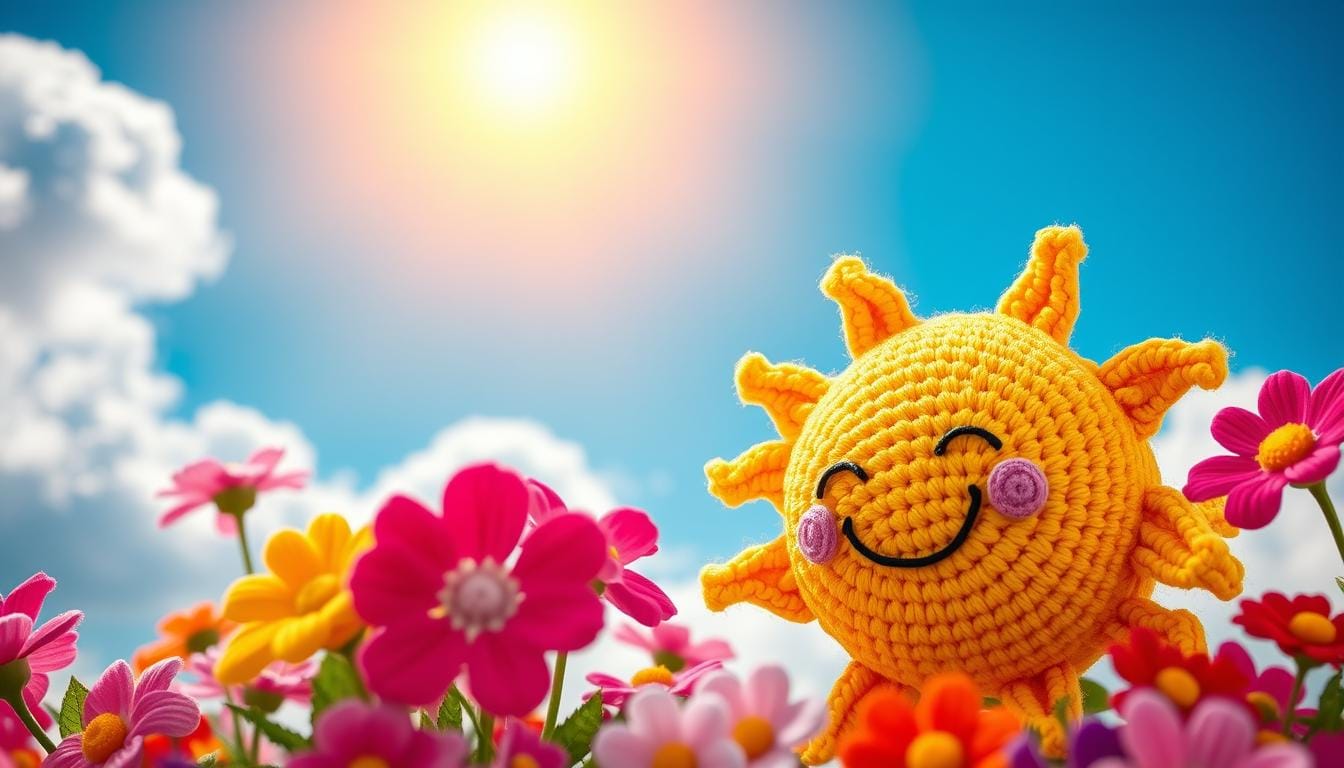
The Sunny Day Amigurumi pattern is special because it’s both simple and charming. It features a cute sun design, making a warm and positive friend. The pattern is easy to follow and lets you customize, making it a great way to show off your crochet skills.
Skill Level Requirements
This pattern is for intermediate crocheters. You need to know basic crochet skills like working in the round and changing colors. If you’ve got these skills down, this pattern will be a fun challenge.
Time Investment Overview
The Sunny Day Amigurumi is quick to make, taking about an hour to finish. It’s perfect for those who want a fast and cute project. It’s great for a weekend project or a quick gift, making your day brighter.
Essential Materials and Tools Needed
To start the Sunny Day Amigurumi project, you’ll need some basic materials and tools. The sunny yellow yarn is at the center, making up the main body of your happy creation. You’ll also need vibrant orange or red yarn for the sun’s bright sunbeams.
Other important items include polyester fiberfill for the stuffed details and safety eyes for the face. Make sure you have a crochet hook that fits the yarns you’ve chosen.
Tools like scissors for cutting yarn, stitch markers for keeping track, and a yarn needle for joining pieces are also crucial. With these simple items, you’ll be ready to make a cute crochet projects for kids or easy amigurumi dolls that will brighten any room.
| Material | Description |
|---|---|
| Yellow Yarn | For the sun’s main body |
| Orange or Red Yarn | For the sun’s radiant sunbeams |
| Polyester Fiberfill | For plush, stuffed details |
| Safety Eyes | To give your Sunny Day Amigurumi an expressive face |
| Crochet Hook | Suitable for the weight of the yarns used |
| Scissors | For clean yarn cuts |
| Stitch Markers | To keep your stitches organized |
| Yarn Needle | For seamless assembly |
With these basic materials and tools, you’re all set to start your crochet projects for kids journey. You’ll create a cheerful, sun-inspired amigurumi that’s sure to make everyone smile.
Free Sunny Day Amigurumi Crochet Pattern
Let your creativity shine by crocheting a Sunny Day Amigurumi keychain. It’s a free pattern for those with some crochet skills. It teaches you to make a cute sun character that makes any day better.
Pattern Construction Basics
The pattern starts with a magic ring and works in a spiral. It uses markers to mark the first stitch of each round. You’ll learn stitches like single crochet, increase, and double crochet 4 together.
Key Stitches Used
- Single Crochet (sc)
- Increase (inc)
- Double Crochet 4 Together (dc4tog)
Color Selection Guide
Choose bright colors for your Sunny Day Amigurumi. Use a cheerful yellow for the sun body. The sunbeams are best in warm oranges or reds. Add pinks or other colors for extra interest.
“The simple yet captivating pattern is a joy to work on, and the end result is a charming accessory that’s sure to bring a smile to anyone’s face.”
Step-by-Step Body Assembly Instructions
Starting the Sunny Day Amigurumi means crocheting the sun’s body in rounds. You’ll increase stitches to get a circular shape, just like a sun. This step is crucial for your amigurumi to come alive.
The pattern shows you how to shape the sun round by round. Keep track of your stitches and tension to build the sun’s body smoothly. This will prepare it for the sun’s bright features.
- Start with the first round of the sun body, following the pattern’s instructions.
- Then, increase stitches in each round to shape the sun.
- Keep your tension even to ensure a uniform base.
- Follow the pattern’s round-by-round details closely.
- Keep increasing stitches until the sun is the right size, as the pattern says.
Now that the body is done, you can start the next parts of your Sunny Day Amigurumi. Stay focused and follow the pattern well. You’ll soon have a sun-inspired amigurumi that will brighten any room.

Creating the Signature Sunbeams
Make your stuffed crochet animals and kawaii crochet designs shine with the sunbeams on your Sunny Day Amigurumi. These rays are made separately and then attached to the main body. They add a beautiful, sun-kissed look to your creation.
Sunbeam Placement Tips
Here are some tips for placing sunbeams around the sun:
- Begin with the first sunbeam at the top center of the sun.
- Place the rest of the sunbeams evenly, keeping the same distance between each.
- Try different angles and lengths for a lively sun look.
- Adjust the sunbeams for the best balance and symmetry.
Securing Techniques
There are two ways to attach the sunbeams:
- Sewing: Sew the base of each sunbeam onto the sun’s surface with a needle and thread.
- Crocheting: Crochet the sunbeams onto the body for a seamless look.
Choose the method that works best for you. Make sure the attachment is strong and lasting. This way, your stuffed crochet animals and kawaii crochet designs will stay bright and beautiful.
Facial Features and Expression Guide
When making your crochet projects for kids or easy amigurumi dolls, the face is key. It makes your sunny day amigurumi come alive. You can choose from a calm, sleepy look to a bright, happy smile.
For the eyes, you can use embroidery or crochet. This lets you show the sun’s fun and playful side. The smile is made with single crochet stitches. It makes the sun’s face look warm and inviting.
- Embroidered eyes: Use a sharp needle and contrasting yarn to embroider the eyes, adding depth and character to your sun’s face.
- Crocheted eyes: Work directly into the sun’s head to create crochet eyes, experimenting with different shapes and sizes to suit your desired expression.
- Smiling mouth: A row of single crochet stitches in a complementary color can form the sun’s friendly, approachable smile.
The face is what makes your crochet projects for kids or easy amigurumi dolls special. Try out different looks to capture the sun’s bright and cheerful spirit.
Color Variations and Creative Adaptations
The Sunny Day Amigurumi pattern is very versatile. You can change colors and materials to make many cute crochet plushies and stuffed toys. This lets you create something special for any season or theme.
Summer Theme Ideas
For summer, use bright colors like yellow and orange. These colors remind us of the sun. You can also try soft blues and greens for a calm, ocean feel. The choices are endless for a summer friend.
Season-Specific Modifications
The original pattern is a classic sun. For fall, use golden and earthy colors for a cozy look. In winter, add silver or soft white for a winter theme. Your creation will always show your style, no matter the season.
The Sunny Day Amigurumi is a canvas for your creativity. Try different colors and themes to make a collection of cute plushies and stuffed toys. They will add joy and warmth to your home all year.
Troubleshooting Common Challenges
Making the Sunny Day Amigurumi is fun, but even experienced crocheters might hit a few bumps. Don’t worry! This pattern is here to help you through any problems, making sure your project turns out great.
One common issue is getting even stitches on the sun’s body. To fix this, focus on keeping your tension even and crochet at a steady pace. Also, check your stitch count often to spot any unevenness early.
Stuffing the sun’s body can also be tricky. Try to stuff it evenly, avoiding too much or too little filling. Start by stuffing the bottom, then fill the rest, making sure it’s smooth and round.
- Achieving even stitches throughout the sun’s body
- Properly stuffing the sun’s body for a smooth, rounded shape
- Securely attaching the sunbeams to the main body
Finally, attaching the sunbeams can be a bit tricky. Be patient and try different methods, like sewing or using craft glue.
| Challenges | Solutions |
|---|---|
| Uneven stitches | Maintain consistent tension and regularly check stitch count |
| Improper stuffing | Fill the body evenly, starting from the bottom and working upwards |
| Insecure sunbeam attachment | Try sewing or using a small amount of craft glue to reinforce the connection |
With these tips, you’ll be on your way to making a beautiful Sunny Day Amigurumi. It will impress everyone. Remember, the fun is in the making, so enjoy the journey!

Finishing Touches and Embellishments
Now it’s time to add the final touches to your sunny day amigurumi. You can choose to add safety eyes or decorative elements. These details can make your crochet creation come alive.
Safety Eye Installation
Follow the instructions to install safety eyes if your pattern requires them. This step makes your amigurumi look better and ensures it’s safe and durable. Be careful with the placement for a balanced look.
Optional Decorative Elements
To make your free sunny day amigurumi crochet pattern even more special, add decorative elements. You could use eyelashes, rosy cheeks, or small crochet clouds or rainbows. These details can make your amigurumi stand out.
Remember, crochet lets you customize and personalize your crochet stuffed toys.
With safety eyes and any extra decorations, your sunny day amigurumi is ready. It’s time to share it with someone and make them smile. Enjoy the journey of creating this whimsical piece and show it off to the world.
Conclusion
The Sunny Day Amigurumi crochet pattern is a fun project for those who are a bit more experienced. It lets you make a bright and cheerful sun-themed toy. You can add your own special touches to make it truly yours.
Make this amigurumi to brighten up your home or as a thoughtful gift. It’s sure to add joy and sunshine to any place. It’s also a great choice for free crochet patterns or a fun crochet project for kids.
Get creative, enjoy the process, and follow the Sunny Day Amigurumi pattern. With the right materials and a bit of practice, you can make a beautiful sun-inspired toy. It will make any day brighter.