Free Crochet Pattern T.O.T.S.: All Star Adventures Amigurumi
I’ve always loved making handmade gifts for kids. From blankets to stuffed animals, it’s rewarding to see a child’s face light up. Today, I’m excited to share a free crochet pattern for T.O.T.S.: All Star Adventures Amigurumi.
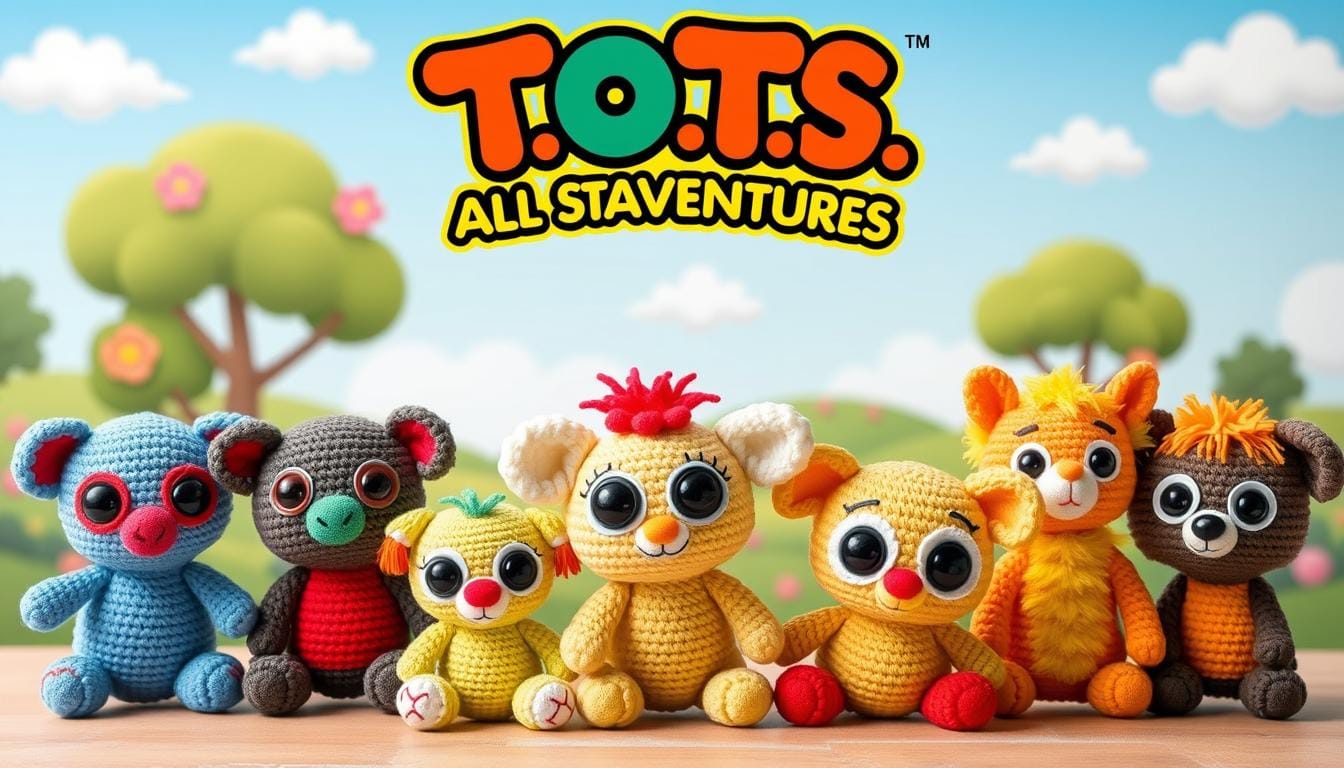
This pattern is easy to follow, making it perfect for beginners and experts. Imagine the joy when a child hugs their new Pip, Freddy, or Penny. These characters from Disney are loved by kids and adults alike.
Table of Contents
Introduction to Disney’s T.O.T.S. Amigurumi Collection
Explore the magical world of Disney’s T.O.T.S. through amigurumi crochet. This collection lets you create your own versions of these cute characters. It’s perfect for both new and seasoned crocheters, offering a fun and fulfilling project.
What Makes T.O.T.S. Characters Special
The T.O.T.S. characters stand out with their unique designs and loving personalities. You’ll find characters like Pip the Stork and Freddy the Falcon, each with their own charm. Crocheting these characters lets you add your own special touch, making each one truly unique.
Essential Materials and Tools
To start your T.O.T.S. amigurumi project, you’ll need some basic items. You’ll need good yarn, the right crochet hooks, polyester fiberfill, and embellishments like safety eyes. With these, you’re ready to make your own adorable T.O.T.S. friends.
Skill Level Requirements
The T.O.T.S. amigurumi pattern is for all skill levels, from beginners to those with more experience. It offers detailed instructions and step-by-step guidance. This pattern is a fun challenge that will help you grow as a crocheter.
Getting Started with Your Amigurumi Project
Starting an amigurumi crochet project is exciting and rewarding. First, gather all the needed materials and learn the pattern. This guide will help you start your amigurumi journey successfully.
Gather Your Supplies
Start by getting the essential supplies. You’ll need the right yarn, a crochet hook size as the pattern suggests, a tapestry needle, and polyester fiberfill. Running out can be frustrating.
Understand the Crochet Pattern
Read the crochet pattern carefully. Note the stitch instructions, shaping, and special stitches. Pay attention to the gauge for the right size. If you’re new, start with a simple pattern to gain confidence.
Prepare Your Workspace
Set up a comfy, well-lit space for crocheting. Keep all your supplies close and use markers or pins for round tracking. A smooth surface is best for your project.
| Supplies Needed | Recommended Quantities |
|---|---|
| Yarn | Approximately 100-150 yards per amigurumi character |
| Crochet Hook | Size recommended by the pattern, typically between 3.5mm and 5.5mm |
| Tapestry Needle | 1 per project |
| Polyester Fiberfill | Enough to stuff the amigurumi character |
| Stitch Markers | Optional, but recommended to keep track of rounds |
With your materials ready, the pattern understood, and a comfy workspace, you’re ready to start. You’ll soon be making your own amigurumi crochet projects and kits.
T.O.T.S.: All Star Adventures Amigurumi Pattern Details
Bring the beloved characters from Disney’s T.O.T.S. (Tiny Ones Transport Service) to life with this captivating amigurumi pattern. To ensure your collectible Disney characters turn out just right, let’s dive into the pattern details on yarn selection, hook size recommendations, and gauge information.
Yarn Selection and Color Guide
The T.O.T.S. amigurumi pattern calls for a variety of worsted-weight yarns in vibrant colors. These colors capture the essence of each character. Choose from soft pastels, bold primaries, and earthy neutrals to match your favorite collectible toys.
High-quality acrylic yarns are great for their durability and easy care.
| Character | Yarn Colors |
|---|---|
| Pip | Light Blue, White |
| Freddy | Orange, White |
| Penny | Light Pink, White |
| Peck | Green, White |
Hook Size Recommendations
For best results, use a size G/6 (4.00mm) crochet hook. This hook size will produce a tight, sturdy fabric. It ensures your characters maintain their adorable proportions.
Gauge Information
Achieving the correct gauge is crucial for getting the perfect fit and size for your Disney characters. The pattern specifies a gauge of 16 stitches and 20 rows per 4 inches (10 cm) in single crochet. Be sure to work a gauge swatch before beginning your project to confirm you’re on the right track.
Basic Amigurumi Techniques for Beginners
Start your journey into all star adventures amigurumi with the basics. Learn how to use the magic ring and handle color changes.
The Magic Ring
The magic ring is a great way to start your amigurumi. It creates a neat, closed circle. This is perfect for small toys and accessories.
Single Crochet Mastery
Single crochet is crucial for amigurumi. Learn to do it in the round. This will help you make smooth, three-dimensional shapes.
Increases and Decreases
Increases and decreases are important for shaping. They help you add or remove stitches. This is how you get the right shape for your creations.
Changing Colors with Ease
Color changes make your amigurumi pop. Learn how to switch colors smoothly.
“Mastering the fundamentals of amigurumi is the first step towards creating your own unique and captivating crochet creations.”
| Technique | Description | Difficulty Level |
|---|---|---|
| Magic Ring | Secure starting point for amigurumi | Beginner |
| Single Crochet | Essential stitch for amigurumi construction | Beginner |
| Increases and Decreases | Shaping techniques for unique forms | Intermediate |
| Color Changing | Incorporate vibrant hues seamlessly | Intermediate |
Start with these basic amigurumi techniques. They will help you create amazing three-dimensional pieces. With practice, you’ll soon be making your designs come to life.

Step-by-Step Character Assembly Guide
Start making your crocheted toys and kids’ plush toys come alive with this guide. It shows you how to build the body and add the final touches. Follow these steps to make your own Disney T.O.T.S. all star adventures amigurumi character.
Body Construction Tips
First, start with the main body of your amigurumi. Use the right yarn and hook size for the best shape. Make sure the limbs are shaped right, working in rounds for a smooth look.
Adding Facial Features
Give your character life with facial features. Use contrasting yarn for eyes, noses, and mouths. Place them carefully to match the T.O.T.S. character’s look.
Final Touches and Embellishments
Finish your amigurumi with the last details. Add wings, beaks, or special parts to make it unique. You can also add sequins or tassels for extra flair.
Follow these steps to make a cute and real T.O.T.S. all star adventures amigurumi. Your kids will love it. Enjoy making these beloved characters come to life!
Customization Options and Color Variations
Unlock your creativity with endless customization options for your T.O.T.S. all star adventures amigurumi projects. Whether you’re a pro or just starting, trying new colors and accessories can make these characters truly yours. These changes can turn them into personalized masterpieces.
Explore the world of color by mixing different hues. Imagine a bright fuschia Pip or a soothing pastel Freddy. Don’t be afraid to try new colors and show your style.
Go further by adding custom accessories that match the character’s personality. Tiny bowties, delicate flower crowns, or miniature backpacks can add charm and whimsy. The possibilities are endless, making your amigurumi special and unique.
Whether it’s a gift or for your own collectible toys display, these techniques will make your T.O.T.S. amigurumi stand out. Let your creativity shine and bring these characters to life in your own way.

Troubleshooting Common Amigurumi Challenges
Creating captivating crochet projects like the Disney T.O.T.S. amigurumi can be rewarding but tricky. Even experienced crafters face common challenges. But don’t worry! With the right techniques and tips, you can overcome these hurdles and achieve your desired results.
Tension Control Tips
Maintaining even tension is key for amigurumi projects. Inconsistent tension can cause distorted shapes and uneven stitches. To ensure your stitches are consistent, try these tips:
- Hold the yarn with a gentle, consistent tension, neither too tight nor too loose.
- Experiment with different grip positions to find the one that works best for your hand and tension control.
- Regularly check your work and adjust your tension as needed, especially when transitioning between rounds or changing colors.
Stuffing Techniques
Proper stuffing is crucial for achieving the desired plump, three-dimensional look of your amigurumi creations. Overstuffing can cause distortion, while understuffing can result in a deflated appearance:
- Use high-quality, non-clumping fiberfill or polyester stuffing.
- Stuff each piece firmly, but avoid compacting the stuffing too tightly.
- Distribute the stuffing evenly throughout the piece, paying close attention to the extremities.
Joining Parts Seamlessly
Seamlessly joining the various components of your all star adventures amigurumi project can be a delicate task. Poorly executed seams can detract from the overall appearance and quality of your work. To create clean, invisible joins:
- Use a tapestry needle and the same yarn color to carefully weave the pieces together.
- Align the stitches and edges precisely before joining to ensure a smooth transition.
- Secure the seam with small, even stitches, taking care not to pull the yarn too tightly.
By mastering these techniques, you’ll be well on your way to creating stunning, professional-looking crochet projects. These projects will capture the essence of your favorite crochet projects and handmade crafts.
Care Instructions and Display Tips
Keeping your handcrafted T.O.T.S. amigurumi in top shape is simple. Just spot clean with a damp cloth and mild detergent when needed. Don’t soak the whole thing in water, as it might ruin the stitching and stuffing. Store them in a cool, dry spot, away from sunlight or heat that could cause damage.
Displaying your Disney-inspired characters can be fun. You can put them on shelves, in bookcases, or on your desk. Try setting them up in fun poses or grouping them with other toys. They can also add charm to your home decor, like on end tables or nightstands. With a bit of creativity, your plush friends will brighten up any room.
Remember to treat your T.O.T.S. amigurumi with care and love. They show off your skill and will bring joy for a long time. Let these special toys spark your creativity and bring magic into your life.

