Crochet Your Own Dizzy the Duck: Free Pattern & Adventure
Relax and let your creativity soar as you crochet your own Dizzy the Duck amigurumi. This pattern, inspired by Disney, is great for all crocheters. It’s perfect whether you’re just starting out or have lots of experience.
Imagine seeing your stitches turn into Dizzy, a beloved character. With a free pattern and simple instructions, you can make this cute duck quickly. It’s a great way to add Disney magic to your home or give a special gift.
Table of Contents
Introduction to Dizzy the Duck Amigurumi Project
Get ready for a fun crochet journey with Dizzy the Duck! This project brings Disney magic to your yarn crafts. Dizzy is a soft, cuddly duck toy loved by kids and adults alike. It’s a great addition to your collection of handmade toys.
Why Choose This Pattern for Your Next Project
Dizzy the Duck is a captivating pattern for crocheters of all levels. It’s perfect for beginners or experienced crafters looking for a new challenge.
Skill Level and Time Requirements
The Dizzy the Duck pattern suits various skill levels. It uses basic crochet stitches and easy instructions. Even beginners can make this adorable amigurumi. The project takes a few hours to a few days, making it great for busy people.
What Makes Dizzy Special
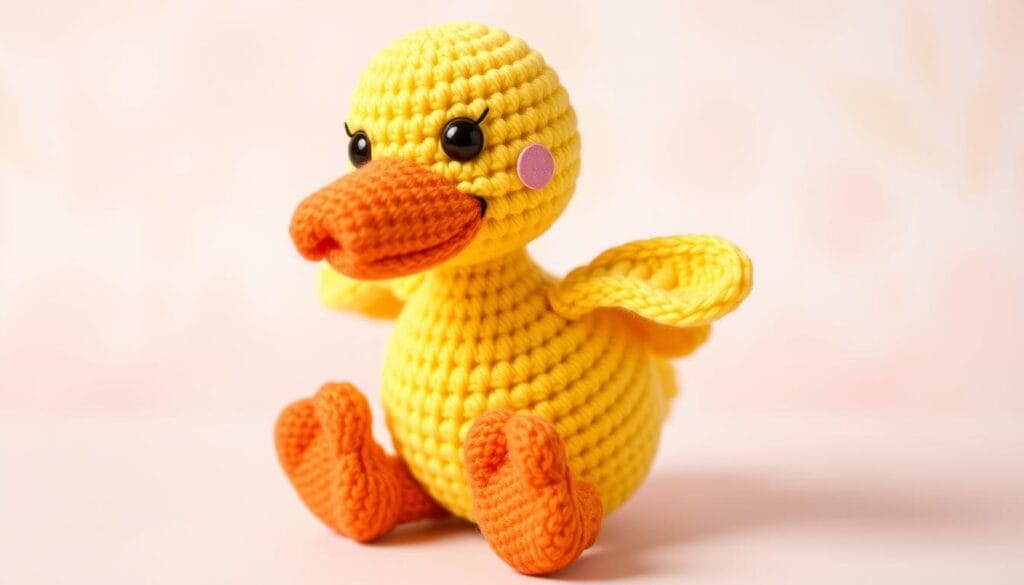
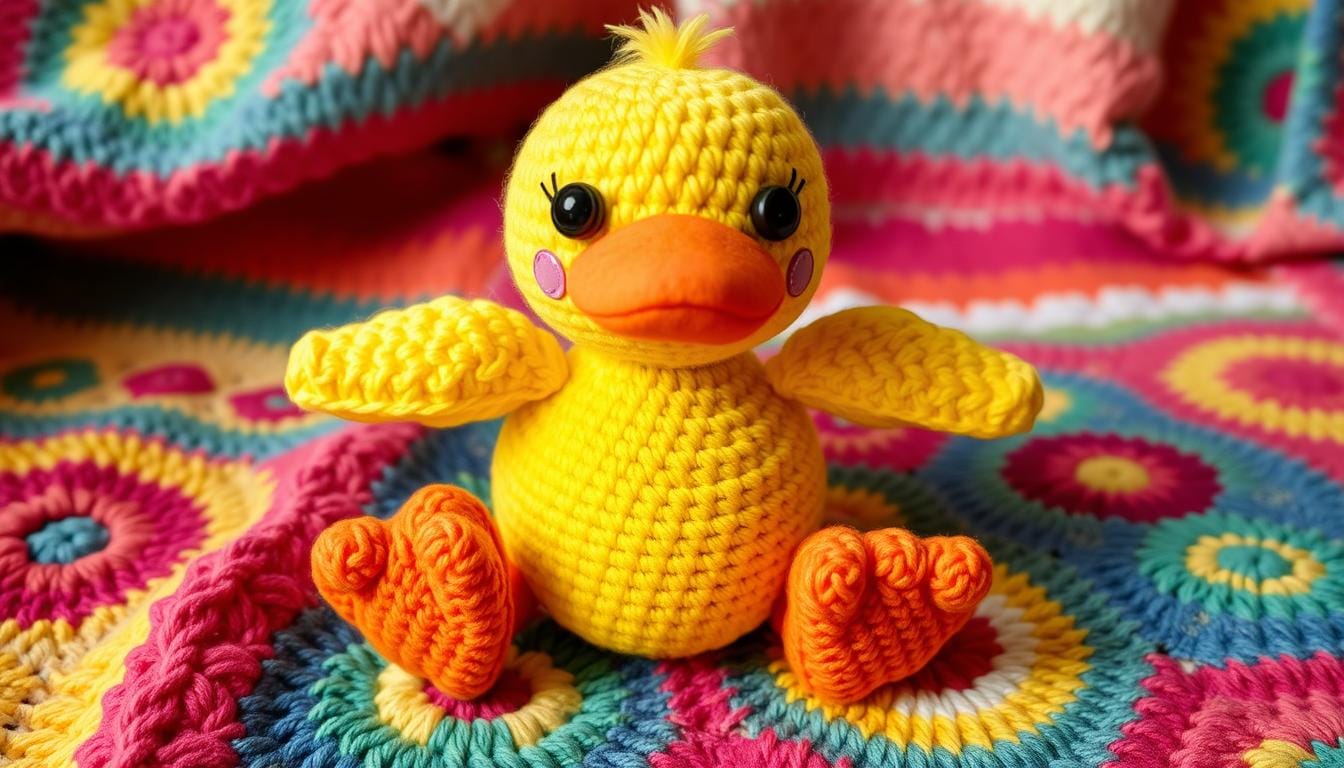
Dizzy the Duck is special with his charming features and details. His yellow body, orange beak, and feet make him visually appealing. His big eyes and detailed wings make him whimsical and lovable.
Essential Materials and Tools Needed
To make your own Dizzy the Duck, you’ll need some basic materials and tools. We’ll go over what you need to make this cute character come to life. This includes materials for your crochet tutorials and yarn crafts.
You’ll start with a 4mm (G size) crochet hook. This hook is ideal for the worsted weight yarn needed for Dizzy. You’ll also need size 4 worsted weight yarn in the right colors for Dizzy’s body, head, and other parts.
For Dizzy’s eyes, you’ll need 12mm safety eyes. You’ll also need scissors, a sewing needle, stitch markers, and lots of fiberfill stuffing. These items will help bring Dizzy to life.
| Item | Quantity |
|---|---|
| 4mm (G size) Crochet Hook | 1 |
| Size 4 Worsted Weight Yarn | Varies by Part |
| 12mm Safety Eyes | 2 |
| Scissors | 1 |
| Sewing Needle | 1 |
| Stitch Markers | Set |
| Fiberfill Stuffing | As Needed |
The amount of yarn you’ll need varies by part. You’ll need about 26.1m for the body, 9.6m for the legs, and 4.4m for the head crest. You’ll also need 11.6m for the body cover, 0.8m for the horn, 1.8m for the spikes, and 2.8m for the spots. With these materials, you can start making your own Dizzy the Duck.
Understanding Crochet Terms and Abbreviations
Starting your crochet journey to make Dizzy the Duck amigurumi? It’s key to know common crochet terms and abbreviations. This knowledge helps you follow the pattern easily and complete the project smoothly.
Basic Stitches Explained
The Dizzy the Duck pattern uses several basic stitches. These include:
- Chain (ch) – It’s the start of your crochet work, the base for other stitches.
- Slip Stitch (sl st) – A simple stitch for joining rounds or moving between areas.
- Single Crochet (sc) – Creates a tight, sturdy fabric.
- Half Double Crochet (hdc) – A taller stitch for more height and a looser gauge.
- Double Crochet (dc) – Taller, for airy textures.
Special Techniques for This Pattern
The Dizzy the Duck pattern also uses special techniques. These include:
- Increase (inc) – Adds an extra stitch for more volume or shape.
- Decrease (dec) – Reduces stitches for shaping or tapering.
- Working in Back Loops Only (Blo) – Creates a unique ribbed texture.
Reading Pattern Instructions
When using the Dizzy the Duck pattern, focus on the instructions. The pattern might use US crochet notation. Knowing the standard abbreviations is crucial for success. With a grasp of basic stitches and special techniques, you’re ready to crochet your Dizzy the Duck amigurumi masterpiece!
Crochet Your Own Dizzy the Duck: Step-by-Step Pattern
Get ready to bring Dizzy the Duck to life with your crochet skills! This step-by-step guide will help you make your own Dizzy the Duck amigurumi. It’s perfect for both seasoned crocheters and beginners, with easy-to-follow instructions and a charming result.
The pattern covers each part of Dizzy, like the body, legs, head crest, and more. Follow the instructions closely, using the crochet terms and abbreviations as needed. This will help your Dizzy come out perfectly.
- Begin by crocheting Dizzy’s body. Use the right hook size and yarn, working in continuous rounds for an oval shape.
- Then, crochet the legs. Make two identical legs and attach them to the body securely.
- Work on the head crest in spiral rounds. Increase and decrease stitches as directed for the unique shape.
- Finally, craft the body cover, horn, spikes, and spots. Assemble each part to complete your Dizzy the Duck.
Take your time and enjoy making crocheting your own Dizzy the Duck. With the right materials and care, you’ll have a delightful amigurumi that captures Dizzy’s spirit. Start your crochet your own dizzy the duck journey now!
Make sure to check the crochet terms and abbreviations, and any special techniques in the pattern. This will help your Dizzy the Duck turn out just right. Happy crocheting!
Yarn Selection and Color Guidelines
When making your own Dizzy the Duck plush, the yarn and colors you pick matter a lot. We’ll look at the best yarns and colors that show off this Disney crochet character’s charm.
Recommended Yarn Types
The Dizzy the Duck pattern needs a size 4 worsted weight yarn. But, you can try different weights by changing the hook size. For the best look and feel, use acrylic yarn crafts. They’re easy to clean, wash in the machine, and have lots of bright colors.
Color Combinations for Authenticity
- For a true Dizzy the Duck look, use white, yellow, and orange shades.
- Dizzy’s body should be a soft white. Use bright yellow or golden for the wings and bill.
- Add orange or peach for Dizzy’s feet and bill to bring out the warm, lively colors.
- Try different yellows, from light lemon to deep gold, for extra interest.
Choosing the right yarn crafts and colors will make your Dizzy the Duck plush come alive. It will show off the fun and cute side of this Disney crochet character.
Assembly and Finishing Touches
Getting your stuffed animals and duck amigurumi ready is the fun part. Here’s how to put together and finish your Dizzy the Duck project.
- First, collect all the parts you’ve made, like the body, wings, and beak.
- With a tapestry needle, sew the wings to the duck’s sides.
- Stuff the body with fiberfill to make it soft and round. Don’t stuff too much, or it will look wrong.
- Then, attach the beak to the duck’s face. Use the tapestry needle to sew it on right.
- Last, put the safety eyes on the duck’s face. Follow the pattern to get them in the right spot.
Take your time when putting everything together. Make sure it’s all secure. This will make your handmade toy look great and last longer.
| Material | Purpose |
|---|---|
| Tapestry Needle | Sewing the pieces together |
| Fiberfill | Stuffing the duck’s body |
| Safety Eyes | Adding eyes to the duck’s face |
Once it’s all together, you can add extra details like embroidery or a pom-pom tail. This will make your duck amigurumi even more special. Congratulations on making your own stuffed animal!

Customization Options and Creative Variations
Let your creativity shine with Dizzy the Duck amigurumi. Try different yarns and hooks to make your duck unique. Add accessories, special faces, or bright colors to make it stand out.
Size Modifications
Changing Dizzy’s size is easy and fun. Use various yarn weights and hooks to get the size you want. Bigger yarns and hooks make Dizzy larger, while smaller ones make him smaller.
Adding Personal Details
Make Dizzy your own with cool accessories, faces, and colors. Dress him up for Disney themes or holidays. Try different faces to show his mood. Bright colors can also change his look, showing off your style.
The fun of character crochet projects is making each one special. By changing sizes and adding personal touches, Dizzy becomes a true reflection of you. Let your imagination run wild and make your Dizzy amigurumi uniquely yours.
Troubleshooting Common Challenges
Starting your crochet journey with Dizzy the Duck can bring up some common issues. We want your final project to be a true masterpiece.
One big challenge is keeping your stitches even. Even tension is crucial for the perfect shape and size of Dizzy. If your stitches are uneven, try changing how you hold the hook or use different yarn tension methods.
Stuffing the amigurumi can also be tricky. Too much stuffing makes it lumpy, while too little makes it flat. The trick is to fill Dizzy just right with fiber fill, making it soft and cuddly.
- Attaching Dizzy’s parts, like the head and wings, can be hard. Take your time and use a tapestry needle to sew the ends of the yarn. This makes a strong, seamless join.
- Using a different yarn weight or hook size is okay. Just adjust your stitch count and tension to keep Dizzy the right size.
- Mistakes are common, but they shouldn’t stop you. If you see a missed stitch or uneven row, don’t worry. Frog the area and start again to fix it.
With practice and these tips, you’ll make a beautiful Dizzy the Duck amigurumi. Happy crocheting!

Conclusion
Making your own Dizzy the Duck amigurumi is a fun journey. It lets you bring a favorite Disney character to life with crochet. By following a step-by-step guide and using the right materials and techniques, you can make a unique and cute plush.
When you finish your Dizzy the Duck, be proud of your handiwork. You’ll also feel good about learning new crochet skills. You might want to show it off to friends and family or try other Disney crochet patterns. Sharing your Dizzy the Duck can inspire others to try amigurumi and enjoy making things by hand.
Whether you keep your Dizzy the Duck for yourself or give it as a gift, you’ll feel accomplished. This crochet adventure will make you appreciate the art of crochet even more. Let your Dizzy the Duck amigurumi become a special part of your home or a gift that brings happiness to others.

