Crochet Your Own Happy Hamster: Free and Easy Pattern
Looking at the fluffy, adorable hamsters in your favorite pastel shades brings joy and peace. Making these cuddly friends is more than a hobby. It’s a journey of self-expression, relaxation, and discovering your creative side. Welcome to the magical world of amigurumi, where you’ll learn to crochet your own happy hamster.
Table of Contents
Getting Started: Essential Materials and Supplies
Start your yarn crafts journey by getting the right materials and supplies. Whether you’re new or experienced, the right tools and materials are key. They help in making easy crochet projects and beginner-friendly patterns.
Required Yarn Types and Colors
For this crochet hamster pattern, you’ll need specific yarn types and colors:
- Acrylic yarn in white
- Acrylic yarn in gray
- Acrylic yarn in pink
Necessary Tools and Notions
You’ll also need some essential tools and notions for your project:
- 4mm crochet hook
- Stitch markers
- Scissors
- Darning needle
- Stuffing material
- 9mm safety eyes
Understanding Yarn Weight and Hook Sizes
In yarn crafts, yarn weight and hook size matter a lot. For this pattern, use a medium-weight (worsted weight) yarn with a 4mm hook. This combo gives the right gauge and a smooth finish to your crochet hamster.
| Yarn Weight | Hook Size | Gauge |
|---|---|---|
| Worsted Weight | 4mm | 6 stitches and 5 rows = 2.5cm (0.98in) |
With these essential materials and the right yarn weight and hook size, you’re ready to start. Dive into your easy crochet projects and beginner-friendly patterns. Let’s begin your yarn crafts journey!
Basic Amigurumi Techniques for Beginners
If you’re new to crochet, learning amigurumi basics is key. Amigurumi is the Japanese art of making cute stuffed animals. It uses a few important techniques to shape your creations well.
The “sc2tog” (single crochet two together) technique is crucial. It helps you make tight, rounded shapes. By combining two single crochet stitches, you decrease stitches, creating the right curves.
Stitch markers are also essential. They help you keep track of rounds in tight patterns. This keeps your stitches even and your project’s shape intact.
Keeping your tension even is vital. Aim for stitches that are not too tight or too loose. With practice, you’ll get better at controlling tension. This will make your amigurumi creations look great and be well-made.
Learning these basic techniques will help you make amazing crochet projects. You can create cute animals or whimsical designs. These skills will be the base of your success.
“Amigurumi, the Japanese art of crocheting cute and cuddly stuffed animals, relies on a few essential techniques that will help you shape your creations with precision.”
Crochet Your Own Happy Hamster: Step-by-Step Guide
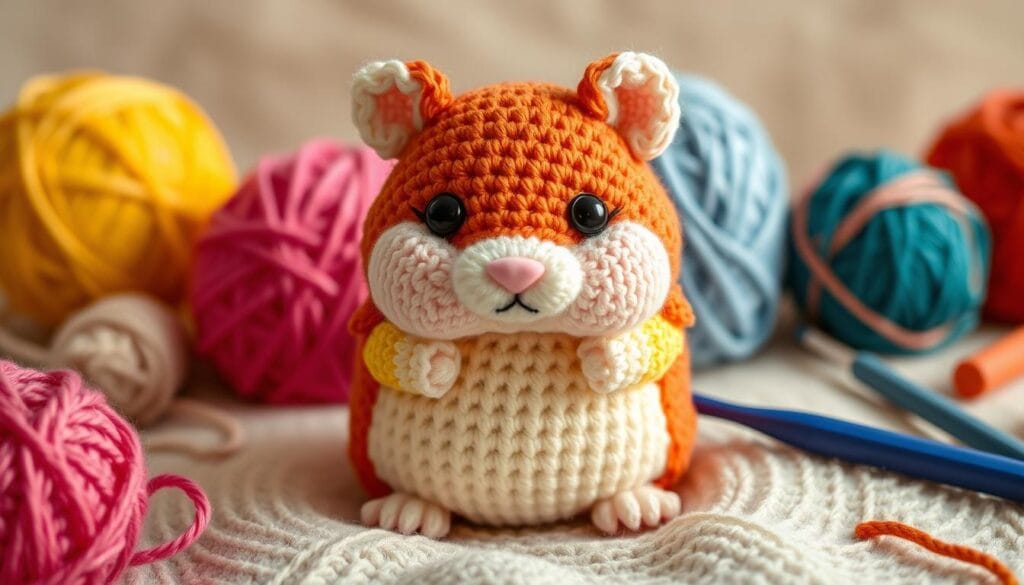
Crocheting a happy hamster is a fun project that lets you show off your creativity. This guide will help you make a round body, shape the head and features, and add cute facial details.
Creating the Perfect Round Body
Begin by following the pattern for the body’s shape. Use single crochet stitches to make a plump, round body. Focus on the stitch counts and shaping to get a symmetrical shape.
Shaping the Head and Features
Then, work on the hamster’s head. Use single crochet stitches to make a rounded, expressive head. Pay attention to the increases and decreases to get the right shape and size.
Adding Character with Facial Details
Finish the hamster’s face with the final touches. Add safety eyes and embroider a nose and mouth. These details will give your hamster personality and make it special.
Success in making a crochet your own happy hamster comes from paying attention to details and following the pattern. With patience and practice, you’ll have a cute, handmade friend. Use amigurumi patterns and crochet tutorials to bring your happy hamster to life!
Mastering the Details: Ears, Paws, and Tail
Creating your own crochet tutorials for handmade toys and cute stuffed animals can be rewarding. The Happy Hamster’s ears, paws, and tail are key to its charm. They tie the whole design together beautifully.
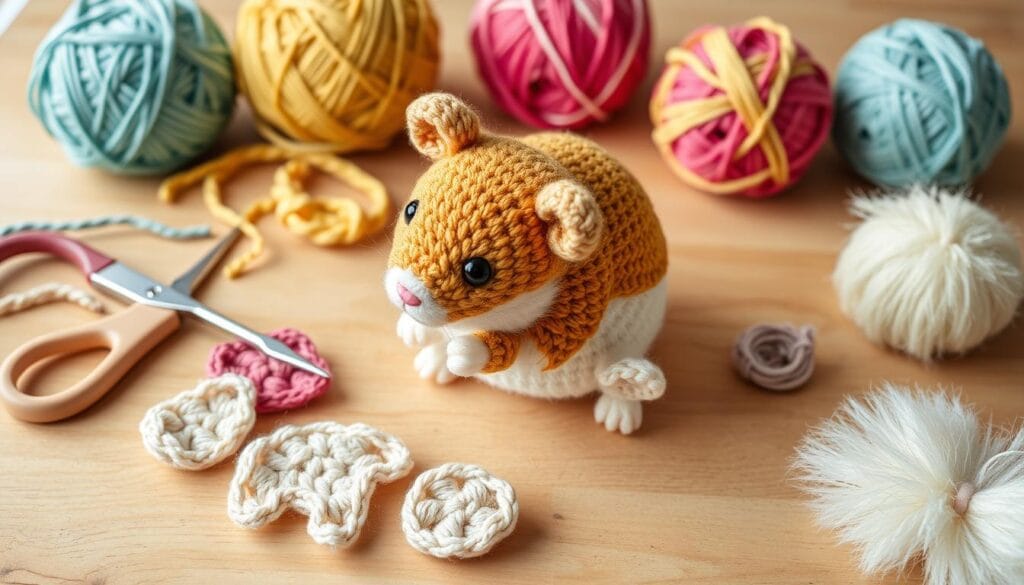
To make the ears, start with small circles in the hamster’s body color. Attach them to the head for that perfect hamster look. For the paws, use the same yarn to make tiny cones or ovals. Finish with a short tail in the body color for a cohesive look.
Make sure the ears, paws, and tail are the right size. They should match your crochet tutorials for handmade toys and cute stuffed animals. This detail will make your Happy Hamster look real and appealing.
“The secret to creating a truly captivating amigurumi is in the small, yet significant, details that bring the design to life.”

Learning to crochet the ears, paws, and tail will improve your skills. Your Happy Hamster will stand out in any crochet tutorials or handmade showcase. With practice and patience, your creation will shine.
Color Combinations and Customization Options
Start your crochet journey with endless color and customization options. Whether it’s a gift or a new yarn addition, the choices are endless.
Choosing the Perfect Color Scheme
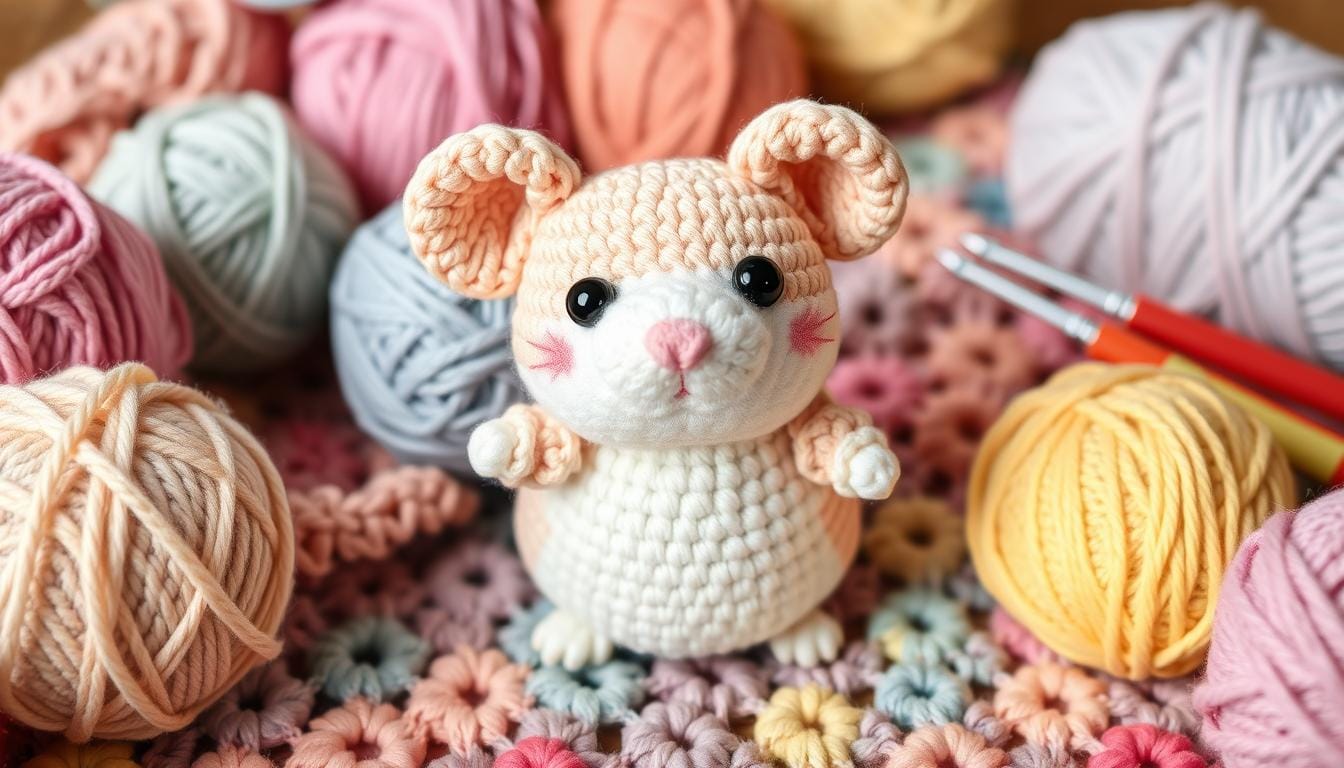
Choose the right yarn colors to make your hamster pop. Try Lion Brand Feels Like Butta in White and Jeans in Khaki for a classic look. Or, go bold with sunshine yellow and electric blue for something unique.
Adding Personal Touches
Make your hamster special with personal touches. Add a miniature scarf, hat, or glasses to show off your style. These details make your gift truly special.
Size Modifications
Crochet is all about versatility, and this pattern is no different. Make your hamster any size you want, from tiny to large. Adjust the pattern to fit your needs perfectly.
Let your creativity shine with your “Crochet Your Own Happy Hamster” project. With so many colors, customization options, and sizes, the possibilities are endless.
Stuffing and Assembly Techniques
Making your own toys, like a cute amigurumi hamster, needs careful attention. You must focus on stuffing and assembly. This way, your crochet toys will be soft, cuddly, and long-lasting.
Polyester fiberfill is the best choice for stuffing. It’s light and works well for even stuffing. As you stuff, make sure it’s evenly spread to keep your toy plump and cuddly.
After stuffing, it’s time to put the parts together. Sewing them securely is key for your toy’s durability. Use a needle and thread to stitch the body, head, and limbs together. Make sure to hide any knots or loose ends for a clean look.
Adding a wire to the hamster’s forelegs can make it poseable. This lets you create arms that can hold small items. It adds a fun, interactive touch to your handmade toy.

Learning to stuff and assemble well turns your crochet tutorials into adorable handmade toys. These toys will bring happiness to you and those who receive them. With practice, your amigurumi patterns will come to life in a delightful way.
Troubleshooting Common Issues
Crafting crochet projects is fun and rewarding. But, even skilled crocheters face problems. We’ll look at common issues and offer solutions. These tips help both beginners and experienced crocheters make perfect projects.
Fixing Uneven Stitches
Keeping your stitches even is key for a nice look. If your stitches are uneven, try these:
- Use stitch markers to keep track of your rounds and prevent mistakes in shaping.
- Practice maintaining an even tension throughout your work by consciously controlling the yarn tension with your non-dominant hand.
- Adjust your grip on the hook and experiment with different holding techniques to find what works best for you.
Adjusting Tension Problems
Tension issues can cause tight or loose stitches and gaps. To fix these:
- Pay close attention to your yarn tension, ensuring it remains consistent as you work.
- Experiment with different hook sizes to find the perfect balance between yarn and hook size for your project.
- If you’re a tight crocheter, try loosening your grip on the hook or using a larger hook size. Conversely, if your stitches are too loose, use a smaller hook or hold the yarn tighter.
Preventing Gaps in Your Work
Gaps in crochet work can be annoying :
| Issue | Solution |
|---|---|
| Gaps at the beginning of rounds | Use a slip stitch to join the round instead of a chain, or try the magic circle method to start your projects. |
| Gaps between color changes | Carry the yarn up the inside of your work or use the intarsia technique to prevent unsightly gaps. |
| Gaps due to uneven tension | Refer to the tips in the “Adjusting Tension Problems” section to maintain consistent tension throughout your project. |
Remember, practice makes perfect in crochet. With patience and persistence, you’ll master these issues. Then, you can create stunning, gap-free projects to show off or give as gifts.
Creative Variations and Accessories
Let your creativity shine and make your crochet hamster stand out. Dive into the world of diy gifts and yarn crafts with new colors and accessories.
Want something fruity? Try making a strawberry-themed or watermelon-inspired cute stuffed animal hamster. Use bright, contrasting yarns to bring these summer treats to life. Add small crocheted leaves, seeds, or stripes for a fun touch.
For a stylish hamster, create a mini crochet keychain or a plush yarn crafts accessory. Add a cozy scarf, a dapper bowtie, or tiny sunglasses. The options for customizing your diy gifts are endless!
Play with different yarn textures for unique looks. Soft, fluffy yarn makes your hamster cuddly, while sleek yarn gives a polished look. Mixing fibers adds depth and interest to your cute stuffed animal.
Unleash your creativity and turn your crochet hamster into a masterpiece. Explore colors, textures, and accessories to make your diy gifts and yarn crafts special.
Care Instructions and Display Tips
Keeping your handmade handmade toys, like your crochet hamster, in top shape is key. To ensure your toy stays looking great, follow these easy care tips. For quick clean-ups, just wipe the surface with a damp cloth.
If you need a deeper clean, wash your amigurumi in cool water with a gentle soap.
Cleaning Your Amigurumi
Proper care and storage are crucial for your crochet creations. Clean your amigurumi hamster as needed with a damp cloth. This will help remove dirt and dust easily.
For a deeper clean, wash it in cool water with a mild detergent.
Storage Recommendations
To keep your crochet hamster looking perfect, store it in a cool, dry spot. Stay away from direct sunlight. Use a clean, breathable container or bag to keep it dust-free and pest-free.
Don’t store your diy gifts in humid or temperature-changing places.
Display Ideas
Your handcrafted amigurumi hamster deserves a special spot in your home. You can display it on a shelf, in a child’s room, or as part of a handmade toys collection. Think about setting up a tiny habitat or scene for your hamster.
For example, a small crocheted bed or a miniature forest setting can make for a fascinating display.

