Cute Leo Amigurumi: Free Crochet Lion Patterns
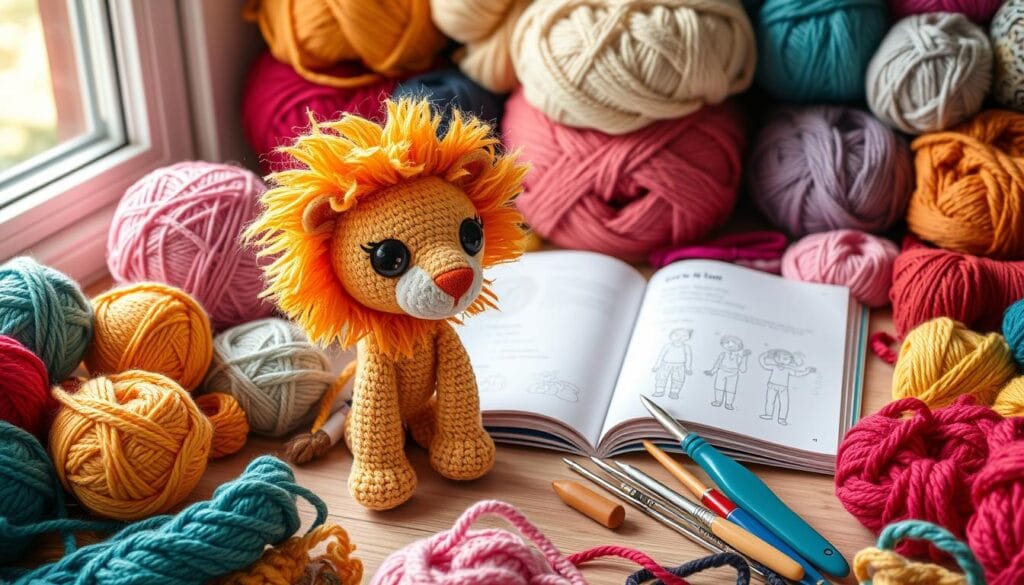
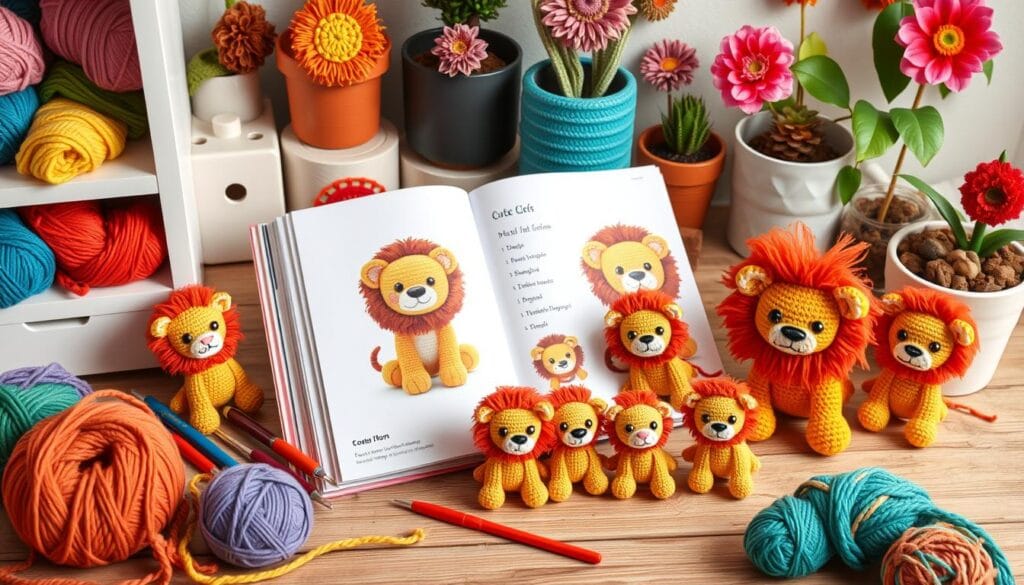
Step into the whimsical world of amigurumi crochet and meet Leo the Lion. This adorable creation is designed by Polinkowyzakatek. It’s a free crochet pattern that will capture your heart and add furry charm to your home.
Polinkowyzakatek is known for her 19 amigurumi patterns. They range from cats and dolls to unicorns and dinosaurs. Leo is her masterpiece, made with a 2.5 mm crochet hook and various stitches. The head has 6 to 48 stitches per round, and the body has 15 to 42 stitches per round.
Table of Contents
Introduction to Leo the Lion Amigurumi Project
Get ready for a fun crochet journey with Leo, the lovable lion amigurumi. You’ll enjoy making it and be proud of the cute result. It’s perfect as a plushie, nursery decor, or a special gift for a baby shower.
What Makes Leo Special
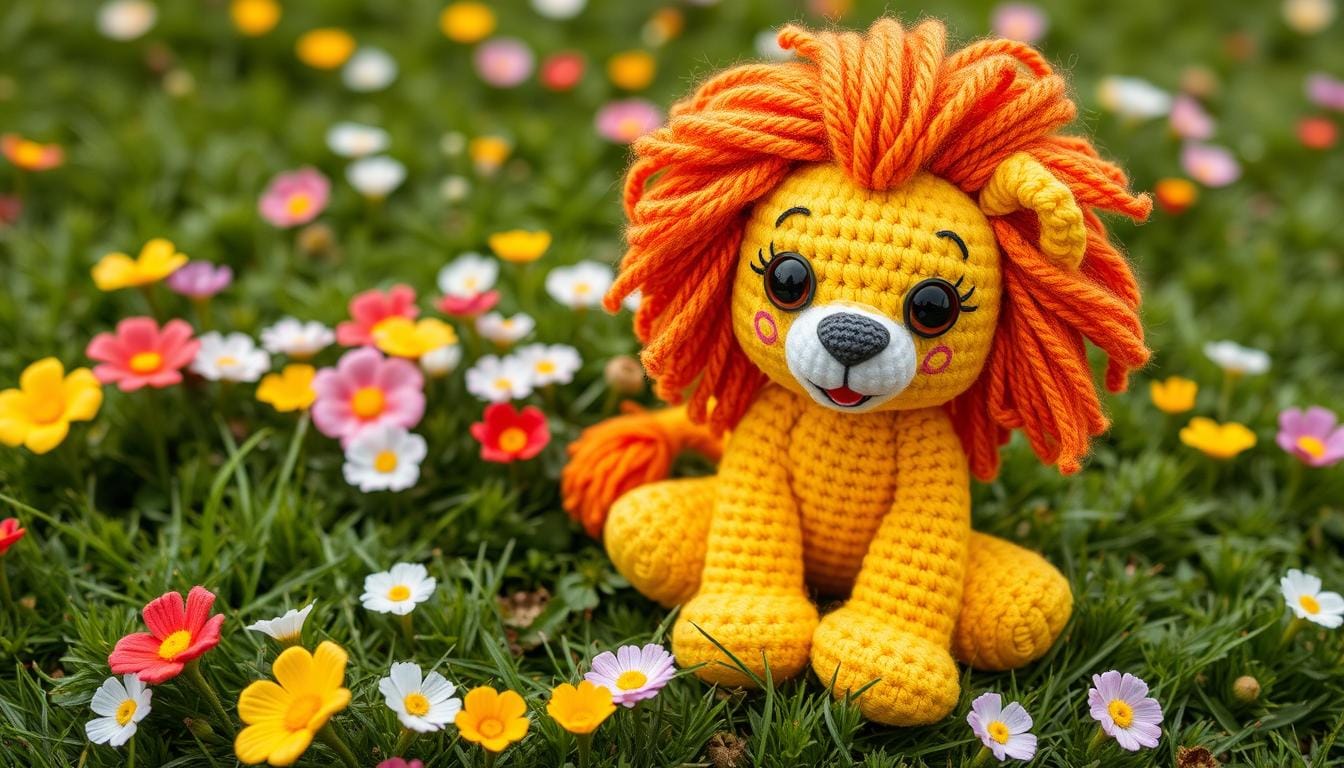
Leo the Lion is a special crochet pattern. It brings the majestic lion to life with its soft design and unique features. Its fluffy mane and cute face will win hearts. Leo adds a playful and cozy vibe to any place, whether it’s for someone special or your own home.
Skill Level and Time Requirements
The Leo the Lion amigurumi is easy to make, perfect for beginners. The pattern has clear steps and simple stitches. You can finish it in a few hours or a couple of days, making it a quick and fulfilling project.
Perfect for Gifting Occasions
Leo the Lion amigurumi is a great gift for any event. Its small size and cute look make it perfect for nurseries, as a toy, or a thoughtful present. Made with care, it will surely bring happiness to whoever receives it.
Essential Materials and Tools for Your Cute Leo Amigurumi
To make your own Leo the Lion amigurumi, you need the right materials and tools. Here’s what you’ll need to bring this cute crochet to life:
- Yarn: YarnArt Jeans is the best choice for its durability and bright colors.
- Crochet hook: A 2.5 mm hook is perfect for the right tension and stitch.
- One pair of 8 mm safety eyes to make Leo’s eyes pop.
- Scissors for cutting yarn and adding the final touches.
- Stitch marker or a scrap yarn to mark your progress.
- Soft stuffing to fill and shape your handmade plushie.
- A yarn needle for joining and embroidery.
You’ll also need extra yarn colors like white, black, and brown. These are for the eyes, nose, and other details that make your crochet toys stand out.
| Material | Recommended Brand/Type | Quantity |
|---|---|---|
| Yarn | YarnArt Jeans | Multiple skeins |
| Crochet Hook | 2.5 mm | 1 piece |
| Safety Eyes | 8 mm | 1 pair |
| Scissors | Standard Sewing Scissors | 1 piece |
| Stitch Marker | Scrap Piece of Yarn | 1 piece |
| Stuffing | Soft Polyester Fiberfill | As needed |
| Yarn Needle | Tapestry Needle | 1 piece |
With these materials and tools, you’re ready to make your own cute crochet toys and handmade plushie creations.
Understanding Crochet Terminology and Abbreviations
Start your journey with beginner crochet projects and amigurumi patterns. Learn the key crochet terms and abbreviations. This will help you follow the steps to make the cute Leo the Lion Amigurumi.
Basic Stitches Explained
The pattern uses US crochet abbreviations like ch (chain), st (stitch), sl st (slip stitch), SC (single crochet), hdc (half double crochet), inc (increase), dec (decrease), FLO (front loop only), BLO (back loop only). Knowing these basic stitches is crucial for following the pattern correctly.
Pattern-Specific Terms
The pattern also includes pattern-specific terms you’ll need to learn. These might cover making the lion’s mane or shaping the face. Make sure to understand these terms as they are explained in the pattern.
Reading the Pattern Instructions
After learning the basic stitches and specific terms, you’re ready for the instructions. The pattern will mix written steps and diagrams.
Step-by-Step Head and Facial Features Construction
Making a perfect amigurumi lion or kawaii lion begins with the head and face. This detailed step involves 24 rounds of crochet. It starts with 6 single crochet (sc) in a magic ring and grows to 48 stitches before decreasing to form the head.
To make the snout, you’ll crochet in 5 rounds, shaping it just right. The ears, made in 4 rounds, are then folded and sewn together. This adds the last detail to the lion’s face.
- Begin by crocheting 6 sc in a magic ring.
- Increase stitches over the next 24 rounds, reaching 48 sc.
- Work the snout in 5 rounds, shaping it with increases and decreases.
- Crochet the ears in 4 rounds, then fold and sew them together.
- Attach the snout and ears to the head, securing them in place.
With patience and care, you’ll make a captivating amigurumi lion or kawaii lion head. It will be the heart of your cute creation.
“The key to a successful amigurumi lion or kawaii lion project lies in the meticulous construction of the head and facial features.”
Creating the Perfect Lion’s Mane
Creating your crochet lion comes alive with the perfect mane. This fluffy crown adds authenticity and shows off your crochet skills. It’s essential for a captivating lion, whether you’re experienced or just starting.
Mane Construction Techniques
To start, chain 28 stitches in orange yarn. Then, turn and work 3 half double crochet (hdc) stitches in each chain. This makes 90 stitches, creating a full, beautiful mane.
Attaching the Mane Securely
After making the mane, attach it to the lion’s head. Place it behind the ears for an even look. Use a tapestry needle and orange yarn to stitch it in place, making sure it’s secure and looks great.
With the mane on, your lion looks regal and charming. The mane and details make your lion a masterpiece. It’s perfect for showing off or giving as a gift.
Body and Limbs Assembly Guide
Making a perfect amigurumi crochet toy needs care and detail. We’ll show you how to put together the body and limbs of your Leo the Lion project step by step.
First, the arms are made in 15 rounds, with a bit of stuffing at the bottom. The legs are created in 8 rounds each and then connected with chain stitches. The body is crocheted around the legs, starting with 36 stitches and increasing to 42 before decreasing back to 24 stitches.
- Start by creating the arms, following the pattern’s instructions for 15 rounds with minimal stuffing at the bottom.
- Next, work on the legs, crocheting each one in 8 rounds and then joining them with chain stitches.
- With the arms and legs in place, it’s time to construct the body. Begin by crocheting 36 stitches, then increase to 42 stitches before decreasing back to 24 stitches.
The body and limbs assembly is key to bringing your Leo the Lion amigurumi pattern to life. By following the instructions carefully and paying close attention to the stitch counts, you’ll ensure a perfectly proportioned and well-structured crochet toy.

Remember, the key to success in any crochet toys project lies in attention to detail and a willingness to learn. With patience and practice, you’ll soon be creating your own adorable Leo the Lion amigurumi to share with loved ones.
Crafting Details: Eyes, Nose, and Tail
To make your kawaii lion stuffed animal come to life, focus on the facial features and fluffy tail. This guide will help you craft your Leo the Lion amigurumi perfectly.
Safety Eye Installation
Begin by attaching the 10mm plastic safety eyes to the head. Place them evenly on both sides of the snout.
Embroidery Techniques
Next, embroider the nose with a yarn color that matches. Use even stitches for a realistic nose on the snout. Add details around the eyes and muzzle to make your lion look even cuter.
Tail Assembly Tips
To make the tail, start with a 5-stitch chain. Then, crochet 4 stitches into the chain and slip stitch to finish. Brush out the tail with mane-colored yarn for a soft look.
| Specification | Detail |
|---|---|
| Size | Body length: 3 inches |
| Difficulty Level | ★★☆☆☆ Familiar Beginner |
| Materials | Super bulky weight 6 yarn, 5mm crochet hook, 10mm plastic safety eyes (x2), yarn needle, stuffing, scissors |
| Stitches/Terms Used | FO = fasten off, ch = chain, sl st = slip stitch, sc = single crochet, hdc = half double crochet, dc = double crochet, tr = treble (triple) crochet, inc = increase (insert 2 sc in same st), dec = decrease (sc 2 sts together) |
| Yarn | Designed with Hobbii Honey Bunny yarn, a chenille velvet yarn |
| Usage | Can be used as a keychain, ornament, scent sachet, party favor, baby mobile addition, gift, “pocket pal” or fidget toy, cat toy, craft fair product, charity donation |
| Purchase Options | Free video tutorial, free written pattern, paid ad-free PDF pattern with photo references |
| Terms of Use | Permission to sell finished products made from this pattern, credit to Sweet Softies required |
| PDF Pattern | Printable, ad-free, including photo references, available for purchase on store, Ravelry, or Etsy. |
Follow these steps to craft your kawaii lion’s enchanting features and fluffy tail.
Size Modifications and Yarn Alternatives
Want to make your Leo the Lion amigurumi bigger or smaller? It’s easy with the right yarn and hook. Just play with different yarn weights and hook sizes to get the size you want.
For a bigger Leo, use a thicker yarn like worsted or Aran. Choose a hook that’s one size up from what the yarn label says. For a smaller Leo, go with a thinner yarn like DK or sport. Use a hook that’s one size down from the yarn’s suggestion.
It’s important to crochet tightly, no matter the yarn. This keeps the stuffing inside and makes your amigurumi look neat and clean. It’s great for gifts or keeping for yourself.
| Yarn Weight | Suggested Crochet Hook Size | Resulting Amigurumi Size |
|---|---|---|
| Worsted/Aran | G/6 (4.0 mm) or H/8 (5.0 mm) | Larger Leo |
| DK/Sport | E/4 (3.5 mm) or F/5 (3.75 mm) | Smaller Leo |
Amigurumi patterns are all about being flexible. Try different yarns and hooks to make a Leo that’s just right for you. Be creative and enjoy making your crochet project!

Troubleshooting Common Challenges
Starting your beginner crochet project for a handmade plushie can have its hurdles. Don’t worry, we’ve got tips to help you get past these challenges. With our help, your Leo the Lion Amigurumi will be a hit.
Maintaining Even Stitches
Getting a tight, even stitch is key for your Leo the Lion Amigurumi. Pay attention to your tension and keep a steady pace. Don’t pull the yarn too hard, as it can mess up the fabric. Find a grip that lets the yarn flow smoothly.
Proper Stuffing Techniques
Stuffing right is crucial for your plushie’s shape and firmness. When stuffing Leo the Lion, spread the stuffing evenly in the body, limbs, and head. Don’t overstuff, as it can make it look misshapen. Aim for a firm but not too dense stuffing for a cute and cuddly look.
Mastering these techniques will help you make a Leo the Lion Amigurumi that’s both adorable and sturdy. With practice and patience, you’ll be making beginner crochet projects like a pro soon!
Conclusion
The cute Leo the Lion amigurumi pattern is a fun crochet project. It lets you make a cute and cuddly friend.
The pattern comes with clear instructions and explanations of crochet terms.
This crochet lion pattern is perfect for a nursery decoration or a special gift. You can change the size and yarn to make it your own.
Start this project and enjoy the process. Take pride in the adorable amigurumi you create. It will add a special touch to your home or someone’s life.
Let the cute Leo amigurumi pattern guide you in making a lovable lion. It will bring joy and warmth to your space or a loved one’s heart. Have fun and enjoy the finished piece.

