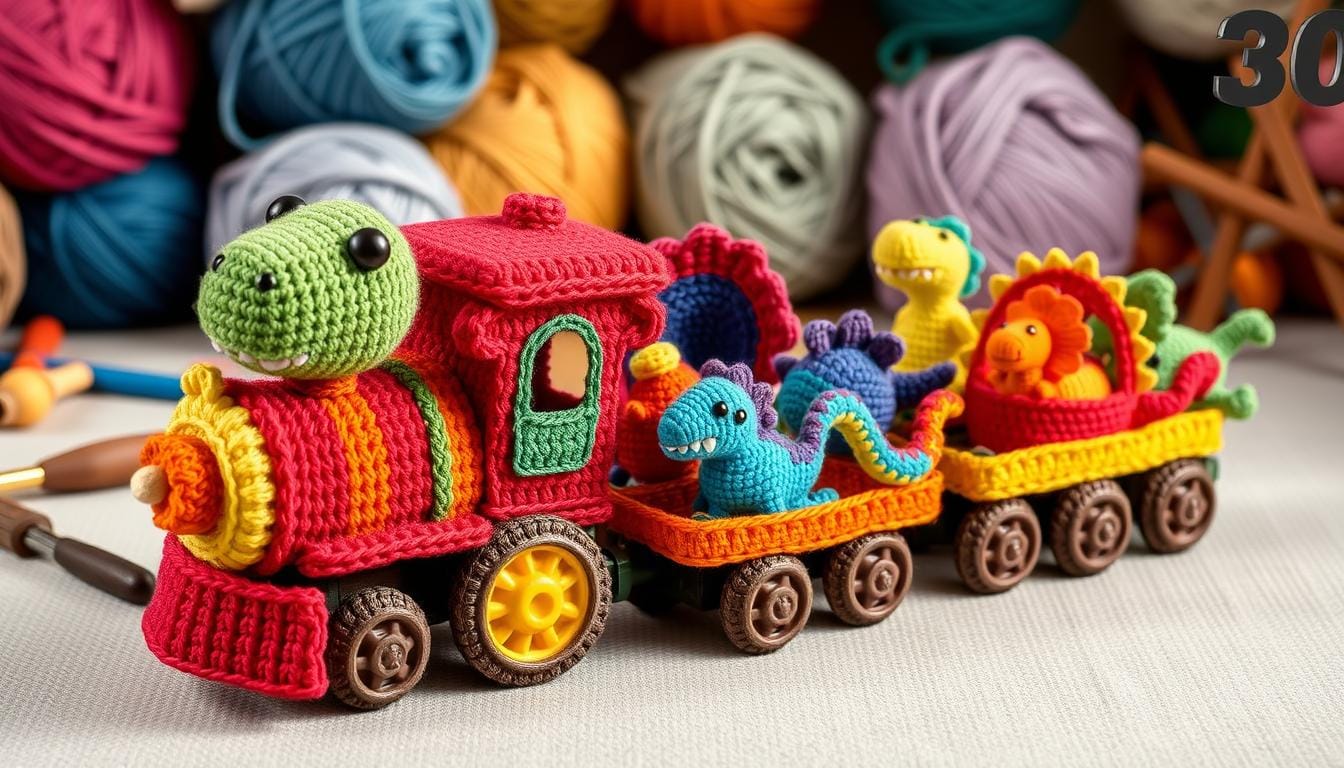
Super Easy Free Dinosaur Train Amigurumi Crochet Pattern for Beginners
Unleash your creativity and bring the beloved Dinosaur Train characters to life with this beginner-friendly, free crochet pattern. You’ll get a step-by-step guide to making a delightful Dinosaur Train amigurumi. It measures about 6″ tall when sitting or 8″ tall when standing.
Using worsted weight yarn and a 4.0mm (G) crochet hook, you’ll learn to make the body, head, legs, arms, tail, and spikes of this cuddly dinosaur. You’ll focus on invisible decreases to get a smooth and polished finish. This ensures your creation looks as professional as it feels.
Table of Contents
Getting Started with Your Dinosaur Train Amigurumi Project
Are you excited to start a kids toy crochet project? You’re going to make a amigurumi dinosaur from Dinosaur Train. Getting ready is just as fun as making it!
Essential Materials and Tools
To make your Dinosaur Train amigurumi, you’ll need these things:
- Medium (4) worsted weight yarn in multiple colors, such as green, brown, and yellow
- A 4.0mm (G) crochet hook
- 9mm safety eyes
- Poly-fil stuffing
- Tapestry needle
- Stitch markers
- Scissors
Understanding Pattern Terminology
Learn the basic crochet terms you’ll see in the pattern. These include:
- st (stitch)
- sl st (slip stitch)
- ch (chain)
- SC (single crochet)
- SC2tog (single crochet 2 stitches together)
Basic Crochet Skills Required
This amigurumi dinosaur pattern is perfect for beginner crochet fans. You’ll need to know how to:
- Work in the round
- Increase and decrease stitches
- Change colors
With these materials, tools, and skills, you’re ready to make a cute kids toy crochet. It will make any young Dinosaur Train fan happy.
Free Dinosaur Train Amigurumi Crochet Pattern
Explore the world of PBS Kids’ Dinosaur Train with this free crochet pattern. You’ll learn how to make your own Dinosaur Train character step by step.
The pattern uses a magic ring to start the body. This ensures a strong and smooth base. You’ll follow specific stitch counts to keep the shape right. The instructions cover shaping the body, head, legs, arms, and the dinosaur’s spikes.
- Start with a magic ring to crochet the body.
- Use round-by-round stitch counts to shape the body and head.
- Make the legs and arms, stuffing each as you go.
- Attach the head and add the spikes to the back.
- Finally, put everything together to complete your Dinosaur Train Amigurumi.
This free pattern lets you create your own Dinosaur Train friend. It’s great for PBS Kids fans, dinosaur lovers, and anyone who enjoys crochet. You can use bright colors and add your own special touches to make it unique.
| Yarn Type | Recommended Yarn Weight | Crochet Hook Size |
|---|---|---|
| Worsted Weight | Medium (4) | H/8 (5.00 mm) |
Let your creativity flow with this free Dinosaur Train Amigurumi crochet pattern. It’s a chance to improve your crochet skills and bring PBS Kids’ Dinosaur Train to life in your own way!
Yarn Selection and Color Recommendations
Choosing the right yarn is key to making your Dinosaur Train amigurumi stand out. We suggest using WeCrochet / Knit Picks Brava Worsted yarn. It has great stitch definition and a soft, durable texture that’s perfect for your dinosaur.
Best Yarn Types for Amigurumi
For amigurumi, pick a yarn that’s easy to work with and looks smooth. WeCrochet / Knit Picks Brava Worsted is a great choice because it’s soft yet structured. You can also try velvet chenille yarns like Hobbii Honey Bunny or Toucan for a softer feel.
Color Combinations for Authentic Look
To get the Dinosaur Train’s bright and lively look, use purple, pink, and white. You’ll need about 80 yards of purple, 22 yards of pink, and 4 yards of white. These colors will make your dinosaur amigurumi look real and eye-catching.
Yarn Weight Considerations
When making amigurumi, pick a yarn weight that keeps your stitches clear and your project structured. WeCrochet / Knit Picks Brava Worsted is a good choice because it’s just right in weight and durability. This ensures your dinosaur stays in shape and looks professional.
Safety Eyes and Alternative Options
When making your Dinosaur Train amigurumi, the pattern suggests using 9mm safety eyes. But, if it’s for a baby or young child, safety comes first. Instead, you can use yarn, felt, or embroidery to avoid choking hazards.
The eyes should be stitched between rounds 8 and 9 of the head. Make sure there are about 7 stitches between them. This keeps the toy safe and looks great.
| Feature | Details |
|---|---|
| Customer Reviews | 4.0 out of 5 stars based on 74 ratings |
| Best Sellers Rank | #67,289 in Arts, Crafts & Sewing, #286 in Crochet Kits |
| Age Range | Suitable for Kids and Adults |
| Stegosaurus Size | Big (10″ across) and Small (6″ across) |
| Yarn Weight | Super Bulky Weight 6 Chenille Velvet |
| Pattern Availability | Both Big and Small Sizes in PDF |
By thinking about crochet toy safety and looking at other amigurumi eyes choices, you make your Dinosaur Train toy safe and fun for your child.

Creating the Dinosaur’s Body Structure
Making the body of your Dinosaur Train amigurumi is key to making it come alive. Learning the amigurumi techniques and crochet shaping will help you make a dinosaur that looks great and is the right size.
Body Shaping Techniques
The body starts with 6 single crochet stitches in a magic ring. You’ll use increases and decreases to shape it. This crochet shaping helps make the dinosaur look real.
Stitch Count Guide
The pattern has a stitch count guide to keep your dinosaur the right size. It helps you make a figure that’s about 6″ tall when sitting or 8″ tall when standing.
Stuffing Tips
When stuffing the body, make sure to do it evenly. Add poly-fil as you go to keep the shape right. This makes the dinosaur look great and feel soft.
Learning these crochet shaping skills and following the guide will help you make a wonderful Dinosaur Train amigurumi. Take your time, be careful, and enjoy stuffing it to life.
Detailed Head and Face Assembly
Making the perfect crochet head and face for your Dinosaur Train Amigurumi is a detailed task. Start by crocheting the head separately from the body. This lets you shape the snout and place the safety eyes just right for a real dinosaur look.
To make the snout, follow the pattern’s steps for rounds 2-3. Use embroidery to draw the nostrils, leaving 3 stitches between them for a natural look. This detail will make your Dinosaur Train Amigurumi come to life.
Safety eyes are key for the Dinosaur Train Amigurumi’s face. Check the pattern for the right size and spot for the eyes. Make sure they’re securely attached and show off the character’s personality. Once the head and face are done, you can join it to the body, finishing your Dinosaur Train Amigurumi’s look.
| Crochet Head Assembly Tips | Amigurumi Face Details |
|---|---|
|
|
By following these detailed steps for crochet head assembly and amigurumi face details, you can make your Dinosaur Train Amigurumi project stand out. The effort you put into these steps will make your finished project a highlight for any crafter.

Crafting Perfect Dinosaur Spikes and Details
To make the Dinosaur Train character come alive through crochet, you need to focus on the details. The spikes are a key part of this. The free pattern for Dinosaur Train amigurumi shows how to make 7 spikes using pink yarn.
Spike Placement Guide
The spikes are made flat and then folded to look 3D. They are placed in a line, starting at the tail tip, going up the back, and over the head. This makes the Dinosaur look just like it does in the TV show.
Color Change Techniques
Smooth color changes are key to the Dinosaur Train’s look. The pattern helps you switch colors smoothly between the main body and the spikes. This makes the amigurumi look professional and clean.
Learning to make spikes and change colors well will make your Dinosaur Train amigurumi stand out. It will be a hit with kids and adults who love the show.
Legs and Arms Assembly Guide
Complete your Dinosaur Train Amigurumi by adding legs and arms. The pattern shows how to make 4 strong legs and 2 fun arms. Attach the legs over rounds 4-5 of the body, making sure they meet in the middle for balance.
To add the arms, follow the guide to place them over rounds 12-18 on each side. This will make your Dinosaur Train Amigurumi look natural and balanced. With these steps, you’ll easily add the essential limbs to your amigurumi.
Enjoy the process of crocheting each leg and arm. Pay attention to the stitch counts and placement as shown in the pattern. Your Dinosaur Train Amigurumi will be a joy to behold, ready to delight everyone around it.