Keroppi Plush Free Crochet Pattern for Every Fan
As a kid, I loved the Sanrio world and its cute characters. Keroppi, the green frog, was my favorite. His smile, round body, and red bow won many hearts, including mine. Years later, making a Keroppi plush excited me.
In this guide, you’ll learn to make your own Keroppi plush. If you love Sanrio, want a cute toy, or enjoy crochet, this project will make you happy.
Table of Contents
Introduction to the Beloved Sanrio Character Keroppi
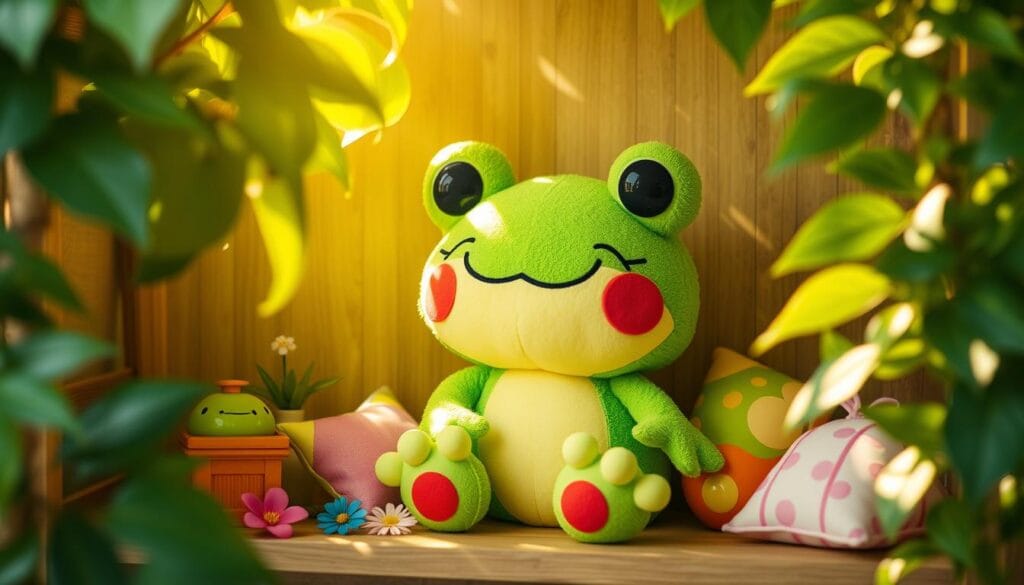
Keroppi, the cute frog-like character from Sanrio, has won many fans worldwide. His bright eyes, sweet smile, and loving personality have made him a favorite. He is loved by fans of sanrio characters and kawaii design.
History of Keroppi in Sanrio Universe
Keroppi was introduced in 1988 as part of Sanrio’s growing family of characters. Since then, he has become a key part of Sanrio. He can be found on many items, from plush toys to stationery and home decor. His charm has won the hearts of fans of all ages.
Why Keroppi Makes a Perfect Crochet Project
Keroppi is a great crochet project for crafters. His simple yet unique features, like his round body and big eyes, are perfect for amigurumi patterns. Crocheting Keroppi lets you create a dear friend that brings joy and whimsy to your space or as a gift for a Keroppi fan.
“Keroppi’s endearing presence and simple, yet iconic design make him a perfect choice for crocheters who love to create kawaii masterpieces.”
Essential Materials and Tools for Your Keroppi Plush
To make the cute Keroppi plush, you need the right materials and tools. You’ll need these things to bring this Sanrio character to life:
- Worsted weight yarn in green, white, black, and red
- 3.75mm crochet hook
- Fiber fill for stuffing
- Scissors
- Yarn needle
- Pins
- Stitch markers
- Embroidery thread or black yarn for details
- 12mm safety eyes
These top-notch crochet supplies are key for a precise and detailed Keroppi plush. The worsted weight yarn in Keroppi’s colors lets you get the character’s look right. The 3.75mm hook size is perfect for the body and features.
Fiber fill is vital for stuffing. The yarn needle, scissors, and pins help with putting it together and finishing it. Stitch markers keep you on track, and embroidery thread or black yarn adds Keroppi’s facial features and details.
Lastly, 12mm safety eyes are essential for Keroppi’s look. With these materials and tools, you’re ready to make a delightful Keroppi plush that any fan will love.
| Item | Description | Price |
|---|---|---|
| Caron Simply Soft Yarn – Black | Worsted weight yarn for Keroppi’s features | $2.99 (reduced from $5.49) |
| Crochet Hook – 3.75mm | Hook size for creating the Keroppi plush | $4.99 |
| Fiber Fill | Stuffing material for the plush | $5.99 |
| 12mm Safety Eyes | Eyes for the Keroppi plush | $2.99 (pack of 10) |
With these essential materials and tools, you’re set to make your own Keroppi plush from the crochet toys and stuffed animal pattern.
Basic Crochet Techniques for Beginners
We’ll cover essential stitches, color changes, and how to use safety eyes. These skills are crucial for making your own Keroppi plush.
Understanding Crucial Stitches
The Keroppi plush pattern uses several basic stitches. You’ll need to know how to do a chain (ch), single crochet (sc), increase (inc), decrease (dec), magic ring (mr), and slip stitch (ss). These stitches are important for making Keroppi look right.
For some parts, you’ll need to crochet in back loops only (BLO). This helps create Keroppi’s unique look.
Mastering Color Changes
Color changes are a big part of this free crochet tutorial. Keroppi is known for his green color. Learning to switch colors smoothly is important for a clean look.
Follow the pattern’s instructions carefully. They will help you change colors like a pro.
Working with Safety Eyes
Putting safety eyes in the right spot is key for Keroppi’s face. This project will show you how to do it right. Make sure to follow the pattern closely for the best results.
Learning these basic crochet techniques will help you make a wonderful Keroppi plush. It’s a free crochet tutorial that any Sanrio fan will love. Let’s get started on our beginner-friendly project!
“Crochet is the art of creating fabric from yarn, thread, or other material, using a hooked needle. It’s a skill that allows you to transform simple materials into intricate, beautiful creations.”
Keroppi Plush Free Crochet Pattern Guide
Making your own Keroppi plush is a fun way to bring the Sanrio character to life. This guide uses simple crochet techniques.
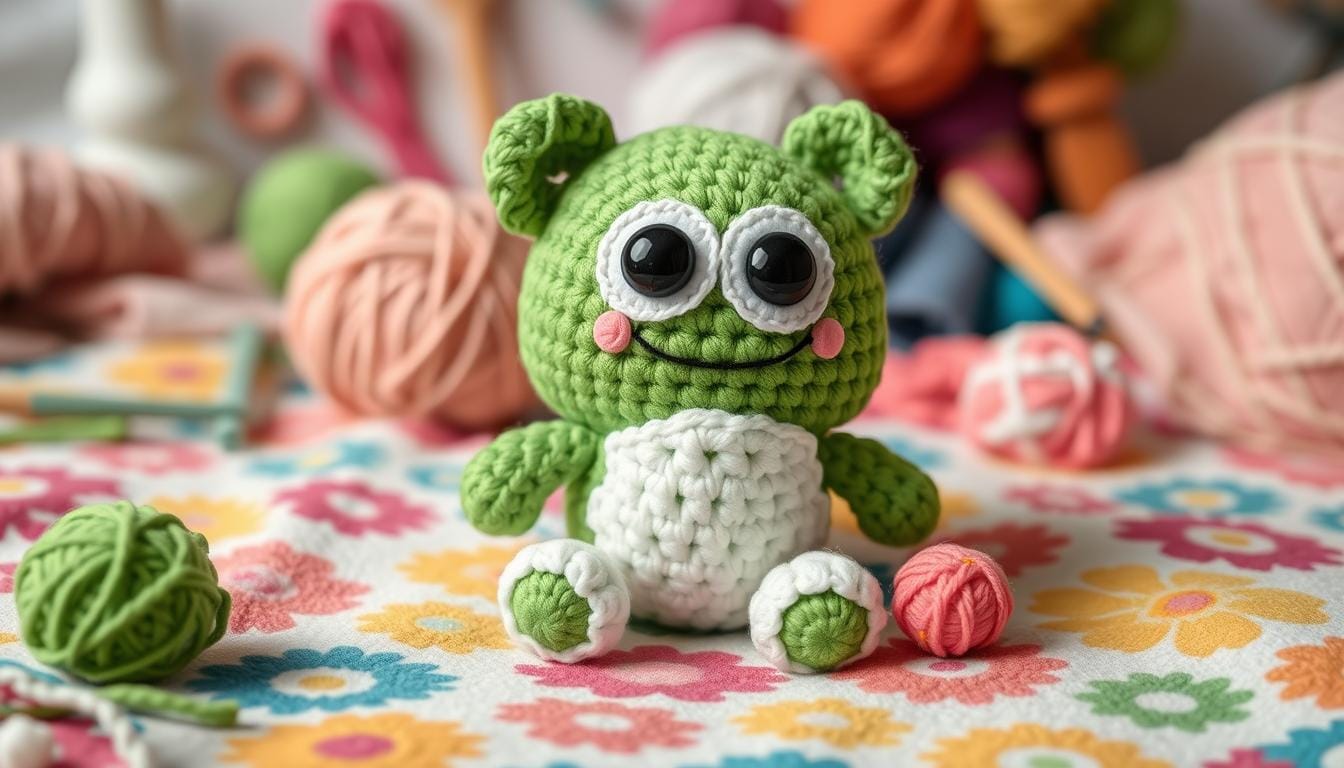
Keroppi’s round body is the heart of the design. It’s made with increases and decreases. To get Keroppi’s chubby cheeks, you’ll use bobble stitches. This adds a whimsical touch to your plush.
The pattern also guides you in making Keroppi’s eyes, mouth, and bow. These details ensure your plush looks just like the character.
This free Keroppi plush pattern is perfect for anyone. It’s a rewarding and fun project. With step-by-step instructions and visuals, you can make a cute Keroppi to share with friends and family.
- Start by crocheting 6 single crochets (sc) into a magic ring to form the head.
- Work 2 rounds without increasing to reach a total of 36 sc for the head.
- Decrease 1 sc every 6 stitches around the head until you have 18 sc.
- To close the head, decrease 1 sc every 4 stitches until you have 6 sc remaining.
- Crochet 3 sc into a magic ring for each ear, then increase to 6 sc per ear.
- Create the arms and legs with 4 rounds of 6 sc each, without increasing.
- Construct the body with 12 sc in the initial magic ring, increasing to 36 sc.
- Finish with a bow made from a chain of 6 red stitches and 15 sc crocheted into a ring.
By following this free Keroppi plush crochet pattern, you’ll make a delightful Sanrio character. Let your keroppi plush free crochet project come to life!
Step-by-Step Body Assembly Instructions
Creating your Keroppi plush is a fun and rewarding journey. You’ll start with the round body and add the special features that make Keroppi so lovable. Follow these steps to make your plushie stand out.
Creating the Signature Round Body
First, sew the body pieces together carefully. Make sure it’s smooth and even. Stuff it with polyester fiberfill to keep it plush and round.
Close the bottom with invisible stitches. This completes the base of your Keroppi.
Crafting the Distinctive Features
- Eyes: Attach the safety eyes or brads to the face. Make sure they’re in the right spot for Keroppi’s smile.
- Mouth: Use a different yarn color to embroider Keroppi’s wide, curved mouth. It adds to the character’s charm.
- Limbs: Crochet the arms and legs and attach them to the body. This makes Keroppi look balanced and right.
Adding Final Details
The last steps make your Keroppi plush truly special. Sew on the red bow to finish the look. You can also add small details or accessories to make it even more unique.
With these instructions, you’re ready to make a beautiful Keroppi plush. Enjoy the process and let your creativity shine!
Customization Options and Color Variations
Making your own Keroppi plush is a fun way to get creative. You can change the colors to make it your own. The classic Keroppi is green, white, and red, but you can try other colors too.
You can also change the size of your Keroppi. Use a different crochet hook and yarn to make it bigger or smaller. This way, your Keroppi can fit perfectly in your home or match your style.
Adding special touches makes each Keroppi unique. You can add bows, hats, or scarves to show off your style. You can even change its face to make it smile or wink. This makes your Keroppi special and full of personality.
| Customization Option | Description |
|---|---|
| Color Variations | Explore a range of vibrant hues beyond the classic Keroppi green, white, and red palette to create your own distinctive designs. |
| Size Adjustments | Modify the overall dimensions of your Keroppi plush by using a different crochet hook size and yarn weight. |
| Accessory Additions | Incorporate bows, hats, scarves, or other accessories to personalize your Keroppi and reflect your unique style. |
| Facial Expressions | Experiment with stitched smiles, winks, or other facial features to infuse your Keroppi with its own personality. |
Customizing your Keroppi plush is all about making it your own. You can choose bright colors, fun accessories, or different faces. The Keroppi pattern is a blank canvas for your creativity.

Troubleshooting Common Challenges
Starting your free crochet tutorial for a Keroppi plush can have its ups and downs. But don’t worry! With patience and the right tips, you can beat these challenges. You’ll end up with a beginner-friendly project that you’ll be thrilled with.
Avoiding Common Mistakes
Keeping your crochet tension even is key for Keroppi’s shape. Make sure you’re not crocheting too tight or too loose. This can cause your stitches to be uneven.
Use stitch markers to mark your rounds. Double-check your stitch counts to avoid mistakes. This helps you stay on track and avoid errors.
Fixing Uneven Stitches
Seeing uneven stitches? It’s okay! With practice and the right tweaks, you can fix it. Try pulling on the stitches to even out the tension. Or, use a smaller crochet hook to tighten loose spots.
Being consistent is important. Keep your tension steady as you crochet.
Creating your Keroppi plush is a rewarding journey. Enjoy the learning and don’t hesitate to try new things. With these tips, you’ll make a wonderful, beginner-friendly project that brings Keroppi to life.
Care Instructions and Display Tips
Proper care and display are key to keeping your handcrafted Keroppi plush in top shape. Whether you made it yourself or bought it, these tips will help keep it looking great. They ensure your Keroppi plush stays charming and delightful.
Caring for Your Keroppi Plush
To keep your Keroppi plush looking its best, gentle hand washing or spot cleaning is recommended. Avoid machine washing, as it may damage the intricate stitches and details. Instead, use a mild detergent and lukewarm water to gently clean any soiled areas. Carefully pat dry and reshape the plush before allowing it to air dry completely.
Displaying Your Keroppi Plush
The soft, tactile nature of the crocheted Keroppi plushie makes it a delightful addition to any space. Consider creating a themed shelf or display, showcasing your Keroppi alongside other beloved Sanrio characters. This whimsical arrangement can add a touch of joy and nostalgia to a child’s room or a cozy corner in your home.
Alternatively, the Keroppi plush can serve as a charming accent piece, lending a playful and endearing ambiance to your décor. Arrange it on a bookshelf, a side table, or even a window sill, allowing its vibrant colors and endearing expression to bring a smile to everyone who sees it.
By following these care instructions and display tips, you can ensure that your Keroppi plush remains a cherished and well-loved companion for years to come. It will bring a touch of whimsy and delight to your surroundings.

Conclusion
Making a Keroppi plush is a fun mix of crafting and loving a Sanrio character. This keroppi plush free crochet project is great for all skill levels. It results in a special, handmade item that shows Keroppi’s friendly side.
Whether it’s for yourself or as a gift, the Keroppi plush will make anyone happy. It’s perfect for fans of sanrio characters.
With this guide, you can make your own Keroppi plush. You’ll learn to make the round body and add Keroppi’s special features.
The Keroppi plush pattern is a fun and easy project. It’s a great way to enjoy making something special and connect with the Sanrio world.

