Mickey Mouse Free Crochet Pattern for Disney Enthusiasts
Mickey Mouse has always been a favorite among kids and adults. His big ears and smile bring magic and joy. Now, you can make your own Mickey Mouse with this easy crochet pattern.
Table of Contents
Essential Materials and Tools for Mickey Mouse Crochet Project
Getting the right materials and tools is crucial for a successful Mickey Mouse crochet project. It doesn’t matter if you’re an experienced crafter or just starting. You’ll need the right yarn, crochet hooks, and notions to make your Disney-inspired creation.
Required Yarn Types and Colors
For your Mickey Mouse amigurumi, you’ll need specific yarn types and colors:
- Black cotton yarn for the main body and facial features
- White cotton yarn for the ears and accents
- Red cotton yarn for the iconic shorts or bow
Necessary Crochet Hooks and Notions
Use a crochet hook between 2.0mm and 2.5mm for tight stitches. Choose a hook that’s one or two sizes smaller than the yarn weight. This ensures a tight gauge.
You’ll also need a few essential notions:
- Yarn needle for weaving in ends
- Polyester fiberfill for stuffing
- A sewing needle for securing the felt pieces
- Scissors for trimming yarn
Additional Supplies for Details and Finishing
For a polished look, use safety eyes instead of felt for the eyes. This makes your Mickey Mouse amigurumi look more lifelike and refined.
“Crafting at home can increase mindfulness and reduce stress by requiring focus and attention, leading to a more present state of mind.”
With these essential materials and tools, you’re ready to start your Mickey Mouse crochet project. Explore the world of beginner-friendly projects, yarn crafts, and diy gifts with confidence and creativity.
Basic Crochet Techniques for Disney Character Creation
To make a cute Mickey Mouse amigurumi, you need to learn some basic crochet techniques. Start with the basics: chain (ch), slip stitch (sl st), single crochet (sc), increase (inc), and decrease (dec). It’s also important to know the magic ring technique for the Mickey head. Get good at color changes and the invisible decrease to make your amigurumi look great.
It’s important to keep your tension and stitch counting consistent. This helps your Disney-inspired amigurumi turn out right. Make sure to attach parts securely and weave in ends for a durable and finished look. These basic crochet skills will help you make a great Mickey Mouse plush toy.
| Crochet Technique | Description |
|---|---|
| Chain (ch) | The basic foundation for crochet projects, creating a series of loops. |
| Slip Stitch (sl st) | A simple stitch used to join rounds or move between stitches. |
| Single Crochet (sc) | The most fundamental crochet stitch, forming a dense, sturdy fabric. |
| Increase (inc) | Adding extra stitches to create shaping and volume. |
| Decrease (dec) | Reducing stitches to create a tapered or shrunken effect. |
With these basic crochet techniques, you’re ready to start making your own Disney-inspired amigurumi. Enjoy the process and let your creativity show in your Mickey Mouse creation.
Mickey Mouse Free Crochet Pattern: Step-by-Step Guide
Unleash your inner Disney fan and make your own Mickey Mouse plush. You’ll learn to make Mickey’s head, body, and limbs.
Creating the Iconic Head and Ears
Start by crocheting Mickey’s head. Use black, white, red, and yellow yarns (with orange and brown as options). Begin with a magic ring and increase stitches to 36 with single crochets. This makes Mickey’s head round and cute.
Then, make Mickey’s ears by crocheting two circles. Then, crochet more rounds without increasing. Sew the ears onto the head for that perfect Mickey look.
Body Construction Tips
For Mickey’s body, start with 6 stitches and increase to 48. Then, crochet rounds of single crochets without increasing. This gives Mickey a nice, round body. Make sure to stuff it well for shape.
Limbs and Details Assembly
Make the arms and legs the same way. Start with 6 stitches, increase to 12, and crochet rounds of single crochets. Attach them to the body for a strong hold.
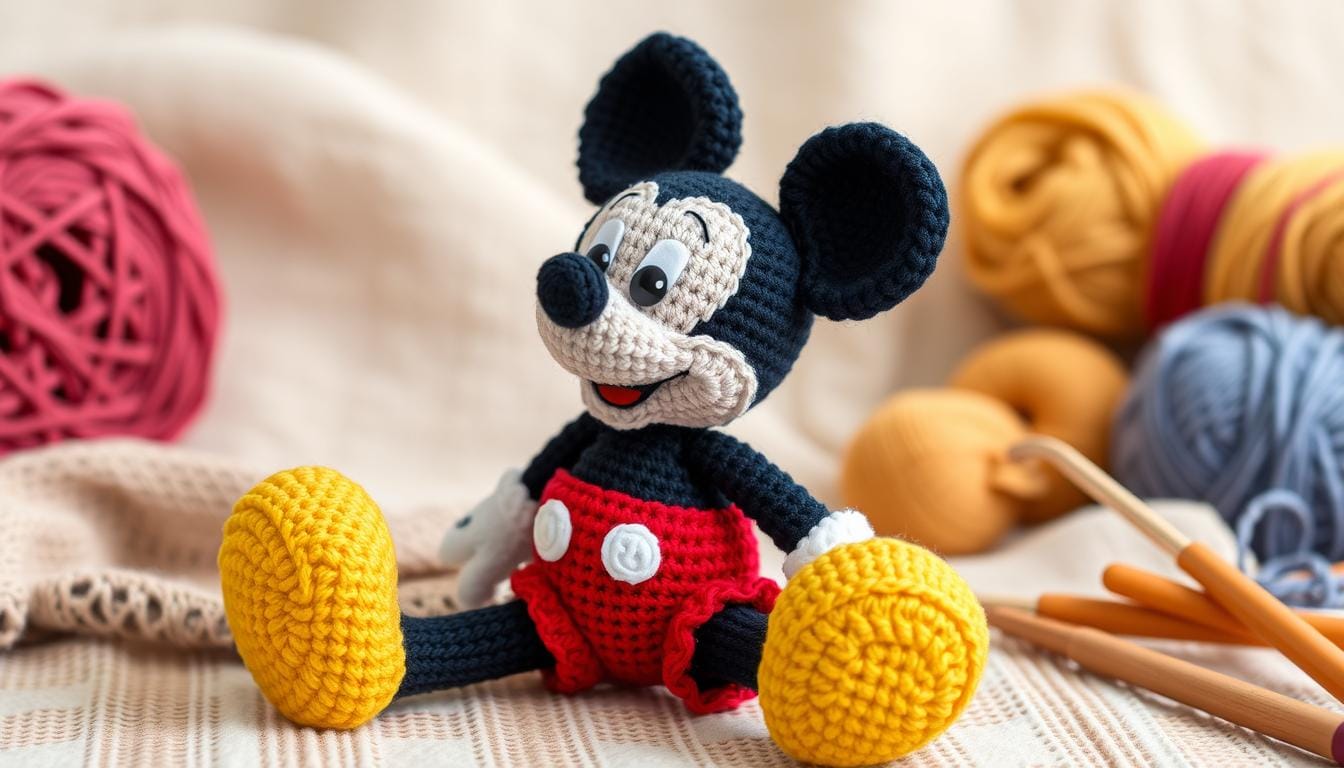
Finish your Mickey Mouse plush with details. Use embroidery or felt for his face. Add a carrot on his paw, shoes, arms, and leg buttons for extra charm.
Follow these steps to make a delightful Mickey Mouse plush. Happy crocheting, Disney fans!
Customizing Your Mickey Mouse Amigurumi
Let your creativity shine and turn your Mickey Mouse crochet into a unique masterpiece. Try out personalized disney crafts and add custom amigurumi accessories. You can show off your style with crochet variations and make your Mickey special.
Begin by mixing up colors. Instead of the usual red and black, try soft pastels or bold Disney-inspired colors. Add a fun bowtie, a cozy hat, or a mini backpack to make your Mickey stand out.
Make a holiday-themed Mickey with a Santa hat or festive garland. Recreate Steamboat Willie Mickey or the playful Sorcerer’s Apprentice Mickey.
Change the size of your amigurumi by using a different hook or yarn. Add buttons, embroidery, or lace for extra charm. These details make your Mickey even more special.
Make a Minnie Mouse to go with your Mickey. Match their outfits and accessories to show off your creativity. This adorable duo brings Disney magic to your handmade creations.
Let your Disney love shine by making your Mickey Mouse amigurumi unique. Enjoy the endless possibilities and create something special. It will always make you smile.
Creative Variations: From Ornaments to Accessories
Explore beyond the usual Mickey Mouse amigurumi. Crochet fans can dive into a world of disney-inspired accessories and seasonal crochet projects with Mickey Mouse. You can make everything from holiday ornaments to everyday items, all featuring Mickey Mouse.
Holiday-Themed Mickey Designs
Make your holiday season magical with Mickey Mouse ornaments. Try a Santa Mickey with a hat and mittens, or a Mickey with snowflakes for your tree. These decorations will bring Disney joy to your holiday.
Practical Mickey Mouse Projects
Use your Mickey Mouse crochet skills for useful items. Make coasters with Mickey’s face or an Airpod pouch with Mickey’s ears. Miniature Mickey figures are great for keychains or backpack charms, showing off your love for Mickey every day.
Whether you’re making holiday-themed Mickey designs or practical Mickey Mouse projects, there’s endless creativity. Crochet lets you turn your Disney love into unique disney-inspired accessories and seasonal crochet projects that will impress Mickey Mouse fans.
Troubleshooting Common Crochet Challenges
As a passionate crocheter, you might face some common challenges. These can include uneven stitches and gaps in your work.
Fixing Uneven Stitches
Getting consistent tension is crucial for smooth crochet. If your stitches are uneven, try changing how you hold the hook and yarn. Keeping a steady tension will greatly improve your work.
Closing Gaps in Your Crochet
Gaps in crochet can be annoying, but they’re easy to fix. Just make sure to count your stitches correctly. If you spot a gap, frog back to the mistake and fix it.
Mastering Color Changes
Changing colors can be tricky, but it gets easier with practice. When switching colors, wrap the new yarn around the old one for a secure join. Also, watch your tension to avoid bumps or loose stitches.
Achieving the Perfect Stuffing
Stuffing your amigurumi right is key to its look. Aim for a firm but flexible fill that keeps your project’s shape. Too much stuffing can distort, while too little can make it sag or look lumpy.
Securing Attachments with Confidence
Attaching parts to your crochet can be tricky. To get a strong and smooth finish, weave in ends well and use slip stitches or invisible joins. With practice, you’ll make attachments that last.
Every crocheter faces challenges, but with the right tips, you can overcome them. Keep this guide handy, and soon you’ll be making beautiful crochet pieces with ease.

Tips for Perfect Mickey Mouse Features
Making a Mickey Mouse amigurumi is all about the details. You need to get his facial features right and stuff him just so. This will make your crochet come to life with amazing detail.
Facial Expression Techniques
To get Mickey’s look right, try embroidery or felt. Use black yarn or floss for his eyes and smile. Make sure they’re even and look real.
Changing how you stitch can show different feelings. You can make him look happy or a bit sad.
Proper Stuffing Methods
Getting Mickey’s head and body round is key. Use special stuffing methods for depth. Use markers for evenness and adjust his nose and ears for shape.
With the right stuffing, Mickey will look full and fun. He’ll be just like the Disney character we all know and love.
Learning to make Mickey’s face and body right is important. It makes your amigurumi special and full of life. Your creativity will make it a true work of art.
| Crochet Technique | Recommended Crochet Hook Size | Ideal Yarn Type |
|---|---|---|
| Facial Features (Eyes, Smile) | 2.75mm | Cotton Yarn |
| Dimensional Nose and Ears | 3mm | Cotton Yarn |
| Plump Body Shaping | 4.5mm | Cotton Yarn |
Details and creativity are what make a Mickey Mouse amigurumi great. It will make Disney fans and crochet lovers happy.
Size Modifications and Scaling Guide
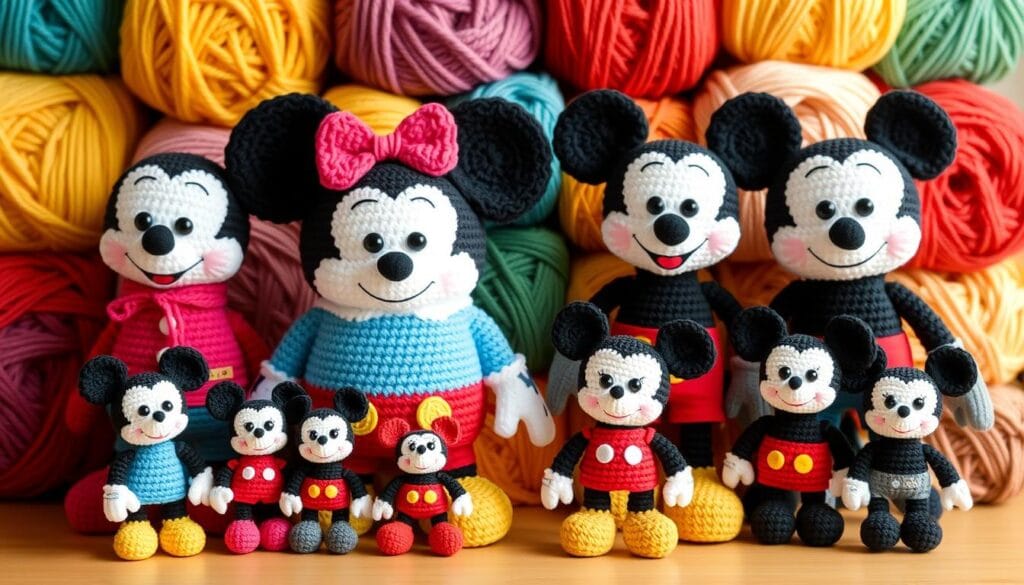
If you love Disney and crochet, you might want to make custom-sized Mickey Mouse amigurumi. You could make a small ornament or a big display piece. The secret to getting the right size is knowing how to scale the pattern. With a few tweaks, you can change the size of your crochet and make Disney crafts that look just like Mickey.
Adjusting Hook Size and Yarn Weight
To resize your Mickey Mouse crochet, pick the right hook size and yarn weight. A bigger hook and heavier yarn make a larger piece. A smaller hook and lighter yarn make a smaller one. Try different combinations to get the size you want.
Proportional Scaling
Scaling your Mickey Mouse crochet needs careful attention to body part ratios. Use a scaling factor to adjust all measurements. This keeps your amigurumi looking like Mickey. Paying attention to details ensures it looks right.
Adjusting Small Details
When scaling, remember to adjust small details like eyes and nose. For bigger versions, make these features larger. For smaller ones, make them smaller. This keeps them in proportion.
| Yarn Weight | Hook Size | Finished Size |
|---|---|---|
| Worsted Weight | H-8 (5.0mm) | Approximately 8 inches tall |
| Sport Weight | F-5 (3.75mm) | Approximately 6 inches tall |
| Fingering Weight | B-1 (2.25mm) | Approximately 4 inches tall |
Understanding adjustable crochet patterns and scaling lets you make Mickey Mouse amigurumi to your liking. Let your creativity shine with your Disney-inspired crochet projects, no matter the size.

Care Instructions for Your Finished Mickey Mouse
Keeping your handcrafted Mickey Mouse amigurumi in top shape is key. For small stains or dirt, use a damp cloth to spot clean it. Don’t put it in the washing machine, as it can mess up the details and stitching.
To clean it well, wash your Mickey Mouse by hand in cool water with a mild detergent. Squeeze out the water gently, then let it air dry in a place with good air flow. This keeps the crochet work looking bright and the shape intact. Store it in a clean, dry spot when you’re not playing with it.
Check your Mickey Mouse often and fix any loose parts. This keeps it strong and fun for a long time. With the right amigurumi maintenance and handmade toy care, your crochet preservation will pay off. Your Mickey Mouse will become a cherished friend, bringing happiness to you and your family.

