Percival The Phoenix Free Crochet Pattern Amigurumi
As the sun peeked through the window, casting a warm glow over the cozy living room, Sarah couldn’t help but feel a sense of excitement. She had been eagerly awaiting the arrival of the latest crochet pattern. Today was the day she would finally bring Percival the Phoenix to life.
With her trusty hooks and a vibrant array of yarns, she was ready to embark on a delightful journey. She aimed to craft the perfect amigurumi companion.
Percival the Phoenix was no ordinary crochet pattern. This whimsical, egg-shaped amigurumi was designed to add a touch of magic to any space. It was a must-have for crochet enthusiasts and Easter décor lovers alike.
With its detailed instructions and easy-to-follow techniques, this free pattern promised to be a rewarding experience. It was perfect for crocheters of all skill levels.
Table of Contents
Introduction to Percival the Phoenix Free Crochet
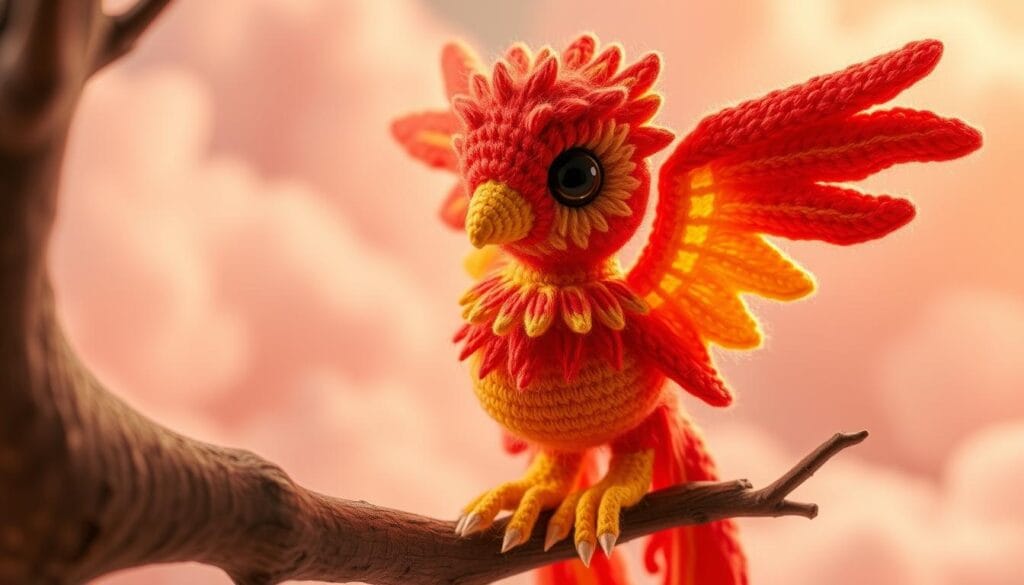
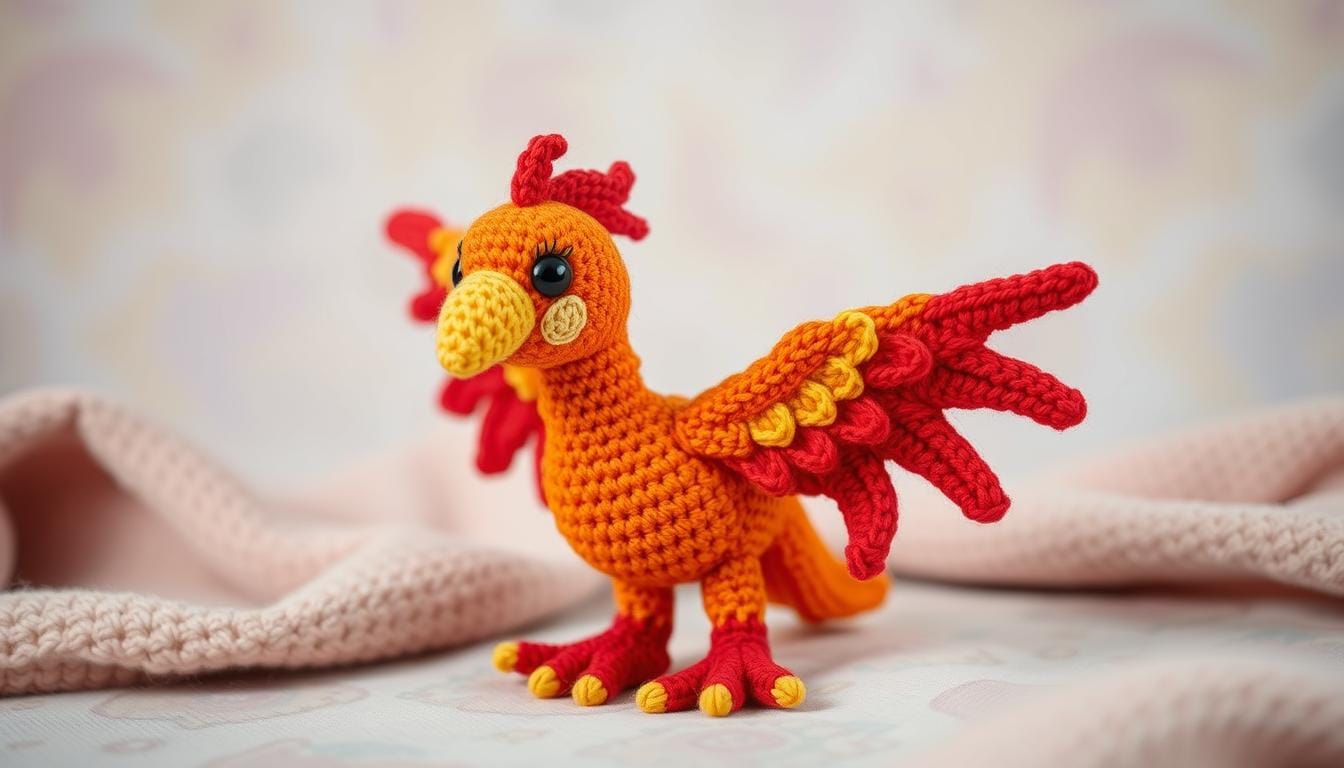
Percival the Phoenix is a vibrant, egg-shaped mythical creatures crochet pattern. It’s free and perfect for both intermediate and beginner crocheters. With its quick project timeline and minimal materials, it’s great for expanding your skills.
What Makes This Pattern Special
percival the phoenix free crochet has unique design features and construction techniques. It uses no-sew methods for attaching the feet and beak. You can also customize it with different colors and materials.
Skill Level and Time Requirements
This pattern is for intermediate crocheters but is also great for beginners. It’s easy to follow and can be finished quickly. This makes it perfect for those with limited time or looking for a fast project.
Pattern Features and Benefits
The percival the phoenix free crochet pattern is versatile and allows you to use yarn scraps. It’s designed to be easy to follow, making it rewarding for all skill levels. You can create a unique piece with it.
Essential Materials and Tools
To make the charming Percival the Phoenix amigurumi, you need the right crochet supplies, yarn crafts, and amigurumi materials. Here’s what you’ll need to start:
- DK chenille yarn in two colors (7g red, 2g yellow)
- 2.5 mm crochet hook
- Polyester fiberfill stuffing
- Tapestry needle
- Scissors
- Pins
- Stitch marker
- 6 mm safety eyes
The Rico Design Ricorumi Nilli Nilli yarn is a top pick for this pattern. Its softness and bright colors will bring Percival to life. But, you can also look for other yarn craft options that fit the weight and color needs.
Using a smaller crochet hook than usual is key. It helps keep the stuffing hidden and gives your crochet supplies-made piece a clean look.
Understanding Pattern Terminology
When you work on crochet patterns, knowing the common terms and abbreviations is key. It makes following the instructions easier and helps you do the techniques right. Let’s explore the main parts of crochet language, focusing on US terms used in the Percival the Phoenix amigurumi pattern.
US Crochet Terms Explained
The Percival the Phoenix pattern uses standard US crochet terms. These might be different from what you see in other countries :
- sc – single crochet
- hdc – half double crochet
- dc – double crochet
- tr – treble crochet
- inc – increase
- dec – decrease
Common Abbreviations Guide
The pattern also uses shortcuts to make the instructions clearer. Here are a few examples:
- rnd(s) – round(s)
- st(s) – stitch(es)
- ch – chain
- sl st – slip stitch
Stitch Techniques Overview
To make a great amigurumi project, knowing the basic crochet techniques is crucial. The Percival the Phoenix pattern might use invisible decreases. This helps keep the final piece looking smooth and seamless.
| Technique | Description |
|---|---|
| Invisible Decrease | A method of decreasing stitches that creates a more discreet, seamless look, particularly beneficial for amigurumi projects. |
Learning these crochet terminology, US crochet terms, and amigurumi techniques will help you confidently work on the Percival the Phoenix pattern.
Percival The Phoenix Free Crochet
Get creative with the free crochet pattern for Percival the Phoenix! This amigurumi is perfect for all crocheters, from beginners to experts. It’s a great choice for your Easter crochet projects.
The pattern uses a special no-sew method for the feet and beak. This makes the project easier and faster. You can enjoy making your own phoenix amigurumi without the hassle of sewing.
Follow the detailed instructions to make Percival’s body, wings, tail, comb, beak, and feet. The steps are clear, and the visuals help a lot. You’ll find it easy to create this mythical creature.
- Chenille yarn and a 2.5 mm crochet hook make a 7 cm / 2.8″ tall and 16 cm / 6.3″ wide body
- You’ll need 7 grams of red and 2 grams of yellow yarn for the project
- Use 6 mm safety eyes for the amigurumi Phoenix
- The pattern suggests a gauge of 6 single crochet stitches per 2.5 cm / 1″
| Feature | Description |
|---|---|
| Feet | Made in rounds, starting with 6 chains and decreasing stitches down to 6 stitches |
| Comb | Alternating between two colors, with detailed instructions for each stitch |
| Tail Feathers | Starting with 6 single crochet stitches and chaining off to create the feather shape, with a total of 26 stitches by the end |
Explore endless free crochet pattern possibilities with Percival the Phoenix. Start now and let your creativity shine as you make this magical amigurumi!

“The Percival the Phoenix pattern is a must-try for any crochet enthusiast. It’s a delightful challenge that sparks joy and unleashes creativity.”
Creating the Basic Body Structure
Making the amigurumi body is key to bringing Percival the Phoenix to life. Start with vibrant red yarn and a magic circle. Then, increase stitches to form an egg-shaped body. This body shaping technique makes a sturdy and well-proportioned base for your phoenix.
While crocheting the body, attach the feet and beak without sewing. This no-sew method makes the construction easier and looks seamless.
Stuffing Methods
Using the right stuffing techniques is crucial. Stuff the body firmly as you crochet. This ensures a stable and well-shaped piece. Make sure the stuffing is evenly spread to avoid lumps.
Adding Safety Eyes
The last step is adding safety eyes. Place them between rounds 11 and 12 of the head. Use a 5-stitch distance between them. This will give your phoenix a captivating gaze.
Learning amigurumi body shaping, stuffing, and safety eyes installation is essential. These skills will help you create a visually stunning and sturdy base for your project. They are the foundation for your crocheting journey.
Crafting Wings and Tail Feathers
Creating Percival the Phoenix amigurumi is exciting. The wings and tail feathers are key. They add depth and character to the design. These details bring the mythical bird to life, showing the phoenix’s majestic look.
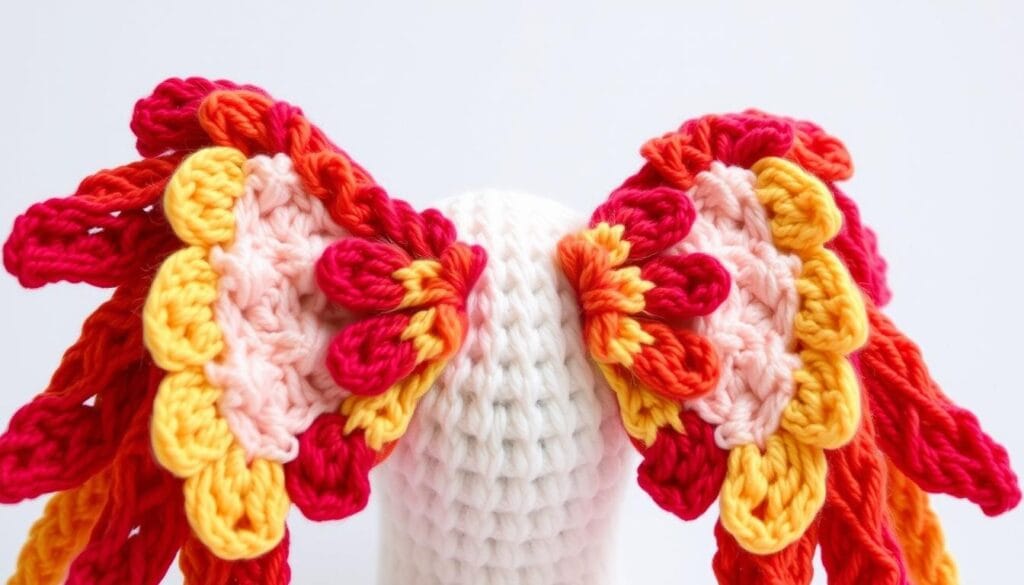
To make the wings, you’ll crochet them flat with red and yellow yarn. Color changes give a feathered look, making the wings more realistic. Even without stuffing, the wings will stand out and look great.
The tail feathers are made with chains and single crochets in red and yellow. This creates a fan-like shape, like a phoenix’s tail. It’s a dynamic feature that makes the amigurumi stand out.

The detail in making the amigurumi wings and crochet tail feathers is impressive. By following the pattern, you’ll make Percival look amazing. It’s all about precision and authenticity.
Detailed Beak and Feet Instructions
Making the beak and feet of your Percival the Phoenix amigurumi is key to finishing this delightful crochet. You can add these details without sewing, using a no-sew method.
No-Sew Attachment Method
The beak and feet are made separately with yellow yarn and aren’t stuffed. You attach them to the body as you crochet, skipping the sewing step. This method aligns the parts with the body stitches and then crochets them together, making a strong and smooth join.
Color Changes and Tips
- Work the beak and feet in solid yellow yarn for a classic phoenix look.
- Consider experimenting with subtle color changes or gradients for a unique twist on the design.
- Pay close attention to the placement and positioning of the beak and feet to ensure a harmonious and balanced appearance.
- Utilize stitch markers to keep track of your progress and maintain the correct shaping during the crocheting process.
By following these detailed instructions and techniques, you’ll be able to craft the perfect beak and feet for your Percival the Phoenix amigurumi. This will show off your crochet skills and create a stunning final piece.
Adding the Decorative Comb
Make your crochet bird comb stand out with red and yellow yarn. This method uses chains and slip stitches for the amigurumi details of Percival the Phoenix. The comb isn’t stuffed, so you can sew it onto the phoenix’s head easily.
Choose your bright red and sunny yellow yarns. The comb’s design uses color work in crochet to mix these colors beautifully. Pay close attention to the pattern’s crochet stitches and color changes for the best look.
- Begin by crocheting the comb’s base with red yarn.
- Switch to yellow yarn and make chains and slip stitches for the comb’s shape.
- Keep switching between red and yellow, managing the color changes well.
- After finishing the comb, sew it onto the phoenix’s head carefully.
With the comb added, your Percival the Phoenix amigurumi is now complete. This detail adds a special touch, making your crochet project even more beautiful.
Assembly and Finishing Touches
Making the perfect amigurumi figure means you need to focus on assembly and finishing techniques. The crochet finishing makes your stuffed toy strong and looks great. Let’s look at the main steps to make your Percival the Phoenix come to life.
Proper Positioning Guide
It’s important to place the wings and comb right for a balanced look. Use the pattern’s advice to put these parts on the amigurumi body. A well-done final assembly will show off Percival’s grand look.
Securing All Components
Most of the amigurumi assembly is done while crocheting, so you don’t need to do a lot of stuffed toy construction at the end. But, make sure everything is tightly attached. This includes the beak and feet, and the wings and comb. Good stuffing and strong stitching will make your Percival the Phoenix last a long time.
By sticking to the pattern’s assembly and finishing steps, you can make a beautiful Percival the Phoenix. You’ll feel proud of finishing your crochet project so well.
Customization Options and Color Variations
The Percival the Phoenix amigurumi pattern is full of possibilities. This makes it perfect for you or as a gift for someone special.
This pattern is very flexible. You can use different yarns and adjust the hook size. This lets you create a unique Percival that shows off your style or fits a certain theme.
You can also try different eyes for Percival. Instead of safety eyes, you can use crocheted or embroidered ones. This is great for making it safe for little ones.
Percival can be made for any holiday or special day. You can make a Christmas friend, a spring decoration, or a Halloween treat. The choices are endless.
By customizing amigurumi and crochet color variations, you can make this pattern truly personalized. Get creative and make a one-of-a-kind Percival the Phoenix.
Conclusion
Percival the Phoenix is a delightful amigurumi project for all crocheters. It’s perfect for making a special Easter decoration, a thoughtful gift, or a standout craft fair item. The pattern is easy to follow, uses no-sew techniques, and needs just a little yarn.
Once you’ve finished your amigurumi, share it with the crochet community. Your unique takes and color choices can inspire others. This way, we all grow and celebrate our love for handmade crafts together.
So, let your creativity shine with the Percival the Phoenix pattern. Enjoy the process of crocheting and the pride of making something special. You can show it off or give it as a gift to someone you care about.

