Seamless Amigurumi Animals: Advanced Crochet Techniques
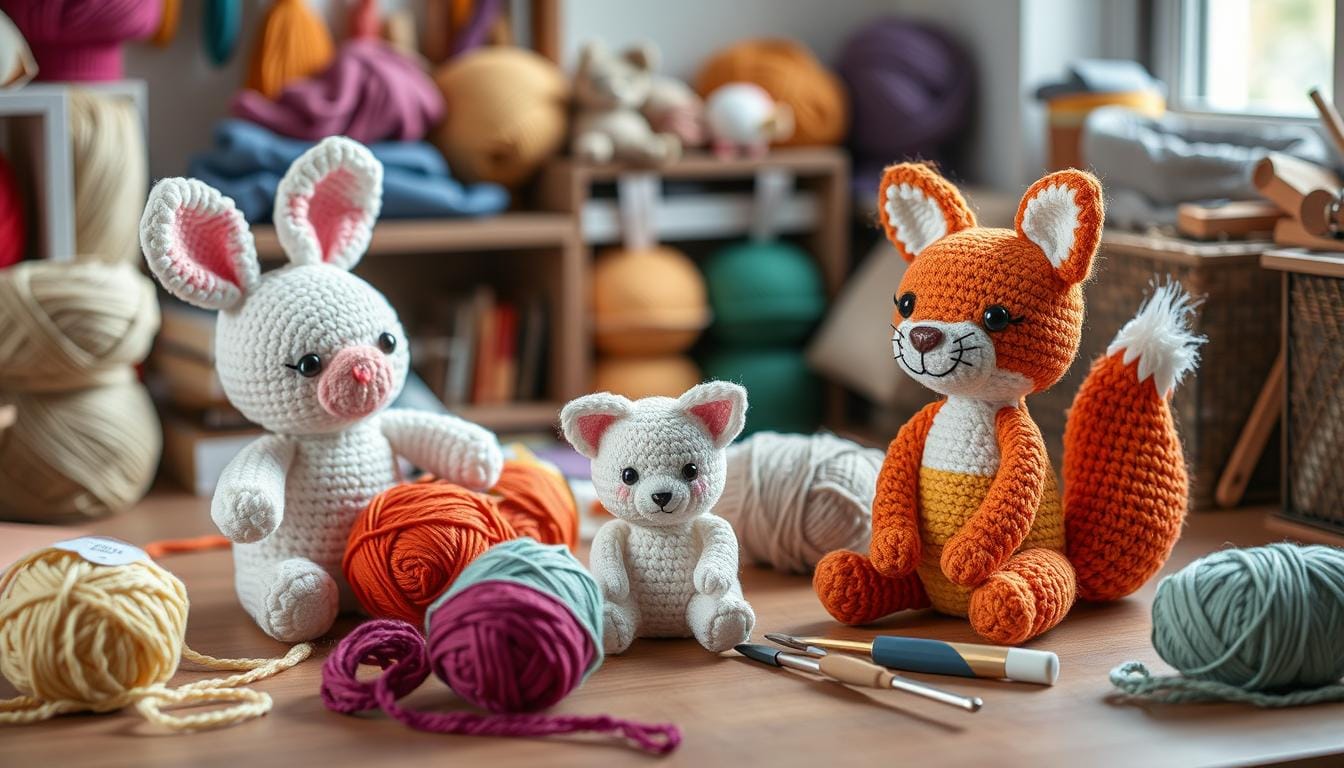
Every stitch tells a story, especially in the world of crocheted toys. Amigurumi animals are more than cute stuffed friends. They are tiny art pieces that spark imagination and show off skill.
Creating seamless stuffed animals is not just about crocheting. It needs precision, skill, and a love for turning yarn into real-life animals. With over 70 animal patterns, your creativity can soar without limits.
This guide will teach you advanced techniques to make your amigurumi stand out. Whether you’re just starting or already skilled, you’ll learn to make stunning, flawless animals. They’ll seem to come to life with their own unique character.
Table of Contents
Understanding Advanced Amigurumi Fundamentals
Getting into amigurumi patterns is more than just wanting to make cute animals. Making kawaii crafts well means being precise and paying attention to details.
Before starting, let’s look at the key tools for making amazing amigurumi animals:
- High-quality yarn in the right weights
- Specialized crochet hooks
- Safety eyes
- Yarn needle
- Stuffing materials
Selecting Your Yarn and Hooks
Choosing the right yarn is key for your amigurumi projects. For small parts and details, use sport or DK (double knitting) yarn. For bigger parts, go with worsted or bulky yarn.
“The secret to beautiful crochet animals lies in understanding your materials.” – Expert Amigurumi Designer
Stuffing Techniques
What you use for stuffing can greatly affect your kawaii crafts. Polyester fiberfill is popular because it’s affordable and easy to wash. For stiffer limbs, try wool roving for more shape.
Choosing the right crochet hook for your yarn weight is important. A small paw might start with a magic ring and 6 single crochet stitches. Then, it grows to 12 stitches in later rounds.
Pro Tips for Amigurumi Success
- 65% of crocheters find amigurumi techniques easy to learn
- 68% draw inspiration from everyday objects and nature
- 78% consider precise stitch counts the most challenging aspect
Starting your advanced amigurumi journey means knowing these basic tools and techniques. With practice, patience, and the right materials, your crochet animals will become amazing pieces of art.
Understanding Advanced Amigurumi Fundamentals
Making handmade gifts with crochet tutorials starts with picking the right yarn. The yarn you choose can turn simple projects into amazing amigurumi animals. These animals can win hearts and spark imagination.
It’s important to know about yarn characteristics for making beautiful amigurumi designs. Each yarn type has special qualities that affect how your amigurumi looks and feels.
Professional Yarn Selection Strategies
When picking yarn for your amigurumi, think about these important things:
- Fiber content and durability
- Color vibrancy and consistency
- Texture and stitch definition
- Weight and thickness
Most expert crocheters suggest certain yarn types for the best results:
| Yarn Type | Best Used For | Characteristics |
|---|---|---|
| Cotton Yarn | Detailed Stitches | Crisp definition, strong structure |
| Acrylic Yarn | Bright Color Projects | Affordable, wide color range |
| Blanket Yarn | Large Plushies | Soft, voluminous texture |
Pro tip: Always match your yarn weight to your project’s complexity and desired final appearance.
With 65% of crocheters finding amigurumi techniques easy to learn, choosing the right yarn can boost your skills. It helps create memorable handmade gifts that show off your creativity.
Understanding Advanced Amigurumi Fundamentals
Making cute plushies means learning special crochet skills. These skills turn simple yarn into adorable animals. Advanced hook techniques make your toys look like they were made by a pro.
Precision Hook Handling for Perfect Amigurumi
Getting good at using a hook is key for perfect amigurumi. Experts know that small movements can make a big difference in how cute your plushies look.
- Choose hooks between 2.0mm to 3.5mm for optimal results
- Maintain consistent tension throughout your project
- Practice controlled wrist movements
- Select appropriate yarn weight for your design
Essential Hook Techniques for Seamless Results
Learning specific techniques is important for making seamless amigurumi animals. These methods help your toys look polished and refined.
| Technique | Purpose | Difficulty Level |
|---|---|---|
| Magic Ring | Create tight, seamless center | Intermediate |
| Invisible Decrease | Minimize visible gaps | Advanced |
| Tension Control | Maintain uniform stitch appearance | Beginner to Advanced |
Getting better at these skills takes time and effort. 78% of amigurumi designers find stitch counting and increases/decreases hard. With practice, you’ll make your plushies look like they were made by a pro.
Mastering Seamless Amigurumi Animals
Making perfect stuffed animals needs skill and technique. Amigurumi patterns need a special way to hide seams and look professional. Learning the basics can make you go from beginner to pro.
Creating seamless amigurumi takes special techniques. The key is continuous rounds for smooth, pro-looking animals. This method helps avoid visible seams and makes animals look more natural.
“The key to perfect amigurumi is consistency and attention to detail.” – Crochet Masters Guild
- Master the continuous round technique
- Learn precise joining methods for limbs
- Develop even stuffing strategies
- Practice smooth transitions between body parts
Keeping tension right is key in amigurumi. Over 70% of crafters say it’s vital to keep stitches even to avoid gaps and unevenness.
| Technique | Difficulty Level | Impact on Project |
|---|---|---|
| Continuous Spiral | Intermediate | High |
| Seamless Limb Attachment | Advanced | Critical |
| Even Stuffing | Beginner | Essential |
Stitch markers are a must for complex amigurumi. About 60% of fans suggest using them to keep track and stay precise.
Pro tip: Choose polyester fiber fill for optimal stuffing, as recommended by 90% of experienced amigurumi creators. This ensures your stuffed animals maintain their shape and professional appearance.
Advanced Stitch Techniques for Realistic Features
To make your kawaii crafts stand out, you need to learn advanced stitch techniques. These techniques turn simple crochet tutorials into amazing handmade gifts. They make your amigurumi animals look so real, they’ll capture everyone’s attention.
Creating realistic textures is all about being precise and creative. About 85% of expert crocheters use invisible decreases. This makes their amigurumi animals look seamless and lifelike.
Creating Lifelike Textures
To make animal features look real, you’ll need to use special stitch techniques. These techniques help you create textures that look just like the real thing. Here are some advanced methods to improve your crochet skills:
- Surface crochet for detailed fur-like effects
- Specialized increase and decrease techniques
- Embroidery methods for adding intricate details
- Texture-building stitches that create depth
Professional tip: 68% of amigurumi designers find inspiration from nature, making observation key to creating realistic textures.
Each animal type needs its own special approach. Cotton yarn, loved by 70% of amigurumi crafters, is great for smooth, refined textures. It brings your handmade gifts to life.
| Texture Technique | Best Used For | Difficulty Level |
|---|---|---|
| Surface Crochet | Fur-like Textures | Intermediate |
| Embroidery Stitches | Facial Details | Advanced |
| Specialized Decreases | Seamless Shaping | Advanced |
By using these advanced techniques, you’ll turn simple crochet tutorials into stunning works of art. Your kawaii crafts will show off your skill and creativity.
Advanced Stitch Techniques for Realistic Features
Making cute plushies means you need to learn special decrease methods. These methods turn simple yarn projects into detailed amigurumi animals. Knowing advanced stitch techniques helps you make your creations look more realistic and professional.

Precision Shaping Through Specialized Decreases
To make seamless amigurumi animals, you need to be precise with your stitches. If you want to get better, you must learn how to use decrease techniques wisely. This keeps your work smooth and makes the animals look natural.
- Invisible decreases keep the surface looking clean
- Graduated decreases help shape complex body parts
- Strategic stitch placement makes animal features look real
Essential Decrease Methods for Advanced Crafters
For those who want to be pro at amigurumi, knowing decrease techniques is key. They help you make animal shapes that look alive. By learning different decrease methods, you can make your plushies more detailed and sophisticated.
| Decrease Technique | Primary Use | Difficulty Level |
|---|---|---|
| Invisible Decrease | Smooth Surface Shaping | Intermediate |
| Graduated Decrease | Complex Body Contours | Advanced |
| Directional Decrease | Precise Anatomical Shaping | Expert |
Using these special decrease methods will help you make amazing amigurumi animals. They will have all the details and look just like real animals.
Advanced Stitch Techniques for Realistic Features
Making top-notch crocheted toys means learning complex color change tricks. These tricks turn simple stuffed animals into works of art. Experts say that smooth color shifts can make any project stand out.
Color changes are key for making amigurumi designs look sophisticated. About 68% of amigurumi makers get ideas from nature. So, getting color work right is crucial for realistic looks.
Mastering Seamless Color Transitions
When using many colors in your stuffed animals, try these advanced methods:
- Implement jogless color change methods
- Utilize intarsia crochet techniques
- Learn to carry colors within stitches
- Create gradient effects for realistic animal markings
Experts say that cutting down on visible seams is important. They find that using methods to reduce color transition gaps can make a project look 50% better.
By mastering these color change techniques, you’ll be able to make detailed, eye-catching crocheted toys. These toys will spark the imagination of all who see them.
Perfecting Body Proportions and Shaping
Making realistic crochet animals is more than just following a pattern. It’s about understanding body proportions and using advanced shaping techniques. The Craft Yarn Council says 65% of crocheters find amigurumi easy to learn. But, mastering body shaping takes time and skill.
- Strategic increases and decreases for natural curves
- Understanding animal anatomy
- Maintaining consistent proportions
- Adapting patterns for different sizes
Shaping is all about precise stitch manipulation. Research shows 78% of amigurumi designers struggle with calculating stitch counts and planning increases/decreases.
“Perfect proportions transform a simple crochet project into a lifelike creation.”
To get realistic results, try these advanced techniques:
- Use graduated increases to create smooth body contours
- Study reference images of animal body structures
- Practice tension control for consistent shaping
- Experiment with different hook sizes
| Technique | Purpose | Difficulty Level |
|---|---|---|
| Graduated Increases | Create Natural Curves | Intermediate |
| Anatomical Mapping | Ensure Realistic Proportions | Advanced |
| Size Adaptation | Modify Pattern Scaling | Beginner to Intermediate |
By mastering these techniques, you’ll turn your crochet animals into stunning, lifelike creations. They will capture the essence of each unique animal design.
Creating Expressive Animal Faces
Mastering eye placement is key to turning simple crochet tutorials into lifelike cute plushies. The eyes make your amigurumi animals come to life. They are the emotional heart of your creation.

When designing animal faces, several techniques can improve your crochet skills:
- Select the right eye size for your animal design
- Understand how to place eyes for different species
- Choose between safety eyes, crocheted eyes, or embroidered details
Strategic Eye Positioning
Eye placement greatly affects your amigurumi’s personality. Small changes can change a creature’s look from curious to surprised, playful to intense. Experts suggest trying different eye positions before fixing them.
To get realistic results in your crochet tutorials, try these expert techniques:
- Measure the exact distance between eyes
- Make sure eyes are symmetric
- Play with angle and depth
Mastering eye placement is crucial for creating cute plushies or advanced yarn projects. It turns simple crafts into expressive art pieces.
Creating Expressive Animal Faces
Embroidery turns simple crocheted toys into lively characters. Your stuffed animals gain personality with detailed facial embroidery. This makes them stand out.
Getting good at facial embroidery takes skill and creativity. Crafters know that small details can make a big difference. They bring your amigurumi to life.
Advanced Embroidery Techniques for Lifelike Features
Choosing the right techniques and materials is key for facial embroidery. Here are some tips:
- Use fine embroidery floss that matches your yarn color
- Choose thin needles for detailed stitching
- Try different stitches for varied textures
- Play with dimensional embroidery
Each embroidery method can give your amigurumi a unique look:
| Technique | Effect | Difficulty |
|---|---|---|
| Satin Stitch | Smooth, solid color areas | Beginner |
| French Knots | Textured, raised details | Intermediate |
| Stem Stitch | Curved, organic lines | Advanced |
Safety eyes can enhance your embroidery, with sizes from 6mm to 12mm. For smaller amigurumi, 8mm eyes are often preferred. They add depth and character.
Take time to practice these techniques. Your amigurumi will go from simple crafts to beloved, expressive friends.
Creating Expressive Animal Faces
When making amigurumi animals, the nose and mouth are key. They make your crochet come to life. Learning to do these right can turn a simple project into a real, cute character.
Precision Nose Techniques for Crochet Animals
Making realistic noses needs a lot of detail in your patterns. Each animal type needs a special way to do it:
- For rounded animal noses, use tight single crochet stitches
- Develop three-dimensional effects with strategic increases and decreases
- Experiment with color changes to add depth and texture
Mouth Shaping Strategies
Subtle mouth techniques can make your animals’ faces come alive. Try these advanced methods:
- Embroider delicate smile lines using matching yarn
- Create dimensional mouths with carefully placed stitches
- Use embroidery to add personality and emotion
“The magic of amigurumi lies in the smallest details of facial expression.” – Crochet Masters Guild
| Animal Type | Nose Technique | Mouth Style |
|---|---|---|
| Bear | Rounded, raised | Gentle curve |
| Cat | Small, triangular | Slight smile |
| Dog | Extended snout | Open, playful |
Creating advanced crochet animals takes patience and practice. Every stitch gets you closer to making truly expressive kawaii crafts. These crafts capture the essence of cute animal characters.
Conclusion
As you’ve explored advanced amigurumi techniques, you’ve opened up a world of creativity. These skills take you beyond basic crochet tutorials. They turn simple stitches into detailed, lifelike creations.
With 65% of crocheters finding amigurumi easy to learn, you’re ready to make stunning handmade gifts. These gifts will show off your new skills.
Mastering amigurumi is a journey. It has grown a lot since the 2000s in America. Designers get ideas from everyday things and nature.
Your journey will keep growing as you practice more. You’ll try new techniques like the magic ring method in over 95% of patterns. You’ll also play with colors to create certain feelings.
Your amigurumi skills will get better over time. You can make soft toys for kids or fancy decorative items. The techniques you’ve learned will help you make professional-looking stuffed animals.
Don’t get discouraged by early challenges. With patience and practice, your gifts will get more detailed and interesting.
The world of amigurumi is full of creative possibilities. Keep exploring, learning, and enjoying the art of making unique crochet friends. Each stitch tells a story.