Wild Free Crochet Pattern The Lion Guard Amigurumi
I’ve always loved Disney and crocheting. It’s amazing to make characters come to life with amigurumi. The Lion Guard has won many fans, and now you can make these characters at home.
Seeing a child’s face light up when they get a handmade Kion or Bunga is priceless. These free patterns let you dive into The Lion Guard’s world. You get to stitch together what makes these characters special.
Table of Contents
Getting Started with The Lion Guard Amigurumi
Crafting characters from “The Lion Guard” through amigurumi is exciting. You’ll need the right materials and know the skill level and pattern terms. With the right tools and knowledge, you can make your own adorable crochet lion friends.
Essential Materials and Tools
The Lion Guard Amigurumi pattern needs several materials, including:
- Yarn in various colors, such as tan, brown, and yellow, for the body and features
- A 2.75mm crochet hook for the detailed stitching
- Polyfill stuffing to give the characters their shape and volume
- Safety eyes to bring the characters to life
- Tapestry needle for sewing and assembling the pieces
- Stitch markers to keep track of your work
- Embroidery thread for facial features and details
Skill Level Requirements
The Lion Guard Amigurumi pattern is for intermediate crocheters. You should know basic stitches and amigurumi techniques. If you’re good with small pieces, shaping, and assembling figures, you’ll find the pattern easy to follow.
Understanding Pattern Terminology
The Lion Guard Amigurumi pattern uses common crochet abbreviations and terminology, such as:
- sc (single crochet)
- inc (increase)
- dec (decrease)
Knowing these terms will help you follow the pattern and make a successful crochet project.
With the right materials, tools, and pattern knowledge, you’re ready to bring “The Lion Guard” characters to life through your crochet creations.
Basic Amigurumi Techniques for Disney Characters
Making adorable disney stuffed animals with amigurumi needs a good base of skills. Whether you’re experienced or new, learning these basics will help you make cute Disney characters.
The magic ring is key in amigurumi. It’s a tight, adjustable base for your characters’ heads and bodies. This lets you shape each feature just right.
- Mastering the Magic Ring: Start with a secure, adjustable base for your disney stuffed animals.
- Increasing and Decreasing Stitches: Shape the perfect size and form for your amigurumi characters.
- Working in Continuous Rounds: Build the body and limbs of your Disney creations smoothly.
With these amigurumi skills, you’ll soon make Disney stuffed animals that look real. Each stitch brings Disney magic to life, making everyone happy.
“The joy of creating disney stuffed animals with amigurumi is in the details.”
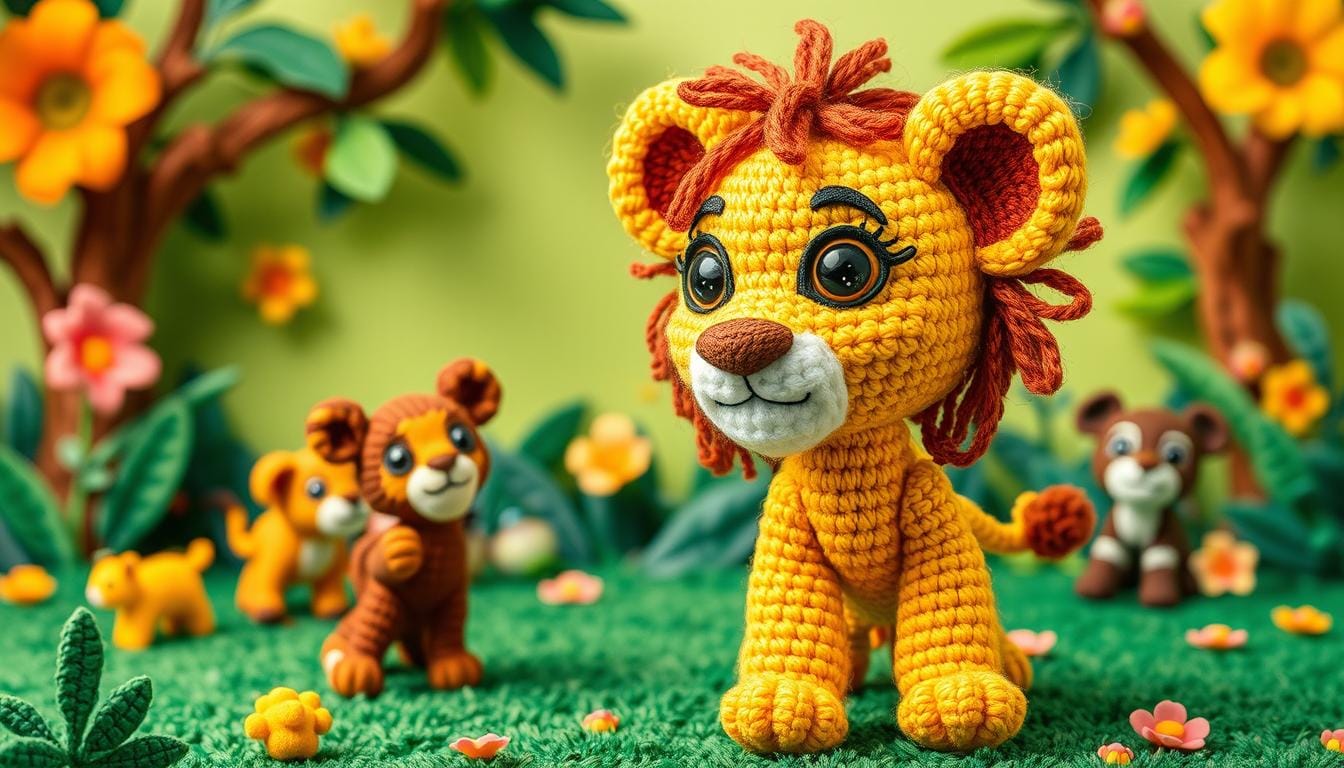
Creating Kion: The Main Character Pattern
Get ready to show off your crochet skills as we explore making Kion, the bold leader of The Lion Guard. This lion cub’s unique look will come to life with your stitches. Your creation will become a stunning amigurumi.
Head and Facial Features
Make Kion’s face pop by carefully shaping his muzzle, ears, and eyes. Don’t forget the bold black outlines around his eyes, showing his bold and determined spirit. Use increases and decreases to shape his face, making it look real.
Body Construction
Give Kion a strong body by crocheting in continuous rounds. Increase and decrease stitches to shape his torso and limbs. Keep your stitches tight and even for a sturdy amigurumi.
Mane Details and Assembly
Kion’s red mane is his signature look. Crochet each tuft of fur carefully, arranging them to frame his face and flow down his neck. Attach the limbs and mane to the body securely, making sure it’s sturdy and well-proportioned.
With careful attention and the right crochet techniques, you’ll create the kion amigurumi and the amazing lion king characters. Embrace the challenge and let your creativity shine as you make this beloved Disney character.
| Crochet Skill Level | Recommended Yarn Weight | Yardage Required |
|---|---|---|
| Intermediate | Medium (4) | Approx. 200 yards |
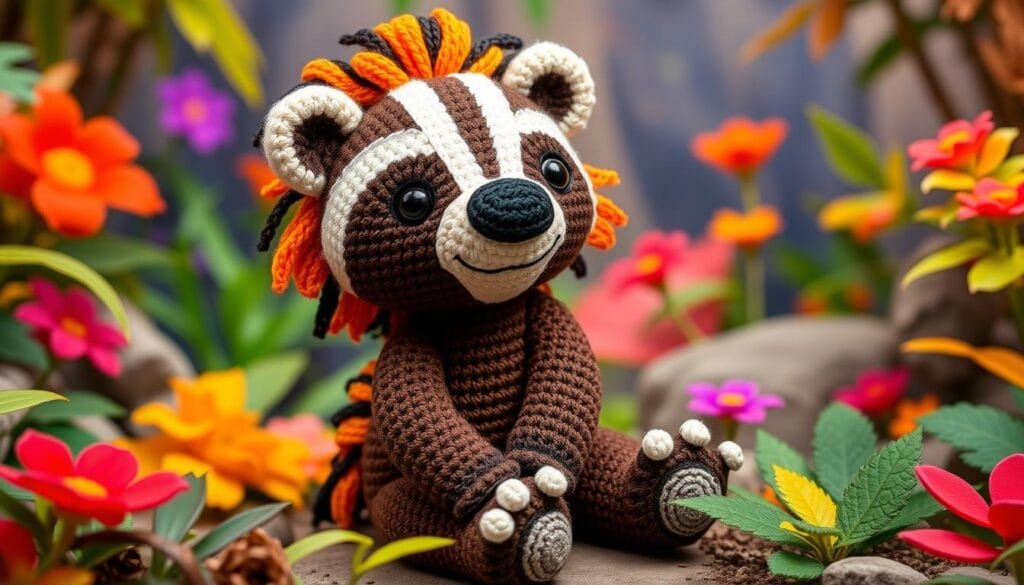
Crafting Bunga the Honey Badger
Get ready to bring Bunga, the fearless honey badger from The Lion Guard, to life. This step-by-step bunga amigurumi pattern will guide you. It’s a fun challenge for any crochet lover.
To start, learn the key techniques for Bunga’s blue-and-white pattern. Focus on his rounded body and unique limbs. His expressive face is crucial for his personality.
As you follow the pattern, you’ll find tips for Bunga’s adventurous spirit. From yarn colors to assembly, each step adds to his essence. It’s a chance to make your Bunga truly special.

Whether you’re a pro or a beginner, making Bunga is rewarding. Let your creativity shine and bring this fearless friend to life with your crochet skills!
Detailed Pattern for Fuli the Cheetah
Unleash your inner crochet artist with the captivating Fuli the Cheetah amigurumi pattern. This sleek and swift feline from the beloved Disney series “The Lion Guard” is a true delight to bring to life through your crochet skills.
Color Changes and Spot Patterns
Achieving Fuli’s distinctive spotted coat is a delightful challenge. By mastering color-changing techniques, you’ll weave a stunning pattern that captures the essence of this agile cheetah. Explore various methods to seamlessly transition between shades, creating a realistic and eye-catching appearance.
To elevate the details, pay close attention to the placement and shape of Fuli’s spots. Experiment with different stitch patterns and tension adjustments to ensure the spots stand out with depth and dimension.
Assembly Tips and Techniques
As you shape Fuli’s sleek body, pay special attention to the contours and proportions. Utilize shaping techniques to create her graceful limbs and expressive facial features. Carefully assemble the components, ensuring a polished and professional finish that does justice to this beloved character.
With patience and attention to detail, you’ll bring Fuli to life in a way that showcases your crochet mastery. The final result will be a delightful fuli amigurumi that captures the essence of this cheetah and adds a touch of Disney magic to your collection.
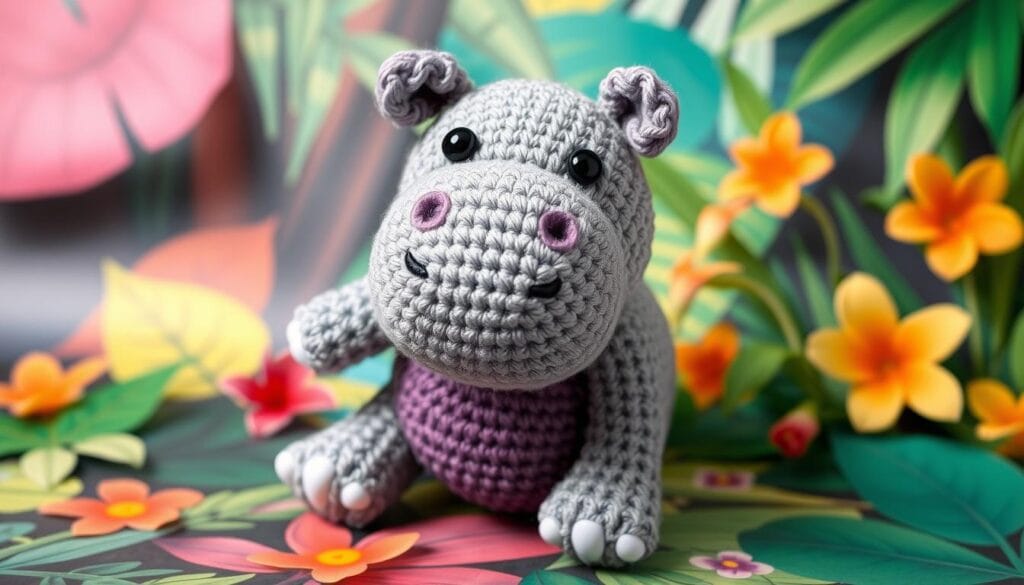
Making Beshte the Hippopotamus
Crocheting Beshte, the lovable hippopotamus from “The Lion Guard,” is a fun challenge. It brings the character to life. You’ll need to master a few key techniques to get his rotund shape and distinctive features.
Start by picking the right yarn colors. Use a rich brown or beige for his body. Then, add pink, black, and white for his facial features and ears.
Begin with the head, focusing on the rounded snout and eyes and mouth. Then, move to the body, increasing stitches for Beshte’s size. Make sure the head and body are in balance. For his ears, work in rounds to get the right shape and texture.
- Use increases and decreases for a smooth, rounded body.
- Try color changes for skin tone variations.
- Add his friendly expression and playful personality with facial features.
With patience and detail, you’ll bring Beshte to life. His gentle nature and sturdy build will win hearts. He’s a great addition to any beshte amigurumi or disney stuffed animals collection.

Ono the Egret Pattern Instructions
Making the amigurumi version of Ono, the sharp-eyed egret from The Lion Guard, is a fun challenge for crochet fans. His long wings and elegant legs need careful detail. Let’s start the pattern to make this majestic ono amigurumi come to life.
Wing Construction
Start with Ono’s wings by adding and subtracting stitches. Use a spiral to shape the long wings, keeping the tension even. Add color changes to look like an egret’s feathers, using white and gray shades.
- Cast on the needed stitches for the wing base.
- Increase stitches to make the wing wider.
- Decrease stitches to narrow the wing tip.
- Weave in ends and attach the wings to the body.
Adding Character Details
To show Ono’s smart look and special features, focus on his crest and beak. Use small stitches to shape his face, making it look real and right-sized.
- Crochet the crest with increases and decreases for its shape.
- Make the beak tapered, blending it with his face.
- Embroider eyes and nostrils for a lifelike touch.
- Put all parts together for a complete and detailed the lion guard amigurumi design.
With patience and detail, you can make a beautiful ono amigurumi that shows the spirit of this majestic egret from The Lion Guard. Enjoy making it and let your creativity show!
Color Selection and Yarn Recommendations
Choosing the right colors and yarn for your Disney-inspired crochet patterns is key. It brings the vibrant hues and textures of The Lion Guard characters to life. Here are some tips to help you:
Choosing the Perfect Colors
For The Lion Guard, use earthy tones and bold colors. Kion’s mane needs golden yellows and warm browns. Bunga, the Honey Badger, looks best in brown, black, and white.
Fuli, the Cheetah, needs ochre, tan, and black for her spots. Beshte, the Hippopotamus, is all about grays. Ono, the Egret, shines in white and soft grays.
Selecting the Right Yarn
Natural fibers like cotton and wool are great for disney stuffed animals. Cotton is breathable and durable, perfect for these cuddly friends. Try Knit Picks Dishie, King Cole Cottoncrush DK, or Aunt Lydia’s Classic 10.
For extra softness, go for blends like Stylecraft Naturals Bamboo & Cotton or Knit Picks CotLin. These yarns keep your crochet patterns looking good and feeling soft.
The yarn’s weight and texture matter too. Worsted weight or DK yarns are best for amigurumi.
Advanced Tips for Perfect Lion Guard Characters
Making amigurumi dolls from “The Lion King” needs more than just a pattern. You must learn advanced techniques for expression and size. These tips will help you improve your amigurumi skills.
Expression Creation
Getting the facial expressions right is key. Start with the eyes. Use 6mm safety eyes, 6 stitches apart, between rounds 3 and 4. This captures their unique look.
Play with the muzzle and mouth details to enhance the expression. Adjust the nose piece’s shape and size. Also, pay attention to the lips’ position and curve. These small details greatly affect the character’s personality.
Size Consistency
Keeping all your lion guard amigurumi the same size is important. Use a 2.5mm crochet hook and stick to the pattern’s stitch counts.
| Round | Stitches |
|---|---|
| Round 1 | 24 stitches |
| Round 2 | 30 stitches |
| Round 3 | 36 stitches |
| Rounds 4-10 | 36 stitches per round |
| Round 11 | 36 slip stitches |
Focus on the stitch counts and keep your tension even. This ensures your lion king characters are uniform. Also, use 50% yellow, 25% white, and 25% brown yarn to match their colors.
Mastering expression and size will make your lion guard amigurumi truly stand out. You’ll impress everyone with your detailed and accurate creations!
Troubleshooting Common Issues
Creating amigurumi can be very rewarding, but it comes with challenges. When making The Lion Guard characters, you might face some common problems. Don’t worry, with a bit of troubleshooting, you can solve these issues and get great results.
Uneven Stitches
Uneven stitches can make your amigurumi look puckered. To fix this, keep your stitch tension even. Adjust how tight you hold the yarn or try different hook sizes to get the right feel.
Adjusting Tension
Too tight or too loose amigurumi can be a problem. Changing how tight you hold the yarn or using a different hook size might help.
Correcting Shaping Issues
Getting the right shape for your amigurumi can be tricky. If your pieces are not shaping up right, try adjusting where you place your stitches. You can also add or remove stitches in certain rounds to fix the shape.
Seamless Joins and Hiding Yarn Ends
Switching colors or joining parts can be hard. Try invisible joins or weaving in yarn ends for a smooth finish. With practice, you’ll learn to hide yarn ends and make your amigurumi look professional.
Remember, dealing with problems is all part of the crochet journey. With patience and a willingness to try new things, you’ll soon be making perfect The Lion Guard amigurumi.
| Common Issue | Potential Solution |
|---|---|
| Uneven Stitches | Maintain consistent tension, experiment with hook sizes |
| Adjusting Tension | Loosen or tighten grip on yarn, use a larger or smaller hook |
| Correcting Shaping Issues | Adjust stitch placements, increase or decrease stitches, add increases or decreases |
| Seamless Joins and Hiding Yarn Ends | Use invisible joins, weave in yarn ends for a polished finish |
Display and Care Instructions
Displaying your handcrafted Disney stuffed animals and the Lion Guard amigurumi is key. It shows off your skill and hard work. To keep your crochet characters looking great, just follow a few easy steps.
Maintaining Shape and Color
Stuff your amigurumi figures gently but firmly. Be careful not to stuff too much, as it can make them look wrong later. Use good-quality polyester filling to help them keep their shape.
When you show off your the Lion Guard amigurumi, don’t put them in direct sunlight. Sunlight can make the colors of the yarn fade.
Storage Tips
To store or carry your Disney stuffed animals, use a cotton or muslin bag. Don’t use plastic bags or containers because they can make the fibers get damaged. Keep your amigurumi in a cool, dry spot, away from sunlight and heat.
With the right care and storage, your crochet creations will stay special for a long time.

