Free Crochet Pattern The Wiggles Amigurumi for Dance Parties
I’ve always loved The Wiggles since I was a kid. Their songs filled my childhood with joy. Now, you can bring that joy home with this free crochet pattern.
It lets you make your own Wiggles Amigurumi. It’s perfect for dance parties and playtime. It’s sure to make everyone smile.
Table of Contents
Introduction to The Wiggles Amigurumi Collection
The Wiggles, a famous Australian music group, have won hearts worldwide. You can now bring these aussie icons home with your own character dolls made from crochet. The Wiggles Amigurumi Collection lets you create handmade gifts that will make everyone smile.
Amigurumi, a Japanese art, is perfect for making The Wiggles come to life. These yarn crafts let you capture the unique spirit of each Wiggle. You can follow easy steps and patterns to make your own character dolls.
Whether you’re skilled or new to crochet, this project is fun and rewarding. Imagine the joy of a child holding their own Wiggle, or the happiness of giving a handmade Wiggles doll to a fan. Start your journey with aussie icons and watch your yarn crafts become special handmade gifts.
Essential Materials and Supplies Needed
Making the Wiggles Amigurumi needs a special set of materials and supplies. Whether you’re experienced or new to crochet, having the right tools is key. This ensures your plush toys look professional. Let’s look at what you need to make these beloved characters come to life.
Recommended Yarn Types and Colors
Choosing the right yarn is crucial for vibrant and true-to-life Wiggles Amigurumi. Use soft, durable yarns like Bernat Forever Fleece, priced between $9.99 and $11.99 per skein. You’ll need red, blue, yellow, and purple skeins for the classic colors. It’s smart to have extra skeins ready, as you can easily add them to your cart.
Required Hook Sizes and Notions
For the perfect stitch and shape, you’ll need various crochet hooks. Sizes range from 3.5mm to 6mm. Also, have a tapestry needle for weaving ends, sharp scissors, and stitch markers for organization. The right hook size is vital for your project’s success.
Safety Materials for Children’s Toys
When making toys for kids, safety is top priority. Use child-safe materials like plastic safety eyes and noses. Also, make sure to reinforce any parts that could be a choking hazard. If you sell or post your finished product, remember to credit Wiggles World as the designer. The pattern can’t be redistributed, sold, or modified without permission.
With the right yarn, hooks, and safety materials, you’re set to make memorable Wiggles Amigurumi. These will not only look great but also be safe for kids. For any questions or concerns, reach out to the designer at [email protected] or on Instagram @wiggles_world_sarah.
| Material | Recommended Product | Price |
|---|---|---|
| Yarn | Bernat Forever Fleece | $9.99 – $11.99 per skein |
| Crochet Hook | Sizes 3.5mm to 6mm | Varies |
| Safety Eyes and Nose | Child-safe Plastic | Varies |
Skill Level and Techniques Overview
Making the magical crochet patterns of The Wiggles Amigurumi is a fun journey. It’s open to crocheters of all skill levels. Whether you’re just starting out with yarn crafts or you’re an expert looking for a new challenge, this pattern is perfect for you.
Beginners will find the step-by-step instructions and clear pictures very helpful. They’ll learn the key techniques needed to make these beloved characters. You’ll get better at making handmade gifts with each piece you finish.
For those with more experience, this pattern is a great way to improve your skills. The detailed designs and precise shaping of The Wiggles Amigurumi will challenge you. It’s a chance to explore new crochet techniques and push your creativity.
No matter your skill level, this pattern encourages you to have fun and try new things. By diving into the process, you’ll not only make adorable collectibles. You’ll also grow to love the art of crochet patterns, yarn crafts, and handmade gifts even more.
| Skill Level | Recommended Techniques |
|---|---|
| Beginner |
|
| Intermediate |
|
| Advanced |
|
With the right guidance and a willingness to explore, crocheters of all levels can unlock the joy of creating these delightful crochet patterns, yarn crafts, and handmade gifts.
Basic Crochet Stitches for Amigurumi Making
Making whimsical plush toys like The Wiggles characters through amigurumi crochet needs a few basic stitches. You’ll learn the magic ring technique, how to increase, and how to decrease. These skills are key for making your own yarn crafts and crochet patterns.
Magic Ring Technique
The magic ring, or magic circle, is a key start for amigurumi projects. It helps create a tight, secure base for your crochet pieces. This ensures your creations stay in shape and look great. Learning the magic ring will make your crochet patterns and yarn crafts even better.
Increase and Decrease Methods
Shaping your plush toys’ bodies and features needs smart increases and decreases. Whether it’s a Wiggle’s rounded head or streamlined limbs, knowing how to add and reduce stitches is crucial. It lets you bring your crochet patterns to life with precision and control.
Color Change Tips
Adding vibrant colors to your crochet patterns is a key part of amigurumi design. Smoothly switching between colors can make your yarn crafts more interesting and true to life. Mastering color change techniques will help your Wiggles characters look their best.

“With the right stitches and techniques, your imagination can come to life in yarn.”
The Wiggles Amigurumi Character Features
Making the perfect the wiggles amigurumi dolls means getting each Wiggles character right. You might make them for your child or for children’s entertainment. Knowing what makes each character special is essential.
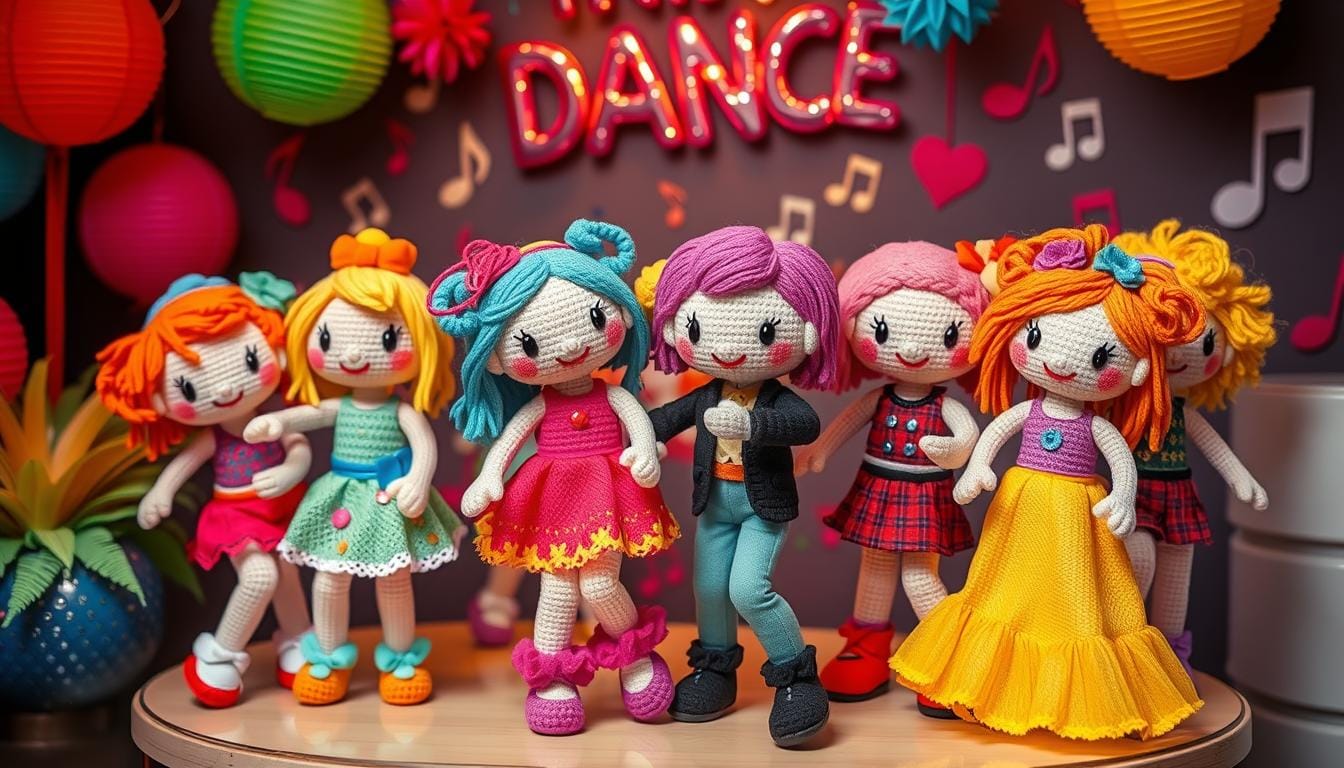
The main Wiggles – Murray, Jeff, Anthony, and Emma – stand out with their colors. Murray wears red, Jeff has purple, Anthony is blue, and Emma is yellow. These colors help you tell them apart.
The Wiggles’ faces are also key. Murray looks friendly, Jeff seems sleepy, Anthony is calm, and Emma is cheerful. Getting these facial details right is important for your character dolls.
Don’t forget the Wiggles’ costumes. Anthony has stripes, Emma has a sparkly tutu. These details make your the wiggles amigurumi dolls come alive. With practice, you can make your crochet dolls look just like the Wiggles.
Step-by-Step Body Construction Guide
Learn to make The Wiggles Amigurumi come to life with our guide. We’ll show you how to shape the head and face, and how to put the body together. You’ll also learn how to attach the limbs, making sure your creation looks just like the beloved characters.
Head and Face Shaping
Start by crocheting the head with the magic ring technique. Use increase and decrease stitches to get the right shape. Make sure the facial features, like the eyes and smile, are just right to capture the character’s spirit.
Body Assembly Instructions
Then, crochet the body and join it to the head. Use color changes to make different parts of the body stand out. Make sure the body is three-dimensional by using increase and decrease stitches.
Limb Attachment Methods
- Crochet the arms and legs separately, following the pattern’s instructions.
- Securely attach the limbs to the body, using techniques that provide a sturdy, natural-looking connection.
- Adjust the positioning of the limbs to achieve the desired pose and balance, creating a visually engaging plush toy.
Mastering these steps will help you create a charming The Wiggles Amigurumi. Let your creativity shine and make adorable plush toys and gifts.
Creating Signature Costumes and Details
Making the iconic costumes for your Wiggles amigurumi characters is key. It brings these loved friends to life. From their bright skivvies to fun accessories, each part adds to their charm.
Start with the Wiggles’ signature colors: yellow, blue, red, and purple. These colors are the base for your yarn crafts. Focus on the details like stripes and patterns that make each Wiggle unique.
- Make the classic Wiggles skivvies with your chosen yarn colors. Try intarsia or fair isle for the right stripes and colors.
- Add their famous accessories, like Dorothy’s bow or Wags’ bandana. These add personality and fun to your Wiggles amigurumi.
- Include special touches like Shirley Shawn’s unicorn horn or the Wiggles’ finger lights. These capture their playful spirit.
By carefully making the costumes and details, you’ll have Wiggles amigurumi that truly show their essence. Your character dolls will shine at any yarn crafts event.
| The Wiggles Party Supplies | Dimensions |
|---|---|
| The Amscan The Wiggles Party Happy Birthday Pennant Banner | 4.5 meters long, with each pennant measuring 10 x 17 cm |
| Signature character figures on the banner | Wags the Dog, Captain Feathersword, Dorothy the Dinosaur, and Shirley Shawn the Unicorn |
| Banner color scheme | Yellow, blue, red, and purple |
Facial Expression Embroidery Tutorial
Bringing your plush toys, character dolls, and handmade gifts to life is exciting. Mastering embroidered facial expressions is key. This tutorial will show you how to place eyes and create smiles that make your Wiggles Amigurumi characters stand out.
Eye Placement Techniques
The eyes are crucial for your Wiggles Amigurumi dolls. They bring life to each character. Here are some tips for perfect eye placement:
- Measure and mark the desired eye position, ensuring symmetry and balance on the face.
- Use a small, sharp needle to create precise stitches, guiding the thread to form the desired eye shape.
- Experiment with varying thread colors and thicknesses to achieve the expressive look you envision for your Wiggles Amigurumi characters.
Smile Construction Guide
A warm smile can make your Wiggles Amigurumi dolls instantly charming. Follow these steps to create smiles that capture their essence:
- Identify the desired smile shape, considering factors like the character’s personality and the overall aesthetic of your Wiggles Amigurumi creation.
- Use a sharp needle and embroidery floss to stitch the smile, starting at the corner of the mouth and working your way towards the center.
- Adjust the tension and curvature of the stitches to achieve the perfect smile that conveys the desired emotion, whether it’s a joyful grin or a gentle, kind expression.
With these techniques, you’ll be able to bring your Wiggles Amigurumi characters to life. They will have unique personalities and charm. Embrace embroidery to create plush toys, character dolls, and other handmade gifts that are truly special.

Finishing Touches and Assembly Tips
When you’re finishing your the wiggles amigurumi, focus on stuffing and assembly. Good stuffing makes your plush toy keep its shape and last long. Also, how you put it together affects its look, making your handmade gifts even more special.
Start by stuffing each part, like the head and arms, with quality polyester fiberfill. Fill it gently to keep the right shape and avoid lumps. Make sure to leave a small hole at the bottom for easy adjustments and a smooth join.
To connect the parts of your the wiggles amigurumi, use a tapestry needle and the invisible whipstitch. This makes the joins look neat and professional. Make sure the limbs and head are well attached for safe play. With a few more steps, your plush toys will be ready to delight their new owners.

