Warawara Free Crochet Pattern Inspired by Boy and the Heron
Their worlds are so magical and full of wonder. When I found the Warawara crochet pattern, I knew I had to give it a try. It was inspired by the cute spirits from “The Boy and the Heron.”
It showed me the deeper meaning behind these enchanting creatures.
Table of Contents
Introduction to Studio Ghibli’s Warawara Characters
If you love Studio Ghibli’s magical worlds, you’ll be thrilled. The beloved animation studio’s characters have inspired a new crochet pattern. This pattern features the enchanting Warawara spirits from “The Boy and the Heron” by Hayao Miyazaki.
Origins in “The Boy and the Heron”
In the film, the Warawara are small, white, spirit-like creatures. They can be reborn as humans. These charming beings float through the air, adding magic and wonder to the story.
Their ethereal presence and playful nature have captivated audiences. Now, crocheters can bring these iconic Studio Ghibli characters to life with this delightful pattern.
Significance of Warawara Spirits
The Warawara spirits hold a special place in Studio Ghibli’s world. They remind us of the enchanting and fantastical elements in the studio’s stories. These whimsical creatures are a reminder of the magic in Studio Ghibli’s storytelling.
Comparison to Kodama from Princess Mononoke
While the Warawara and Kodama share similarities, the Warawara are seen as more endearing and playful. Unlike the Kodama, which are mysterious and elusive, the Warawara are more interactive with humans in “The Boy and the Heron.” This has made them a favorite among Studio Ghibli fans and has beautifully translated into the crochet pattern.
| Studio Ghibli Characters | Warawara | Kodama |
|---|---|---|
| Appearance | Small, white, spirit-like creatures | Small, white, tree-like spirits |
| Behavior | Playful, interactive with humans | Mysterious, elusive |
| Origin | “The Boy and the Heron” | “Princess Mononoke” |
| Perception | Considered more “kawaii” or cute | More enigmatic and otherworldly |
Essential Materials and Tools Needed
To make your own Warawara crochet project, you need certain crochet supplies, yarn crafts, and DIY project materials. Here’s what you’ll need to begin:
- 4.0mm crochet hook
- Polyfil stuffing
- Yarn needle
- Scissors
- Stitch marker
- Black and pink felt for facial features
- Fabri-tac glue
These items will help you make your Warawara crochet project. You’ll use the soft yarn and tools for shaping and adding details. With these crochet supplies and yarn crafts essentials, you’re ready to create your own Warawara.
| Material | Purpose |
|---|---|
| Red Heart Super Saver acrylic worsted weight yarn in white | The main yarn for crocheting the Warawara body |
| 4.0mm crochet hook | The hook size needed to work with the worsted weight yarn |
| Polyfil stuffing | Used to fill and shape the crocheted Warawara |
| Yarn needle | For weaving in ends and attaching the facial features |
| Scissors | Cutting the yarn and felt as needed |
| Stitch marker | Helps keep track of rounds when crocheting in the round |
| Black and pink felt | For creating the Warawara’s expressive facial features |
| Fabri-tac glue | Adhering the felt details to the crocheted Warawara |
With these crochet supplies, yarn crafts materials, and DIY project tools, you’re set to start your Warawara crochet journey. Let’s move on to the pattern and instructions in the next section!
Warawara Free Crochet Pattern
Discover the Warawara amigurumi pattern, inspired by “The Boy and the Heron” from Studio Ghibli. It’s perfect for beginners and takes just 15 minutes to make.
Basic Crochet Terminology
The pattern includes common crochet terms like ch (chain), sc (single crochet), sl st (slip stitch), and sc2tog (single crochet 2 together). Learning these terms will help you master the Warawara design.
Pattern Difficulty Level
This pattern is easy, perfect for beginners who know the basic stitches. You won’t need to sew, making it a fun, easy project for everyone.
Size Specifications
The Warawara comes in two shapes: round and oblong. The round one is 2 inches tall and wide, while the oblong is 2.5 inches tall and 2 inches wide. You can adjust your hook size and tension to get the right size.
With the Warawara pattern, you’ll learn new crochet tutorials, crochet designs, and improve your skill development. You’ll make a beautiful piece inspired by Studio Ghibli.
“The Warawara pattern is a delightful and easy-to-follow project that allowed me to showcase my crochet skills in a unique, Studio Ghibli-inspired way. Highly recommended for all crochet enthusiasts!”
– Amelia, Crochet Blogger
Creating the Round Warawara Shape
Making the round Warawara is a fun crochet journey. It mixes crochet stitches, amigurumi techniques, and a bit of handmade charm. You’ll go through 10 exciting rounds to make this cute spirit come alive.
The secret to the round Warawara’s shape is in the right increases and decreases. This lets you shape the body and limbs smoothly. As you crochet, you’ll enjoy making the arms and legs stick out. With each round, the Warawara becomes more cute and clear.
Special care is taken with the tiny arms and legs. They are added right into the body as you crochet. This smart method makes your crochet stitches look neat and complete.
Whether you’re experienced or new to amigurumi, the round Warawara’s guide is clear and simple. Start this fun crochet adventure and let your creativity shine as you make this whimsical character!
Crafting the Oblong Warawara Version
Want to try something new in crochet? The oblong Warawara is a great choice. It has a unique shape that’s different from the round Warawara. This guide will help you make this special oblong Warawara, whether you’re experienced or just starting out.
Step-by-Step Instructions
The oblong Warawara has 11 rounds, making it taller and slimmer. The arms and legs are made the same way, but the body looks longer. Here’s how to make your own oblong Warawara:
- Start by crocheting the body in the round. Work up to 11 rounds for the oblong shape.
- Attach the arms and legs like the round Warawara, but keep in mind the narrower shape.
- For the limbs, crochet in the front loops only. This makes them look more streamlined.
- Stuff the body carefully before closing it. This keeps the oblong shape.
- Finally, add the Warawara’s special features, like its face and details.
Special Stitch Techniques
The oblong Warawara needs special stitches for its shape. One important technique is crocheting the arms and legs in the front loops only. This makes them look slender and fits the body’s shape.
Assembly Tips
Assembling the oblong Warawara right is key. Make sure to stuff the body well before closing it. Also, pay attention to how you attach the limbs. This ensures your Warawara looks balanced and complete.
No-Sew Amigurumi Technique Benefits
Making the Warawara plushie from “The Boy and the Heron” is now simpler with the no-sew amigurumi method. This technique lets you make the whole crochet techniques figure in one piece. It means no more tedious sewing for amigurumi crafting fans who love yarn projects but hate sewing.
It only takes about 15 minutes to finish the no-sew Warawara pattern. This quick method lets you make the Warawara in less time. You can enjoy making it without worrying about complicated sewing.
The Warawara amigurumi pattern comes in two fun shapes: a round face and a longer oblong. Both shapes are easy to make with the no-sew method. You’ll get a cute friend that shows off the Warawara’s spirit.
“The no-sew amigurumi technique is a true game-changer for crafters who love the art of crochet but dislike the hassle of sewing separate pieces together. It’s a real time-saver and allows you to focus on the joyful process of creating without the added complexity.”
Try the no-sew amigurumi method for your crochet techniques, amigurumi crafting, and yarn projects. It’s simple and lets you create the Warawara plushie easily. Let your creativity shine and make this beloved character come to life.

Customizing Facial Expressions
Make your crochet creations come alive with personalized faces. Creating the perfect amigurumi face is a fun way to show off your crochet customization skills. It adds a special touch to your craft personalization projects. Whether it’s an adorable amigurumi faces or a whimsical crochet friend, the face makes all the difference.
Working with Felt Details
Felt is great for making unique facial features for your crochet pieces. Start by cutting out basic shapes like small black circles for the eyes and oval or D-shaped pieces in pink for the mouth. Adding a thin black felt outline behind the pink mouth can add depth and definition.
This simple trick can help you create a wide range of expressions. You can go from a charming smile to a surprised, grinning look.
Creative Design Options
- Try different eye shapes and sizes to show various moods and emotions.
- Play with the mouth’s placement and curve for whimsical or serious looks.
- Add felt details like eyebrows or eyelashes to customize the face more.
- Explore asymmetrical designs or mix-and-match features for a unique look.
The world of crochet customization is full of endless possibilities for unique and expressive amigurumi faces. Let your creativity shine and make your crochet pieces reflect your personal style and flair for craft personalization.
Troubleshooting Common Issues
Starting your crochet tips and amigurumi projects can lead to some craft solutions you need to figure out. Don’t worry! Most problems have simple fixes that can make your amigurumi look amazing.
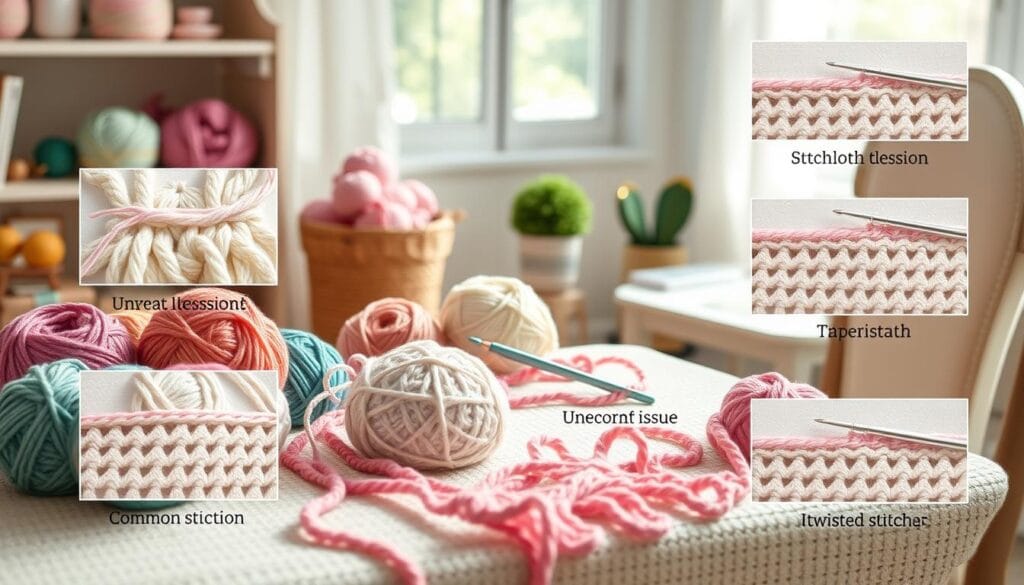
One issue is finding it hard to do front loop only stitches. To solve this, focus on working the stitches under the front loop. Keep your tension even. This method ensures your amigurumi stays the right shape.
Shaping the body can also be tricky. Make sure to flip the arms and legs outward when you skip stitches. This prevents them from getting trapped inside. Also, using stitch markers helps you keep track and get the body right.
- Maintain consistent tension when working front loop only stitches
- Flip arms and legs outward when skipping stitches to avoid getting them stuck inside the body
- Use stitch markers to keep track of your rounds and maintain accurate stitch counts
| Common Crochet Issue | Troubleshooting Tip |
|---|---|
| Difficulty with front loop only stitches | Work stitches under the front loop, maintaining consistent tension |
| Shaping the body correctly | Flip arms and legs outward when skipping stitches, use stitch markers to track rounds and counts |
Remember these crochet tips and craft solutions to tackle common amigurumi problems. You’ll soon be making stunning, flawless amigurumi pieces.

Creative Ways to Display Your Warawara
Crocheting a Warawara plushie is not just about the end result. It’s also about the fun ways you can show it off. You can use these adorable amigurumi accessories in your daily life. The Warawara pattern is perfect for many creative uses.
Keychain Accessories
Warawara plushies are small and perfect for making keychain accessories. Just add a small loop to the top. Then, carry your Warawara on your keys, purse, or backpack. They add a playful touch to your daily carry.
Decorative Applications
Warawara plushies are not just for keychains. They can also decorate your home, office, or tote bag. Place them on a shelf, hang them in a mobile, or pin them to a cork board. They make a unique and eye-catching Studio Ghibli-inspired display.
There are countless ways to show off your Warawara. You can turn them into useful accessories or create stunning displays. These charming creatures bring magic and joy to your daily life.
Conclusion
The Warawara crochet pattern is a fun project that lets you dive into Studio Ghibli’s magical world. It’s a great way to show off your handmade crafts and share your love for “Boy and the Heron” characters. You can pick between a round or oblong version, making it enjoyable for all skill levels.
While working on it, don’t forget to share your Warawara on social media. Tag @ami_amour on Instagram. The crochet community loves to see your unique takes and celebrate all the handmade Warawara designs. Your work will surely inspire and bring joy to others.
Let your creativity flow and become one with the Warawara spirit. Enjoy the process of making these whimsical creatures. Your handmade masterpieces will not only bring you joy but also impress everyone who sees them.

