Fun Woody Woodpecker Amigurumi: Free Crochet Patterns
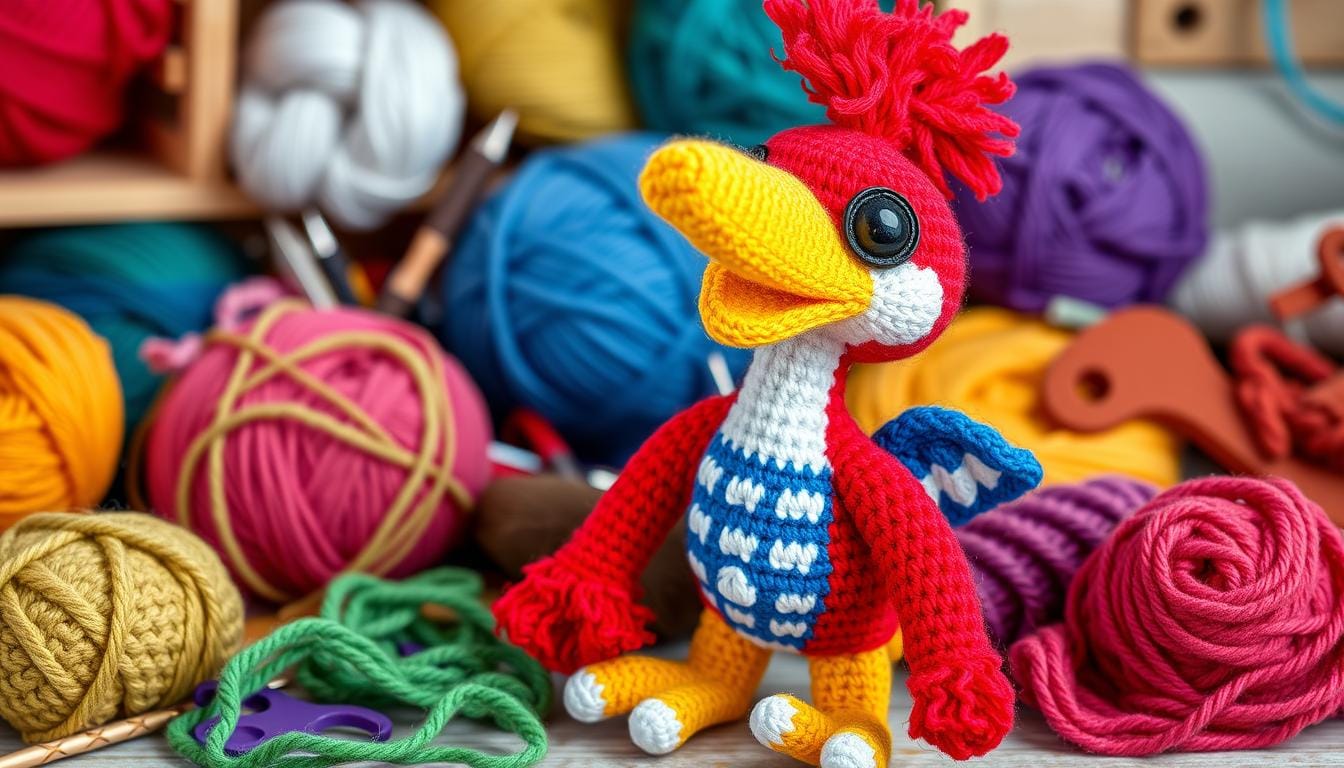
Do you remember watching cartoons on Saturday mornings as a kid? Woody Woodpecker has been a favorite for many years. Now, you can make your own Woody Woodpecker amigurumi with a free crochet pattern.
Making a handmade toy is more than just making something cute. It’s about feeling connected to the past, improving your skills, and enjoying the creative process. This pattern lets you turn yarn into a 16.9-inch Woody Woodpecker.
If you’re good at crocheting or want to try something new, this pattern is perfect. It’s a chance to make a unique Woody Woodpecker plush that’s all your own.
Table of Contents
Essential Materials and Tools for Woody Woodpecker Crochet
To make a Woody Woodpecker plush doll, you need the right materials and tools. This project can turn into a wonderful gift or a special item for a collector. Let’s look at what you’ll need to make this iconic character come to life.
Yarn Colors and Types
Choosing the right yarn is key for your project. You want yarn that shows Woody’s bright and lively personality.
- Red yarn for the head and crest
- White yarn for body details
- Blue yarn for accent colors
- Yellow yarn for beak construction
- Black yarn for defining features
Hook Sizes and Notions
The right crochet hook is important for a professional-looking Woody Woodpecker.
| Yarn Weight | Recommended Hook Size | Project Difficulty |
|---|---|---|
| Light (3-4 mm) | 2.5-3.5 mm hook | Beginner to Intermediate |
| Medium (4-5 mm) | 3.5-4.5 mm hook | Intermediate |
Additional Supplies
Here are the tools you’ll need for a smooth crafting process:
- Fiberfill stuffing
- Yarn needle
- Stitch markers
- Scissors
- Safety eyes (optional)
Pro tip: Choose soft, washable yarn for a durable and cuddly Woody Woodpecker plush that can withstand playtime and become a treasured keepsake.
Basic Crochet Techniques for Amigurumi Making
Making a Woody Woodpecker amigurumi needs some basic crochet skills. It’s great for making movie merchandise or a unique gift. Knowing these skills will help you create your iconic woodpecker.
- Magic Ring: The foundation for creating seamless circular starts
- Increasing and decreasing stitches to shape your character
- Working in back loops for unique texture
- Joining different parts smoothly
- Proper stuffing methods
The magic ring is key for a tight, closed center in circular projects. Practice it to make your Woody Woodpecker look professional and three-dimensional.
Stitch tension is crucial. It makes your toy look even. Use hook sizes between C (3.00mm) and F (4.00mm) for the best results.
Practice is key. Start with simple techniques and get better. This way, you’ll make a detailed, charming Woody Woodpecker amigurumi.
Getting Started with Woody Woodpecker Amigurumi
Making a handmade toy of your favorite cartoon character needs careful planning and detail. The Woody Woodpecker crochet pattern requires precision and basic technique knowledge. This will help bring this iconic character to life.
Before starting your amigurumi project, there are important steps to follow. These steps will help you create your Woody Woodpecker character. Learning these initial techniques is key for a successful handmade toy.
Reading the Pattern
It’s vital to understand your crochet pattern for an accurate Woody Woodpecker. When reading the pattern, focus on:
- Stitch count for each round
- Color changes for different body parts
- Special instructions for shaping
- Recommended yarn weight
Understanding Abbreviations
Crochet patterns use specific abbreviations that might seem confusing at first. Get familiar with common terms like:
- sc: Single crochet
- inc: Increase
- dec: Decrease
- st: Stitch
Working with Multiple Colors
Your Woody Woodpecker amigurumi will need careful color changes. The cartoon character’s look requires precise and neat color switching.
- Use stitch markers to track color change points
- Weave in loose ends carefully
- Practice smooth yarn transitions
Creating the Iconic Red Head and Crest
Making a Woody Woodpecker amigurumi needs focus on his bright red head. This iconic woodpecker comes to life with careful crochet.

Start with bright red yarn, choosing a soft blend for shape and color. Count stitches carefully and increase strategically for the right shape.
- Start with a magic ring using 6 single crochet stitches
- Gradually increase stitches to reach 60 by round 10
- Maintain consistent tension for smooth texture
- Work 15 rounds straight to establish head shape
The authentic Woody Woodpecker amigurumi depends on precise head shaping. Decrease stitches in later rounds for a natural, rounded look.
| Construction Stage | Stitch Count | Technique |
|---|---|---|
| Initial Magic Ring | 6 stitches | Single crochet |
| Mid-Construction | 60 stitches | Gradual increases |
| Final Shaping | 24 stitches | Careful decreases |
Pro tip: Focus on the crest details in the finishing stages. Woody’s signature pointy top needs precise stitch placement and yarn manipulation.
Precision is the secret to creating a truly memorable Woody Woodpecker amigurumi that fans will cherish!
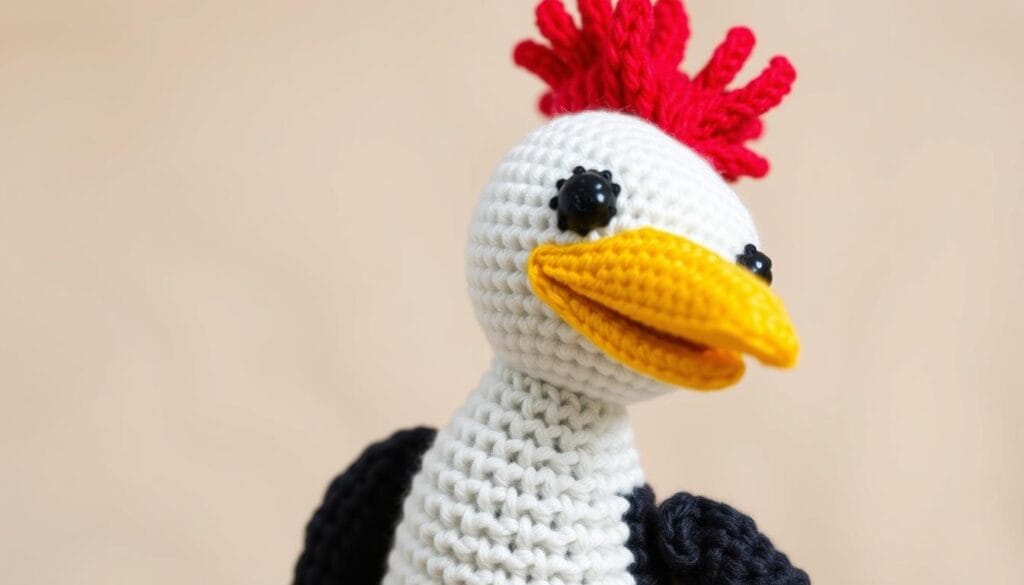
Crafting Woody’s Distinctive Yellow Beak
Making Woody Woodpecker’s beak is key to bringing him to life. His iconic yellow beak makes him special. It’s what makes your handmade toy stand out.
Precision in Top Beak Construction
The top beak needs lots of detail. Start with a magic ring and four single crochet stitches. Then, add more stitches to get Woody’s unique shape.
- Begin with 4 sc in magic ring
- Increase stitches carefully
- Maintain even tension
- Shape to create overbite effect
Bottom Beak Assembly Techniques
The bottom beak is similar but with some changes. Begin with six single crochet stitches in a magic ring. Expand to match the top beak’s size.
Adding Character-Defining Details
The details make your amigurumi special. Use yellow yarn that’s 3-4 mm thick. This will bring Woody’s playful spirit to life. Make sure the top and bottom beaks fit well together.
| Beak Component | Stitch Count | Yarn Color |
|---|---|---|
| Top Beak | 4-60 stitches | Yellow |
| Bottom Beak | 6-60 stitches | Yellow |
Creating a great cartoon character amigurumi takes patience and practice. It will become a treasured handmade toy and maybe even a collector’s item.
Body Construction and Assembly Steps
Making a Woody Woodpecker plush doll needs careful body construction. Your amigurumi will turn into a fun children’s gift with the right shaping. The body is the heart of this adorable nursery decor.
- Start with 60 single crochet (sc) stitches for the initial round
- Gradually decrease to 48 stitches for a natural body shape
- Shape the back segment to create defined buttocks
- Craft the front segment to develop a rounded belly
The body’s structure is key for your amigurumi. You’ll taper stitches, going from 54 to 24 at the neck. Precision is key in creating a realistic character form.
“Patience and attention to detail transform simple yarn into a beloved character” – Crochet Artisan
Adding a white collar around round 47 is a special detail. It brings Woody Woodpecker to life, making it a favorite plush doll for kids.
- Recommended yarn thickness: 3-4 mm
- Hook size: 2-3 mm
- Estimated body construction time: 3-4 hours
Your finished body will be about 16.9 inches (43 cm) long. It will be a big and cuddly gift that shows Woody Woodpecker’s playful side.
Making the Arms and Hands Details
Creating the perfect arms and hands is key when making a Woody Woodpecker amigurumi. The small details in these parts can turn your project into a standout piece. It becomes a collector’s item to cherish.
Finger Construction Techniques
Making realistic fingers needs patience and precision. Choose a soft white yarn for definition and texture. Your fingers will have:
- Individual finger segments
- Consistent tension
- Small hook sizes for detailed work
Palm and Thumb Assembly
The palm is the base of your Woody Woodpecker’s hand. Aim for a natural curve that looks like real hands. Use about 18 stitches for the right size.
Attaching Hands to the Body
Attaching hands right makes your toy look professional. Follow these steps:
- Align hands evenly
- Match blue yarn for arms
- Secure with invisible joins
Remember, practice makes perfect. Every stitch brings you closer to a unique Woody Woodpecker.
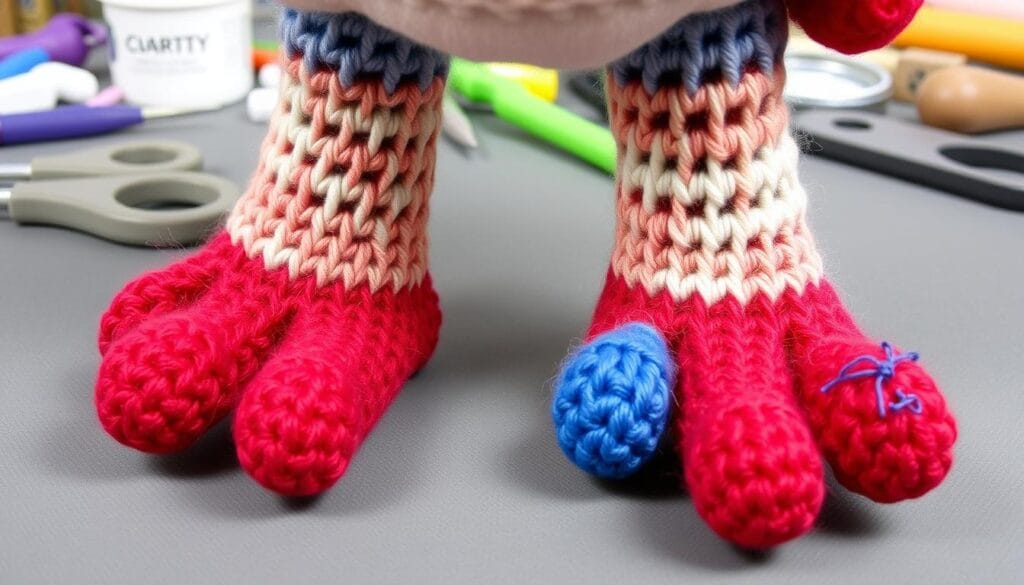
Designing the Feet and Legs
Crafting the feet and legs is key in your Woody Woodpecker crochet pattern. The cartoon character’s stance needs careful detail. This is crucial for your amigurumi project.

Start with bright yellow yarn for Woody’s iconic look. You’ll make two toes for each foot. This requires precise stitch counting and shaping for Woody’s unique appearance.
- Start with 24 total stitches for the foot base
- Gradually shape the foot to expand to 30 stitches
- Decrease to 6 stitches at the ankle for definition
Use blue yarn for the legs to match Woody’s classic colors. Aim for a stable base for your plush doll to stand on.
Pro tip: Count your stitches carefully to maintain symmetry in your Woody Woodpecker amigurumi design.
| Yarn Color | Stitch Count | Construction Stage |
|---|---|---|
| Yellow | 24 initial stitches | Toe formation |
| Yellow | 30 stitches | Foot shaping |
| Blue | 6 stitches | Ankle reduction |
Focus on keeping tension and consistency in the leg construction. Every stitch adds to the character and stability of your Woody Woodpecker amigurumi.
Final Touches and Character Expression
To make your Woody Woodpecker amigurumi a true treasure, focus on the details. Your iconic woodpecker will come to life with the right facial features and expression. This will make it a unique gift for kids.
- Eyes: Use safety buttons or embroidery to make bright, expressive eyes
- Eyebrows: Embroider arched eyebrows to show Woody’s playful side
- Laugh lines: Add stitching to show his classic comedic look
It’s important to attach the parts securely. Carefully sew arms and legs to the body. Make sure they are well attached but still look playful. Stuff each part evenly to keep the shape and structure right.
“The magic is in the details” – Woody Woodpecker Design Principle
Your Woody Woodpecker amigurumi will be a special gift for kids. It will capture the spirit of this beloved character. With attention to detail and expression, you’ll make a piece of movie merchandise that brings joy to everyone.
Conclusion
Your Woody Woodpecker amigurumi journey ends with a delightful handmade toy. It captures the essence of this beloved cartoon character. The detailed crochet pattern turns simple yarn and skilled stitches into a vibrant 16.9-inch tall collectible.
This collectible will spark joy for cartoon enthusiasts and crochet lovers alike. Creating this amigurumi requires intermediate to advanced crochet skills. Your patience and attention to detail will result in a unique representation.
Each stitch brings the iconic character closer to life. From the distinctive red crest to the playful yellow beak, it’s all there. Whether you’re making this as a gift, adding to your collection, or challenging your crochet techniques, the finished product is special.
This handmade toy embodies creativity and passion. It transforms traditional crochet methods into a nostalgic piece of art. This art connects generations of cartoon and craft enthusiasts.
Remember, practice makes perfect. Each Woody Woodpecker amigurumi you create will improve your skills. Enjoy the process and celebrate your crafting achievement!

